As I stood in my kitchen, the bustling sounds of the world faded away, leaving only the gentle hum of excitement over a new creation. This Creamy Ninja Creami Honey Ice Cream is my answer to those late-night dessert cravings, promising a delightful treat without any added sugar. Swapping out sugar for the natural sweetness of honey not only offers a guilt-free indulgence but also a unique twist that makes this ice cream unforgettable. Plus, it couldn’t be easier to whip up—perfect for anyone looking to impress friends and family with minimal fuss. So, are you ready to discover how a few simple ingredients can transform into a luscious, creamy dessert? Let’s dive in!
Why is this ice cream so special?
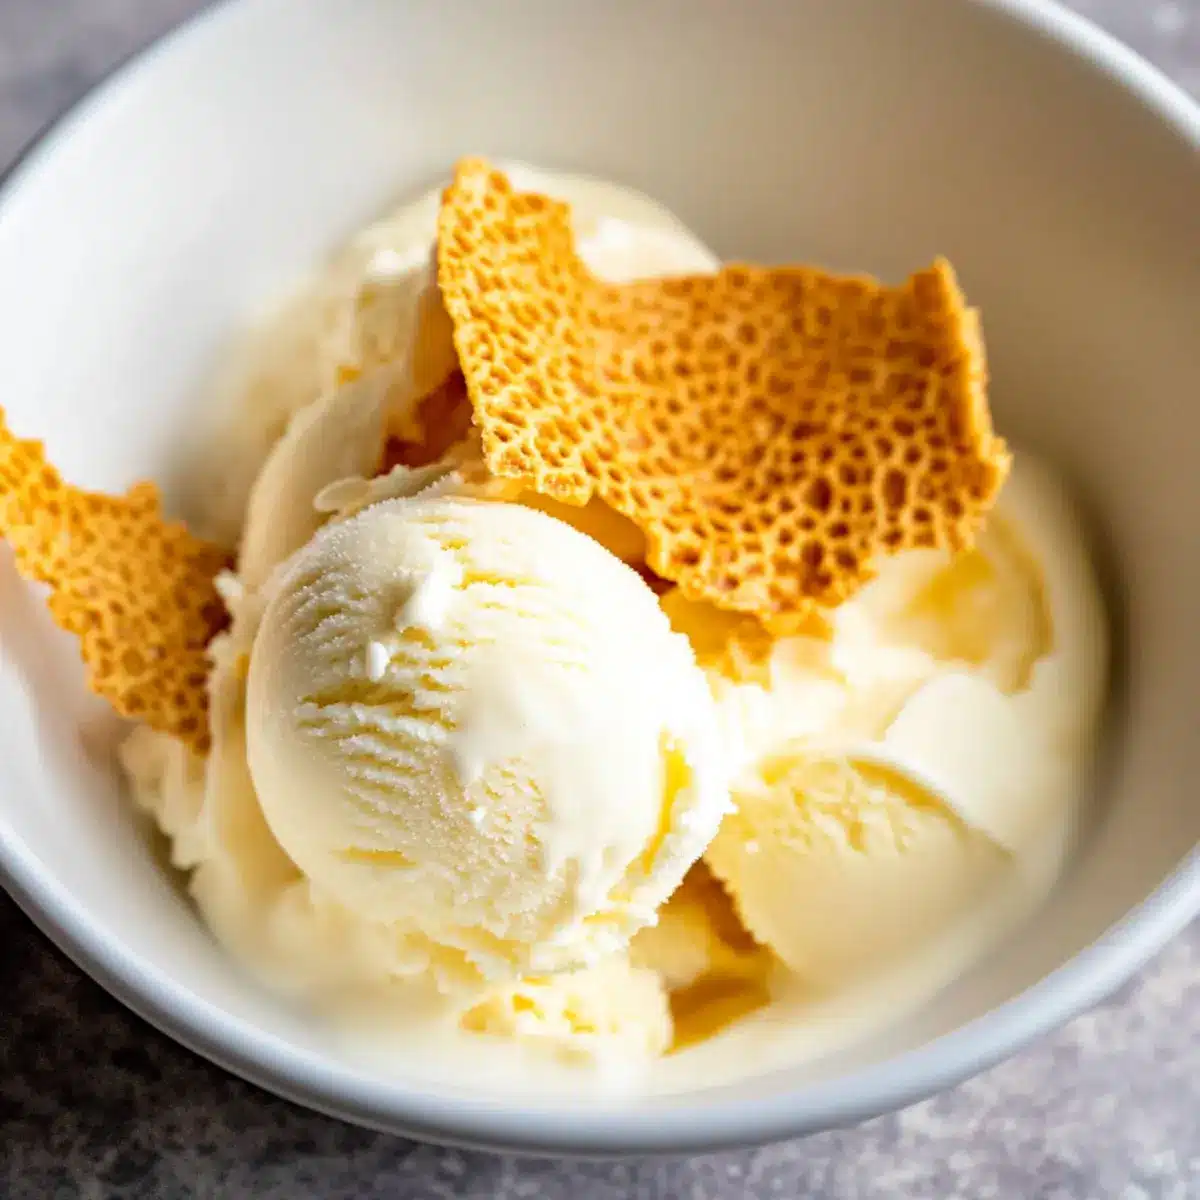
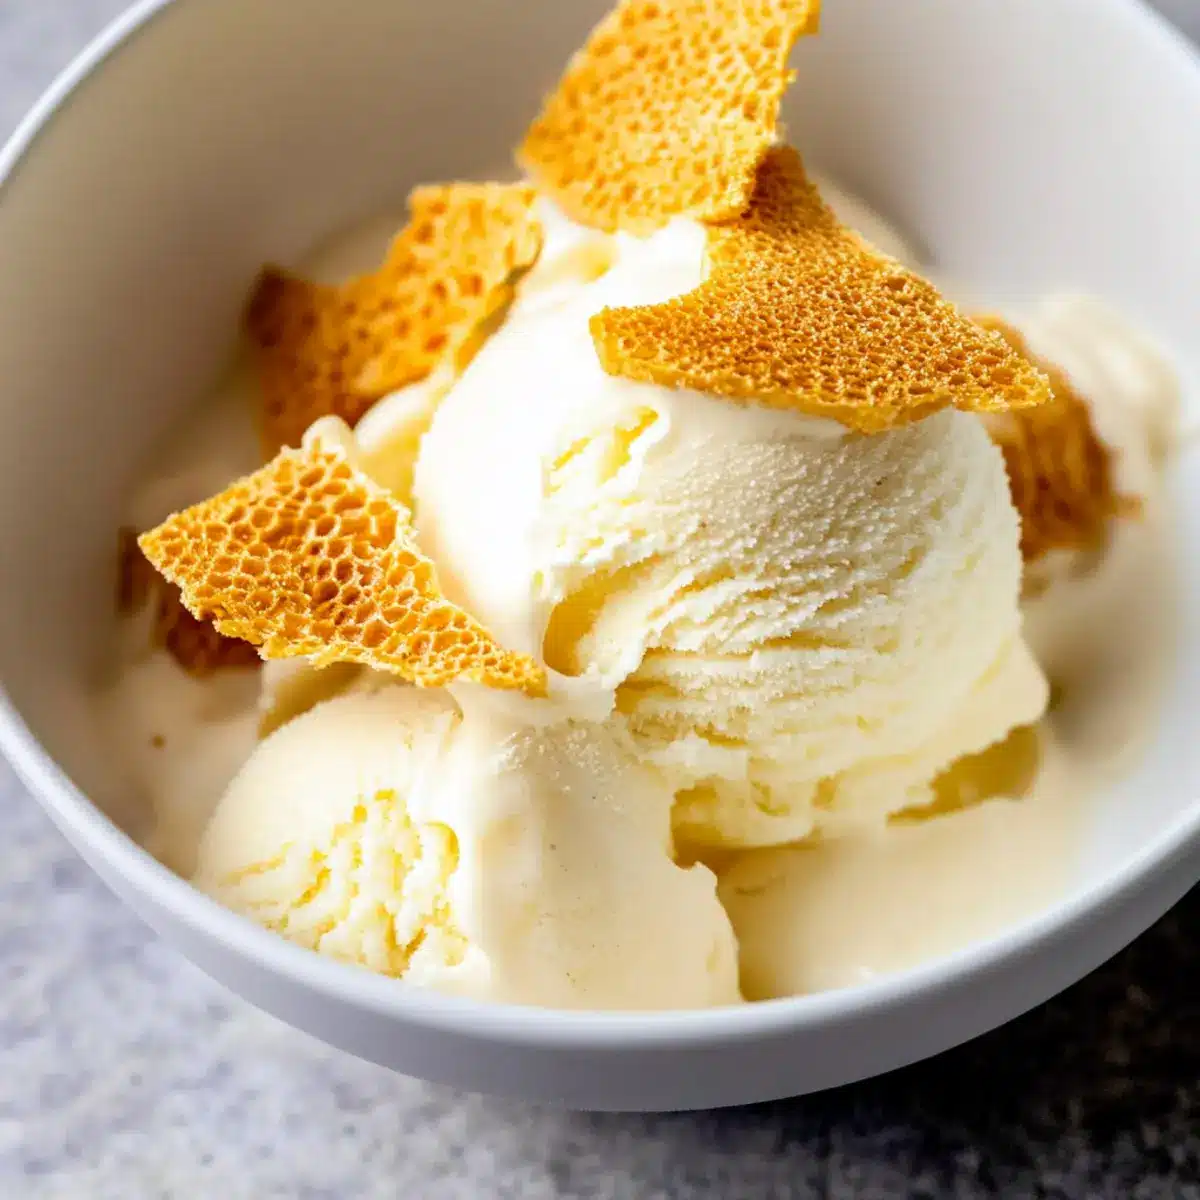
Indulgent Flavor: This Ninja Creami Honey Ice Cream is a true game-changer, offering a rich, velvety texture without any added sugar.
Healthier Choice: By using honey as a sweetener, you’re choosing a natural alternative that adds a unique twist to your typical desserts.
Simple Preparation: With just a few steps, you can create a delicious treat that’s perfect for any occasion, whether it’s a summer party or an everyday dessert.
Versatile Variations: Feel free to experiment with mix-ins like chocolate chips or nuts, or try agave syrup for a vegan option—there’s something for everyone!
Perfect for Impressing Guests: Your friends and family will be amazed by this homemade delight, elevating your dessert game without hours of preparation. Enjoy this creamy masterpiece, and if you’re interested in other delightful desserts, check out my Cranberry Cream Cheese and Cajun Chicken Pasta for more inspiration!
Ninja Creami Honey Ice Cream Ingredients
• Here’s everything you need to create this delicious, creamy dessert!
For the Base
- Heavy Cream – Provides rich creaminess and a smooth texture. No substitution necessary.
- Whole Milk – Creates a balanced base with cream for optimal creaminess; low-fat milk can be used for a lighter version but will alter texture.
- Honey – Acts as the natural sweetener, imparting a unique flavor; consider using maple syrup for a different taste.
- Egg Yolks – Contribute to a custard-like base, enhancing creaminess. For a vegan option, use silken tofu blended until smooth.
Expert Touches
- Ice Bath – Prepare with ice water to rapidly chill the mixture, locking in that silky texture.
- Mix-ins – Enhance the Ninja Creami Honey Ice Cream experience with nuts or chocolate chips added after processing!
Enjoy crafting this delightful no-sugar treat that will have everyone asking for seconds!
Step‑by‑Step Instructions for Ninja Creami Honey Ice Cream
Step 1: Prepare Ice Bath
Begin by filling a large bowl with ice water, then nestle another smaller bowl inside it. This ice bath will help rapidly cool your mixture later. Place a fine mesh strainer over the top of the smaller bowl, ensuring it’s stable and ready to catch your creamy blend.
Step 2: Heat Ingredients
In a heavy-bottomed pan, combine the heavy cream, whole milk, and honey. Stir gently over medium heat, watching carefully until the mixture becomes steaming and reaches approximately 170°F. This step ensures the flavors meld beautifully before introducing the egg yolks, adding a sweet and rich base to your Ninja Creami Honey Ice Cream.
Step 3: Temper Egg Yolks
While your milk mixture heats, whisk the egg yolks in a separate bowl until smooth. Gradually pour in about one cup of the hot liquid into the yolks, whisking constantly to prevent curdling. Once combined, return this yolk mixture back to the pan, ensuring every drop of creamy goodness is incorporated for that splendid custard-like texture.
Step 4: Cook Mixture
Continue heating the combined mixture over medium-low heat until it bubbles gently and reaches a temperature of 180-185°F. Be vigilant during this step to avoid overheating, which could cause the mixture to curdle. Once it bubbles, swiftly pour it through the fine mesh strainer into the ice bath to stop the cooking process and maintain that silky, creamy consistency.
Step 5: Chill and Process
Allow the mixture to cool in the ice bath for about 10 minutes, stirring occasionally to help it chill evenly. Then transfer the cooled mixture into a Creami container. Cover and chill it in the refrigerator for 24 hours, letting the flavors deepen before freezing it overnight. After 24 hours in the freezer, your Ninja Creami Honey Ice Cream base is ready for processing.
Step 6: Process Ice Cream
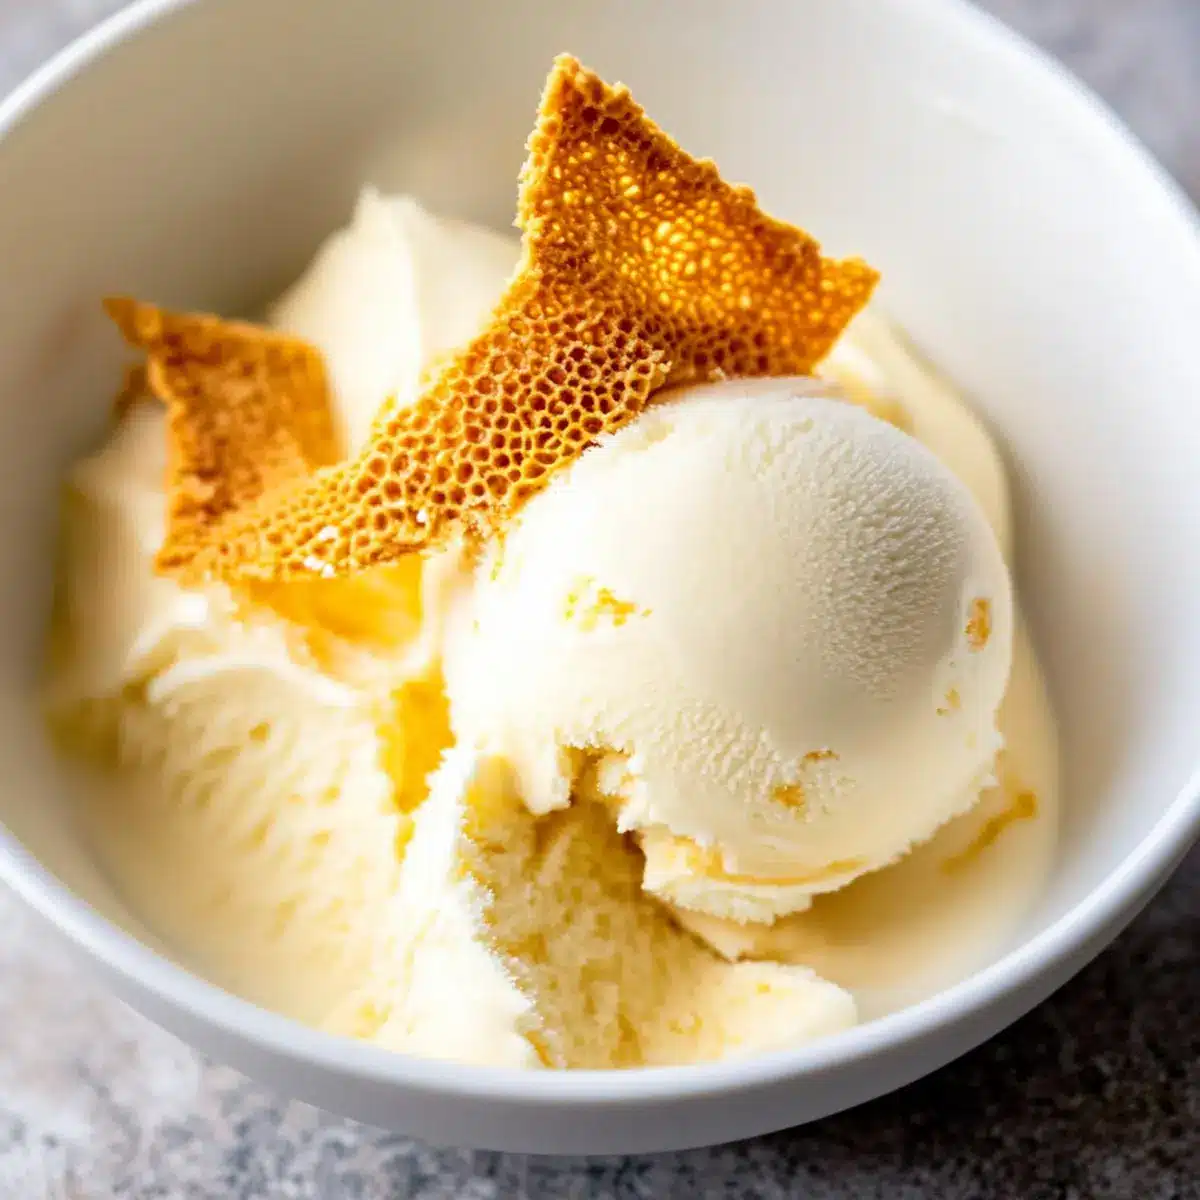
Take the Creami container from the freezer and attach it to your Ninja Creami machine. Select the ICE CREAM setting and let your machine work its magic, transforming the frozen mixture into a luscious ice cream. The finished treat will have a velvety smooth texture, rich color, and the delightful essence of honey to celebrate!
Expert Tips for Ninja Creami Honey Ice Cream
- Temperature Matters: Always ensure the mixture reaches the specified temperatures. If you overhear it after bubbling, it can curdle, resulting in a grainy texture.
- Fix Soft Ice Cream: If your ice cream is too soft post-processing, let it freeze for an additional 20-30 minutes to achieve that creamy, firm consistency.
- Smooth Leftovers: After scooping, smooth out the top before returning any leftovers to the freezer to prevent ice crystals from forming on the surface.
- Check Honey Quality: Use high-quality honey for the best flavor; it makes a significant difference in your Ninja Creami Honey Ice Cream.
Make Ahead Options
These Ninja Creami Honey Ice Cream are perfect for meal prep lovers! You can prepare the base mixture up to 24 hours in advance, allowing the flavors to deepen and create a more delightful treat. Just follow the initial steps up to cooling in the ice bath, then refrigerate the mixture overnight. Additionally, you can freeze the mixture in the Creami container for another 24 hours before processing it into ice cream. To maintain quality, make sure to cover it tightly to prevent freezer burn. When you’re ready to serve, simply process as directed on your Ninja Creami, and enjoy a creamy, no-sugar dessert that feels effortlessly gourmet!
Ninja Creami Honey Ice Cream Variations
Feel free to customize this delightful ice cream with these creative twists and substitutions that will tickle your taste buds!
- Vegan Delight: Swap honey with agave syrup for a completely plant-based dessert, keeping all that creamy texture and rich flavor intact.
- Nutty Crunch: Add in chopped nuts like almonds or walnuts after processing. The crunch will contrast wonderfully with the smooth ice cream, making each bite adventurous.
- Choco-Lover’s Dream: Mix in chocolate chips or chunks for a deliciously decadent experience. Each creamy scoop will be an indulgent delight for chocolate lovers!
- Fruit Infusion: Incorporate pureed berries like strawberries or raspberries into the base for a fruity twist. This addition brings a fresh burst of flavor that’s simply irresistible.
- Spiced Sensation: A sprinkle of cinnamon or nutmeg in the mixture can add a warm, comforting flavor. It’s like a cozy hug in every scoop!
- Salted Caramel Addition: Drizzle some homemade or store-bought caramel in post-processing. A touch of sea salt will elevate the flavor profile to chef-worthy perfection.
- Maple Twist: Replace honey with pure maple syrup for a unique sweetness and rich flavor. This simple swap gives your ice cream a delightful new personality.
- Coconut Creaminess: Substitute some of the milk with coconut milk for an exotic, tropical vibe. This will bring a creamy texture and a hint of paradise to your dessert!
Enjoy exploring these variations while creating your own signature version of Ninja Creami Honey Ice Cream! If you’re in the mood for more delightful desserts, consider trying my Cajun Chicken Pasta or the irresistible Honey BBQ Chicken!
How to Store and Freeze Ninja Creami Honey Ice Cream
Fridge: Store any leftovers in an airtight container in the fridge for up to 3 days. This allows you to enjoy this creamy treat for a few more days if you don’t want to freeze it again.
Freezer: For optimal texture, keep your Ninja Creami Honey Ice Cream in the freezer. Store it in an airtight container for up to 2 weeks to maintain its luscious creaminess and prevent freezer burn.
Reheating: If the ice cream becomes too firm after freezing, simply let it sit at room temperature for about 5-10 minutes before scooping to make it easier to serve.
Tips for Best Results: To prevent ice crystals from forming, smooth out the surface of any leftovers before sealing the container and returning it to the freezer. Enjoy your sweet, homemade delight!
What to Serve with Ninja Creami Honey Ice Cream
As you savor each creamy scoop, consider these delightful pairings to elevate your dessert experience to new heights.
- Fresh Berries: Bursting with juicy sweetness, raspberries or strawberries bring a bright contrast to the rich honey flavor.
- Chocolate Sauce: A drizzle of warm chocolate sauce creates a luscious, indulgent combo that will have your taste buds dancing.
- Crunchy Nuts: Chopped almonds or toasted pecans add a delightful crunch, enhancing the texture while complementing the creaminess.
- Coconut Flakes: Toasted coconut flakes add a tropical flair, bringing lightness and a hint of nuttiness that harmonizes beautifully.
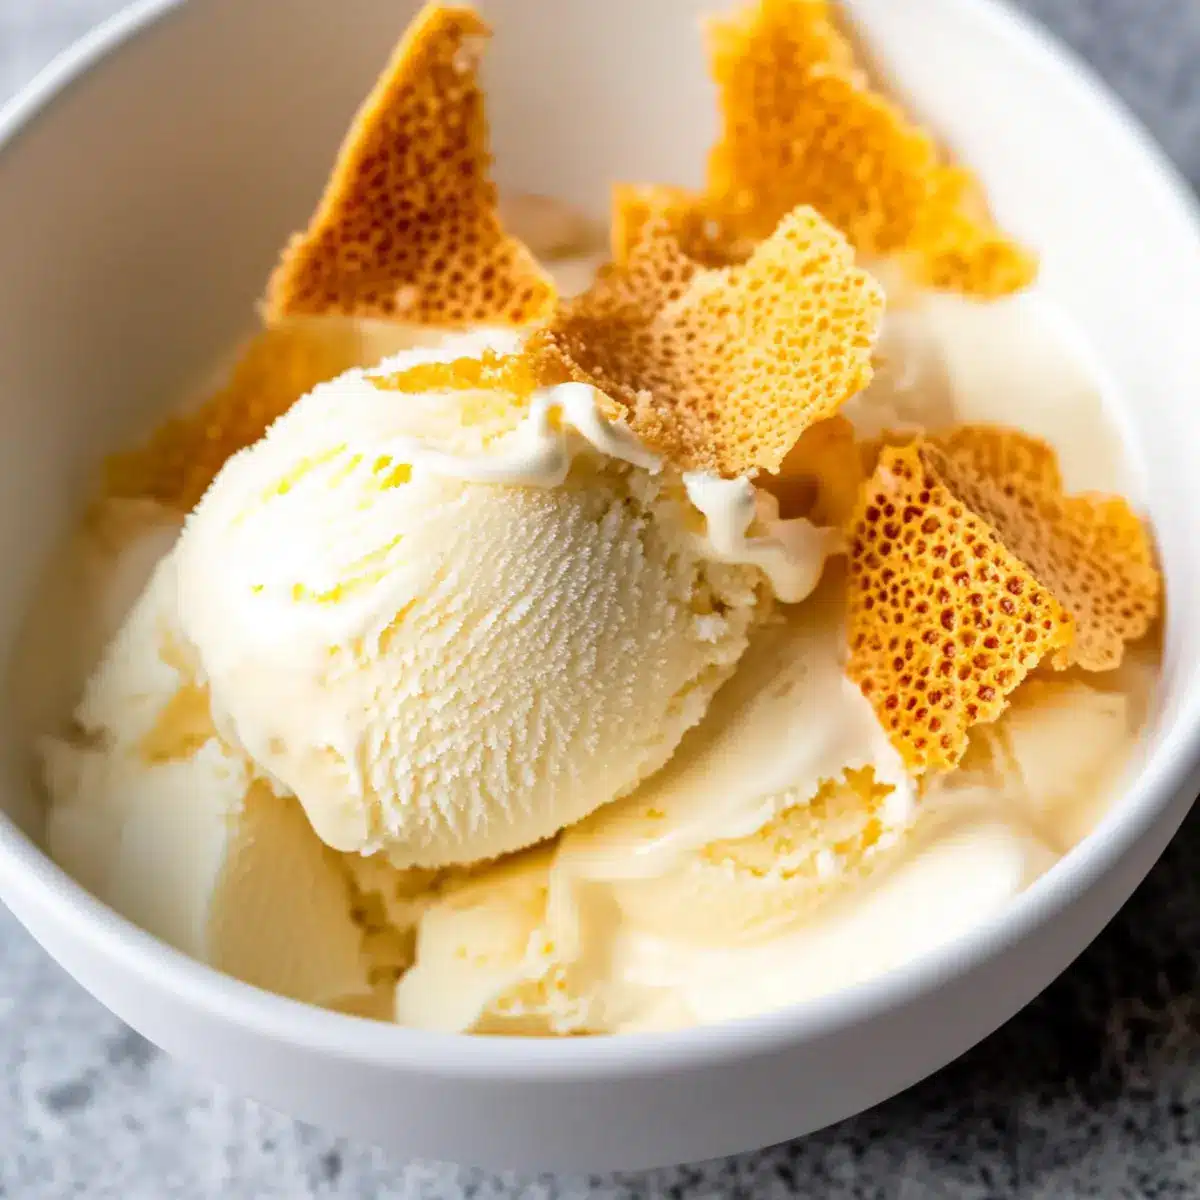
- Honeycomb Crumbles: For a sweet textural contrast, sprinkle crumbled honeycomb on top, echoing the honey flavor in a fun way.
- Mint Leaves: Fresh mint leaves not only brighten your bowl with vibrant color but also add a refreshing note that balances the sweetness.
- Chilled Coffee: Pair your ice cream with a glass of chilled coffee or espresso for a fabulous affogato-style treat!
- Cinnamon Dusting: A light sprinkle of ground cinnamon offers an aromatic spice that enhances the flavor with warmth.
Ninja Creami Honey Ice Cream Recipe FAQs
What type of honey should I use for this recipe?
I recommend using high-quality, pure honey for the best flavor in your Ninja Creami Honey Ice Cream. Raw honey or local honey varieties can add a unique character to the ice cream, making it even more delightful!
How long can I store Ninja Creami Honey Ice Cream in the freezer?
For the ultimate creaminess and to prevent freezer burn, store your Ninja Creami Honey Ice Cream in an airtight container in the freezer for up to 2 weeks. I find that it’s best enjoyed fresh, but if you do have leftovers, be sure to smooth out the top before sealing!
Can I freeze the ice cream for longer than 2 weeks?
While you can freeze it for longer periods, the texture may change, and ice crystals might form. For the best experience, I recommend consuming it within 2 weeks. If it becomes harder to scoop, simply let it sit at room temperature for about 5-10 minutes before serving.
How can I adjust the sweetness level of the ice cream?
If you’re looking for a sweeter treat, feel free to add a little extra honey to taste as you incorporate it into the mixture. Alternatively, you can try using maple syrup for a different flavor profile, though it will slightly alter the final color and taste.
What if my ice cream is too soft after processing?
If your Ninja Creami Honey Ice Cream turns out too soft post-processing, no worries! Just pop it back in the freezer for an additional 20-30 minutes to achieve that perfect firm and creamy consistency. Sometimes, it just needs a little extra chill!
Is this ice cream suitable for people with egg allergies?
Great question! If you’re accommodating egg allergies or following a vegan diet, you can replace the egg yolks with blended silken tofu. This will still yield a rich and creamy texture, making this ice cream accessible for everyone.
Ninja Creami Honey Ice Cream: Creamy, No-Sugar Bliss
Ingredients
Equipment
Method
- Prepare Ice Bath: Fill a large bowl with ice water and nestle a smaller bowl inside it.
- Heat Ingredients: Combine the heavy cream, whole milk, and honey in a heavy-bottomed pan and heat gently.
- Temper Egg Yolks: Whisk the egg yolks, slowly incorporate hot mixture, then return it back to the pan.
- Cook Mixture: Heat until it bubbles gently, then pour through a strainer into the ice bath.
- Chill and Process: Cool in the ice bath for 10 minutes, transfer to a Creami container, chill in the refrigerator for 24 hours, then freeze overnight.
- Process Ice Cream: Attach the Creami container to the Ninja Creami machine and select the ICE CREAM setting.
Leave a Reply