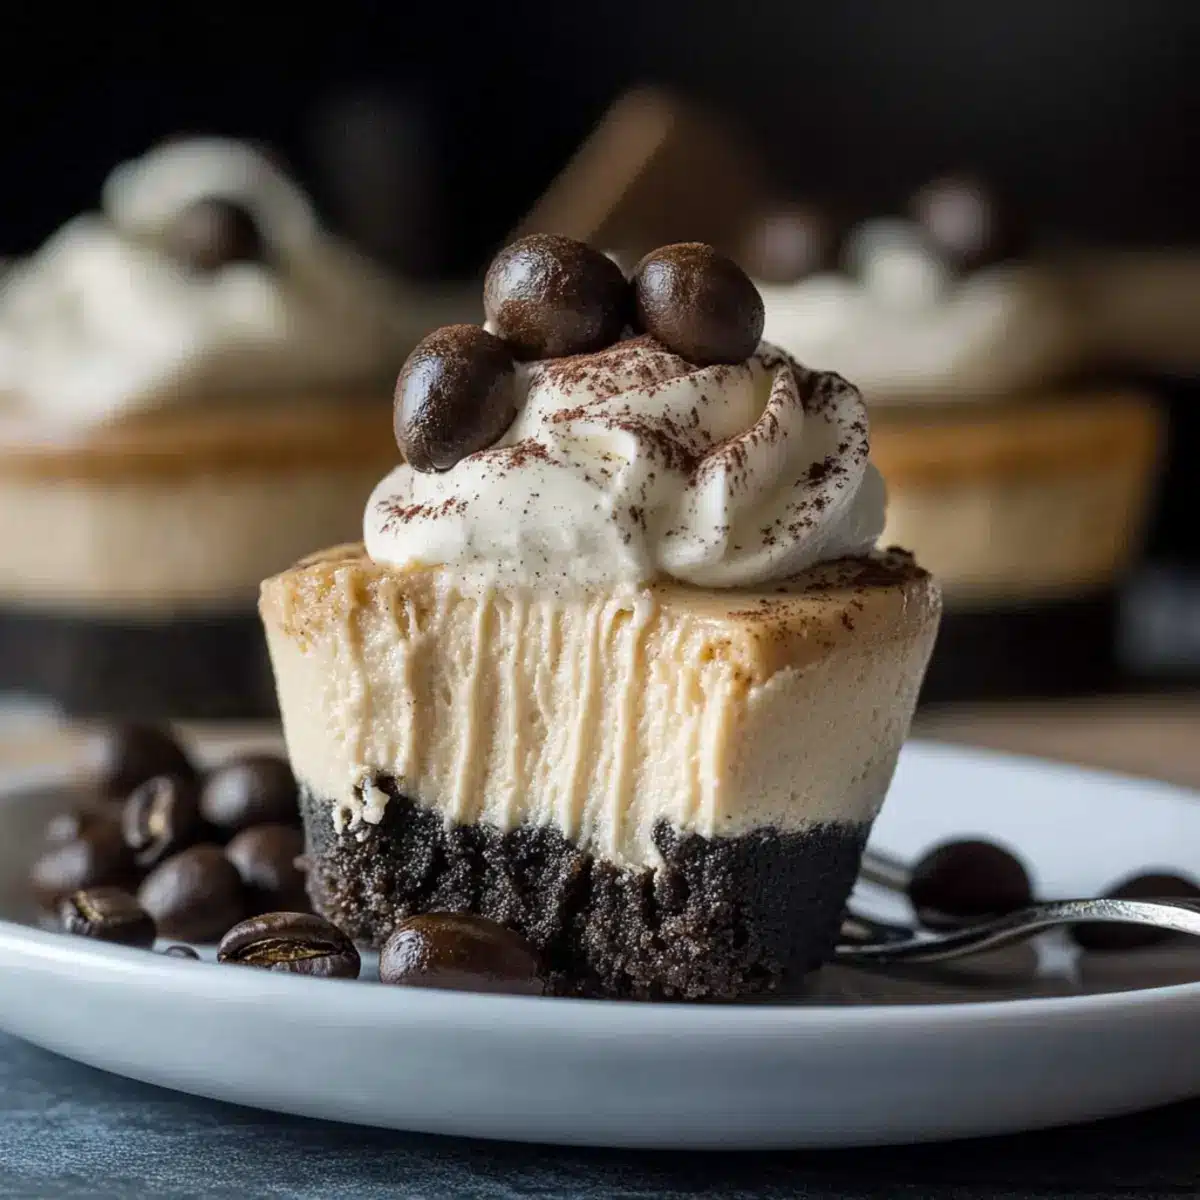
As I walked through the bustling café, the rich aroma of freshly brewed coffee danced in the air, awakening my senses. That’s when the idea struck me: why not bring that delightful experience home with my Mini Coffee Cheesecakes? These tiny wonders are a celebration for coffee enthusiasts, boasting a luscious blend of creamy filling and a hint of espresso flavor, all tucked in a crispy crust. The beauty of this recipe lies in its simplicity—requiring just seven ingredients and no special tools—allowing you to create a gourmet dessert quickly. Plus, they’re easily customizable with either an Oreo or graham cracker crust, making it a fun treat for any occasion. Are you ready to stir up some magic in your kitchen?
Why are Mini Coffee Cheesecakes a Must-Try?
Sensational Flavor: Each bite of these Mini Coffee Cheesecakes is a perfect harmony of creamy, rich cheesecake with a robust coffee kick, making it an irresistible dessert for coffee lovers.
Quick and Easy: With just seven simple ingredients, these delightful treats come together effortlessly, making them ideal for both novice bakers and seasoned chefs alike.
No Special Tools Needed: You won’t need any fancy equipment; a regular muffin pan works perfectly for this recipe.
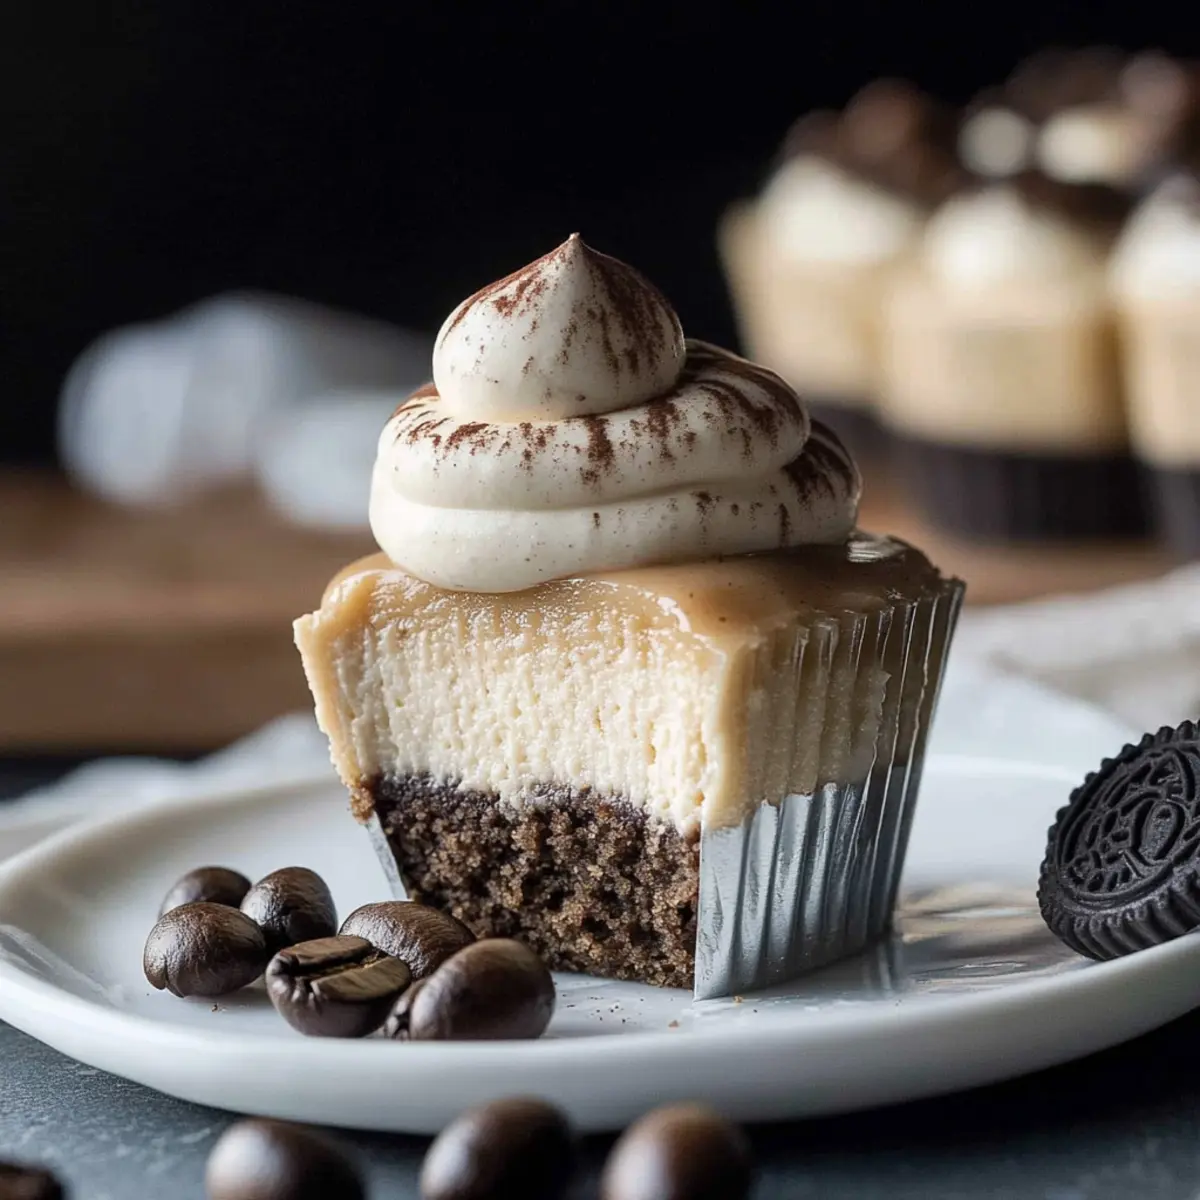
Versatile Base Options: Choose between a delectable Oreo crust or a classic graham cracker crust – the choice is yours to amp up the flavor!
Crowd-Pleaser: Whether you’re hosting a dinner party or bringing something special to a potluck, these mini cheesecakes are sure to impress guests and tantalize their taste buds.
Perfect for Any Occasion: From brunches to coffee-themed gatherings, these mini desserts will delight anytime. If you need more inspiration, check out my various cheesecake recipes.
Mini Coffee Cheesecakes Ingredients
For the Crust
- Oreo Crumbs – These create a rich base for your mini cheesecakes; feel free to swap them for graham cracker crumbs for a different twist.
- Melted Butter – This binds the crust together and adds a luscious richness; coconut oil works well as a dairy-free alternative.
For the Cheesecake Filling
- Full-Fat Cream Cheese – Essential for achieving that creamy texture; letting it reach room temperature ensures easy mixing.
- Sugar – Sweetens the filling beautifully; consider using a sweetener for a lower sugar option.
- Vanilla Extract – It enhances the overall flavor profile; opt for pure vanilla for the best results.
- Brewed Espresso – This adds a bold coffee flavor, but you can use strong brewed coffee or even espresso powder for an equal kick.
- Large Eggs – They provide the necessary structure; remember, mix them just enough to prevent air bubbles.
These ingredients come together to create the most delightful Mini Coffee Cheesecakes that anyone could crave!
Step‑by‑Step Instructions for Mini Coffee Cheesecakes
Step 1: Preheat and Prepare
Begin by preheating your oven to 350°F (175°C). While the oven warms up, line a muffin pan with paper liners to facilitate easy removal of your Mini Coffee Cheesecakes later. This simple preparation will save you time when it’s time to fill the crusts with that luscious coffee cheesecake filling.
Step 2: Make the Crust
In a medium mixing bowl, combine Oreo crumbs with melted butter until the mixture resembles coarse sand. Use a fork or your fingers to ensure that the crumbs are evenly coated and slightly moist. Spoon this mixture into the lined muffin cups, pressing firmly into the bottom of each cup to form a solid crust that will hold together after baking.
Step 3: Bake the Crust
Once the crusts are pressed into the muffin pan, place it in the preheated oven and bake for about 5 minutes. You want the edges to firm up slightly but keep an eye on them to avoid over-baking. After they’re done, remove the pan and allow the crusts to cool while you prepare the filling.
Step 4: Beat the Cream Cheese
In a clean mixing bowl, beat the full-fat cream cheese with an electric mixer at medium speed until smooth and creamy, about 2–3 minutes. This is crucial for achieving the velvety texture of your Mini Coffee Cheesecakes, so make sure there are no lumps. This step lays the groundwork for your deliciously rich filling.
Step 5: Add Flavorings
Gradually add sugar, vanilla extract, and brewed espresso to the creamed cheese, mixing continuously until the mixture is smooth and well combined. The rich aroma of coffee will fill your kitchen at this stage, inviting everyone to gather. Ensure that everything is mixed in evenly to enhance the flavor of your Mini Coffee Cheesecakes.
Step 6: Incorporate the Eggs
Carefully add the large eggs one at a time, mixing on low speed just until incorporated. It’s key to avoid overbeating the mixture at this point, as this can introduce excess air into the batter. The gentle mixing ensures a creamy cheesecake without unwanted air bubbles that could ruin the texture of these delightful mini treats.
Step 7: Fill the Muffin Cups
With your cheesecake filling ready, evenly pour it over each cooled crust in the muffin cups, adding approximately 2+ tablespoons to each. Use a spatula to smooth the top if necessary, ensuring an even layer. This step is where your Mini Coffee Cheesecakes begin to take shape, creating a beautiful contrast with the dark crust.
Step 8: Bake the Cheesecakes
Place the muffin pan back in the oven and bake for 15-17 minutes. You’ll know they’re done when the centers are slightly jiggly, but the edges appear set. Keep an eye on them to prevent over-baking, which can result in a drier texture. Once they’re ready, remove them from the oven and allow them to cool at room temperature.
Step 9: Chill the Cheesecakes
Once cooled, refrigerate the Mini Coffee Cheesecakes for at least 2 hours to set properly. This cooling time is essential, allowing the flavors to meld together and the texture to firm up. Cover them loosely with plastic wrap to maintain freshness while they chill, so they’re perfectly ready to enjoy when you’re ready to serve.
Step 10: Serve and Enjoy
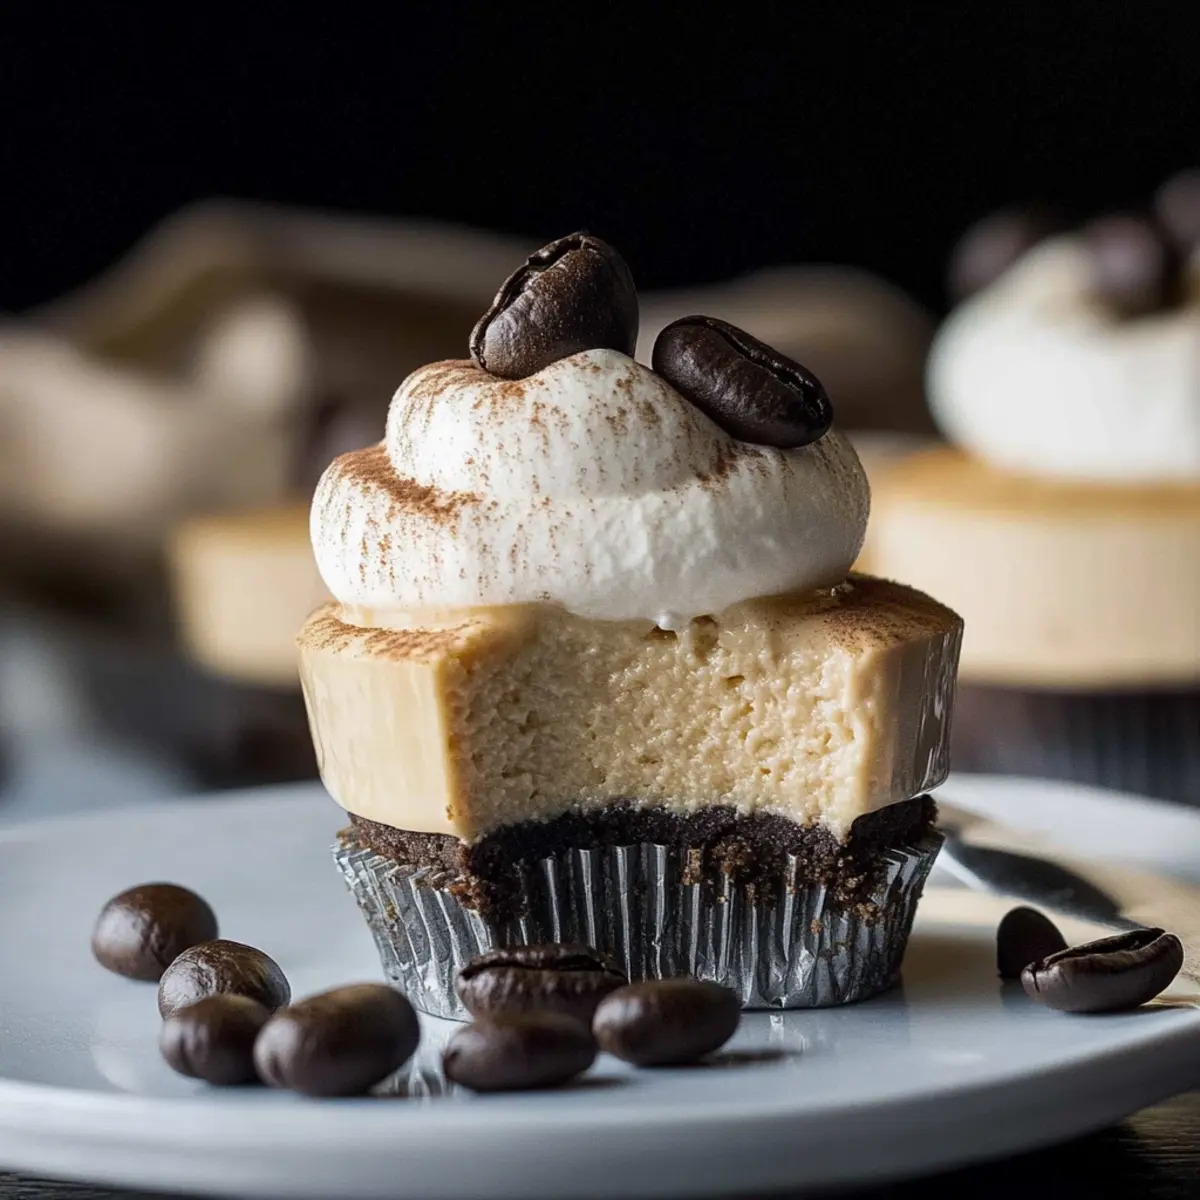
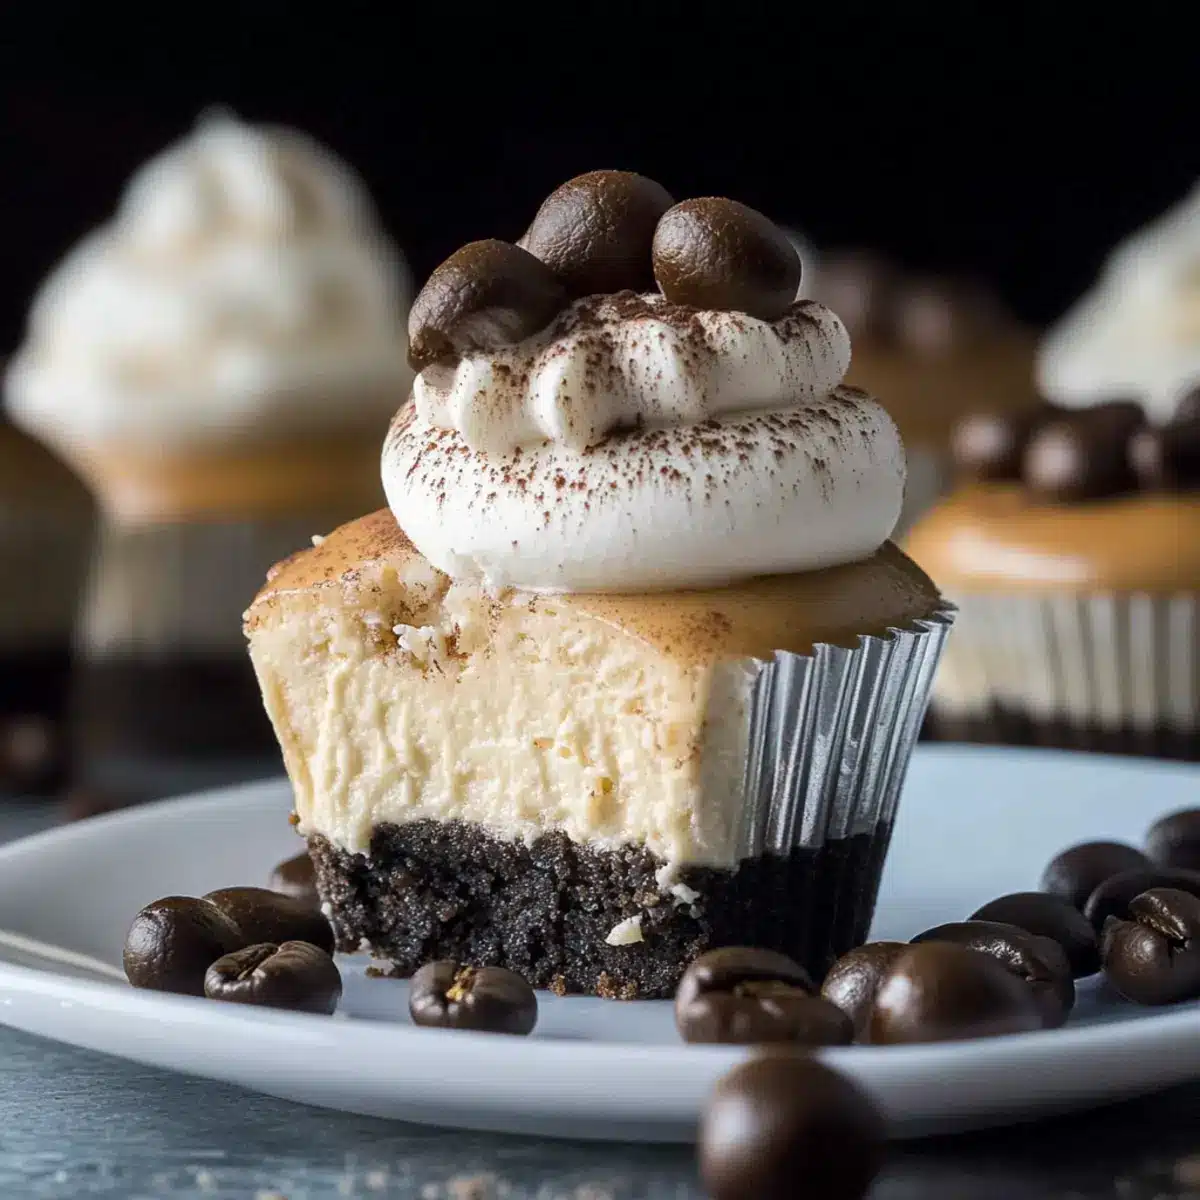
Before serving, top each cheesecake with a dollop of coffee whipped cream and a chocolate-covered espresso bean for an elegant touch. The added decor not only enhances the appearance but also elevates the coffee flavor. These delightful Mini Coffee Cheesecakes are now ready to be enjoyed at your next gathering or as a sweet treat at home!
What to Serve with Mini Coffee Cheesecakes?
Creating the perfect meal is all about balance and harmony, especially when your dessert is as delightful as these Mini Coffee Cheesecakes.
- Whipped Coffee Cream: A light and airy addition, this whipped topping enhances the coffee flavor while adding a creamy texture.
- Chocolate Covered Espresso Beans: These little bites bring a satisfying crunch and a rich chocolate flavor that pairs beautifully with the cheesecakes.
- Berries Medley: Fresh raspberries and blueberries add a pop of color and tanginess, complementing the sweetness of the cheesecakes.
- Vanilla Ice Cream: Serve a scoop alongside for a classic combination; the creaminess balances the rich coffee flavor perfectly.
- Espresso or Cappuccino: An espresso shot or frothy cappuccino can deepen the coffee experience, making each bite even more indulgent.
- Cocoa Powder Dusting: A light dusting of cocoa adds a touch of bitterness, creating a balanced flavor contrast that enhances each cheesecake slice.
- Savory Cheese Platter: A selection of cheeses—including creamy brie or sharp cheddar—adds richness and offsets the sweetness of the desserts.
- Citrus Salad: A refreshing citrus salad with oranges and grapefruits brightens the palate and offers a zesty contrast to the creamy cheesecakes.
- Sweetened Iced Tea: A chilled glass of sweetened iced tea provides a refreshing drink option that pairs well with dessert, making it ideal for gatherings.
Expert Tips for Mini Coffee Cheesecakes
Ideal Cream Cheese: Ensure your cream cheese is at room temperature for easy mixing, which helps avoid lumps and creates a smoother filling.
Egg Caution: Mix the eggs just until combined to prevent air bubbles. Overbeating can cause cracks in your Mini Coffee Cheesecakes as they bake.
Cool Down: Allow the cheesecakes to cool completely before refrigerating. This step is critical for developing that perfect creamy texture.
Jiggly Centers: Remember, they should have slightly jiggly centers when you take them out of the oven. They will firm up as they chill.
Storage Savvy: Keep them in an airtight container in the fridge for up to 5 days, but be sure to cover them loosely if refrigerating overnight to maintain freshness.
How to Store and Freeze Mini Coffee Cheesecakes
Fridge: Store your Mini Coffee Cheesecakes in an airtight container in the refrigerator for up to 5 days to maintain freshness and flavor.
Freezer: For longer storage, freeze the cheesecakes in an airtight container for up to 2 months. To prevent freezer burn, wrap each cheesecake in plastic wrap before placing them in the container.
Thawing: To enjoy your frozen Mini Coffee Cheesecakes, transfer them to the refrigerator for several hours or overnight to thaw gently. Avoid microwaving, as this can alter their texture.
Reheating: When ready to serve, top with coffee whipped cream and enjoy chilled or at room temperature for the best taste experience.
Mini Coffee Cheesecakes Variations & Substitutions
Come along and explore creative twists to make your Mini Coffee Cheesecakes truly one-of-a-kind!
- Graham Cracker Crust: Swap the Oreo crust for a classic graham cracker crust for a lighter, traditional flavor.
- Coconut Oil: Use melted coconut oil instead of butter for a dairy-free twist that adds a subtle coconut essence.
- Sweetener: Replace regular sugar with a low-calorie sweetener to cater to those looking for a low-sugar dessert option.
- Flavored Espresso: Experiment with flavored coffee or instant espresso granules to give your cheesecakes an extra kick of sweetness and spice.
- Caramel Drizzle: Add a thin layer of caramel sauce over the top before chilling for a luxurious dessert reminiscent of a caramel macchiato.
- Nutty Crunch: Sprinkle chopped nuts, like hazelnuts or walnuts, on top of the whipped cream for a delightful crunch that complements the creaminess.
- Spiced Variations: Incorporate a pinch of cinnamon or nutmeg into the filling to warm up the flavors and enhance the coffee notes.
- Chocolate Ganache: Top your cheesecakes with a glossy chocolate ganache for an indulgent touch that coffee and chocolate lovers will adore.
Feel free to let your creativity shine! And if you’re up for more delightful spins on classic desserts, check out my various cheesecake recipes or my take on no-bake cheesecake for even more delicious inspiration!
Make Ahead Options
These Mini Coffee Cheesecakes are perfect for meal prep enthusiasts looking to save time! You can prepare both the crusts and the cheesecake filling up to 24 hours in advance. Simply make the Oreo or graham cracker crusts, press them into the muffin cups, and refrigerate until you’re ready to fill them. You can also mix the cheesecake filling and store it in the refrigerator, covered tightly, to ensure it stays fresh. When you’re ready to bake, pour the filling over the crusts and follow the remaining steps. This way, you’ll achieve just as delicious results without the last-minute rush!
Mini Coffee Cheesecakes Recipe FAQs
What is the best way to select ripe ingredients for my Mini Coffee Cheesecakes?
Absolutely! For the best flavor, ensure your cream cheese is fresh and at room temperature for easy mixing. When picking eggs, choose ones that are clean and uncracked. For the espresso, freshly brewed will yield a more vibrant coffee flavor, so I recommend selecting high-quality beans for brewing.
How do I store Mini Coffee Cheesecakes, and how long do they last?
Very easy! Store your Mini Coffee Cheesecakes in an airtight container in the refrigerator for up to 5 days. If you wish to keep them for a longer period, ensure they are cooled completely before covering them loosely with plastic wrap to maintain their freshness.
Can I freeze Mini Coffee Cheesecakes, and if so, how?
Absolutely! To freeze your Mini Coffee Cheesecakes, wrap each one individually in plastic wrap, then place them in an airtight container. They can stay in the freezer for up to 2 months. When you’re ready to enjoy them, simply transfer the cheesecakes to the refrigerator for several hours or overnight to thaw slowly.
What should I do if my Mini Coffee Cheesecakes sink in the middle after baking?
To avoid sinking, avoid overbeating your eggs once they’re added to the mixture. Overbeating introduces excess air, causing the cheesecakes to rise too quickly in the oven and then collapse. If they do sink, they may still taste delicious—just top them with whipped cream or a sprinkle of cocoa powder for an elegant touch!
Are Mini Coffee Cheesecakes safe for people with dairy allergies?
Very important to check! The Mini Coffee Cheesecakes contain cream cheese and butter, so they are not suitable for those with dairy allergies. However, you could substitute the cream cheese with a dairy-free alternative such as cashew cream or a vegan cream cheese for a delicious variation that everyone can enjoy.
Can I make substitutions for the sugar in the recipe?
Of course! If you’re looking for a lower-sugar option, you can replace regular sugar with a natural sweetener like Stevia or monk fruit sweetener. Just be sure to check the conversion ratios, as some sweeteners are much sweeter than sugar, and adjust accordingly!
Delicious Mini Coffee Cheesecakes Perfect for Any Occasion
Ingredients
Equipment
Method
- Preheat your oven to 350°F (175°C) and line a muffin pan with paper liners.
- Combine Oreo crumbs with melted butter until the mixture resembles coarse sand, then spoon into muffin cups and press to form crusts.
- Bake the crusts for about 5 minutes until firm and then allow to cool.
- Beat cream cheese until smooth and creamy, about 2–3 minutes.
- Add sugar, vanilla extract, and brewed espresso, mixing continuously until smooth.
- Incorporate eggs one at a time, mixing on low speed just until combined.
- Fill each muffin cup evenly with cheesecake filling, about 2 tablespoons each.
- Bake for 15-17 minutes until centers are slightly jiggly.
- Allow to cool at room temperature, then refrigerate for at least 2 hours.
- Top with coffee whipped cream and a chocolate-covered espresso bean before serving.
Leave a Reply