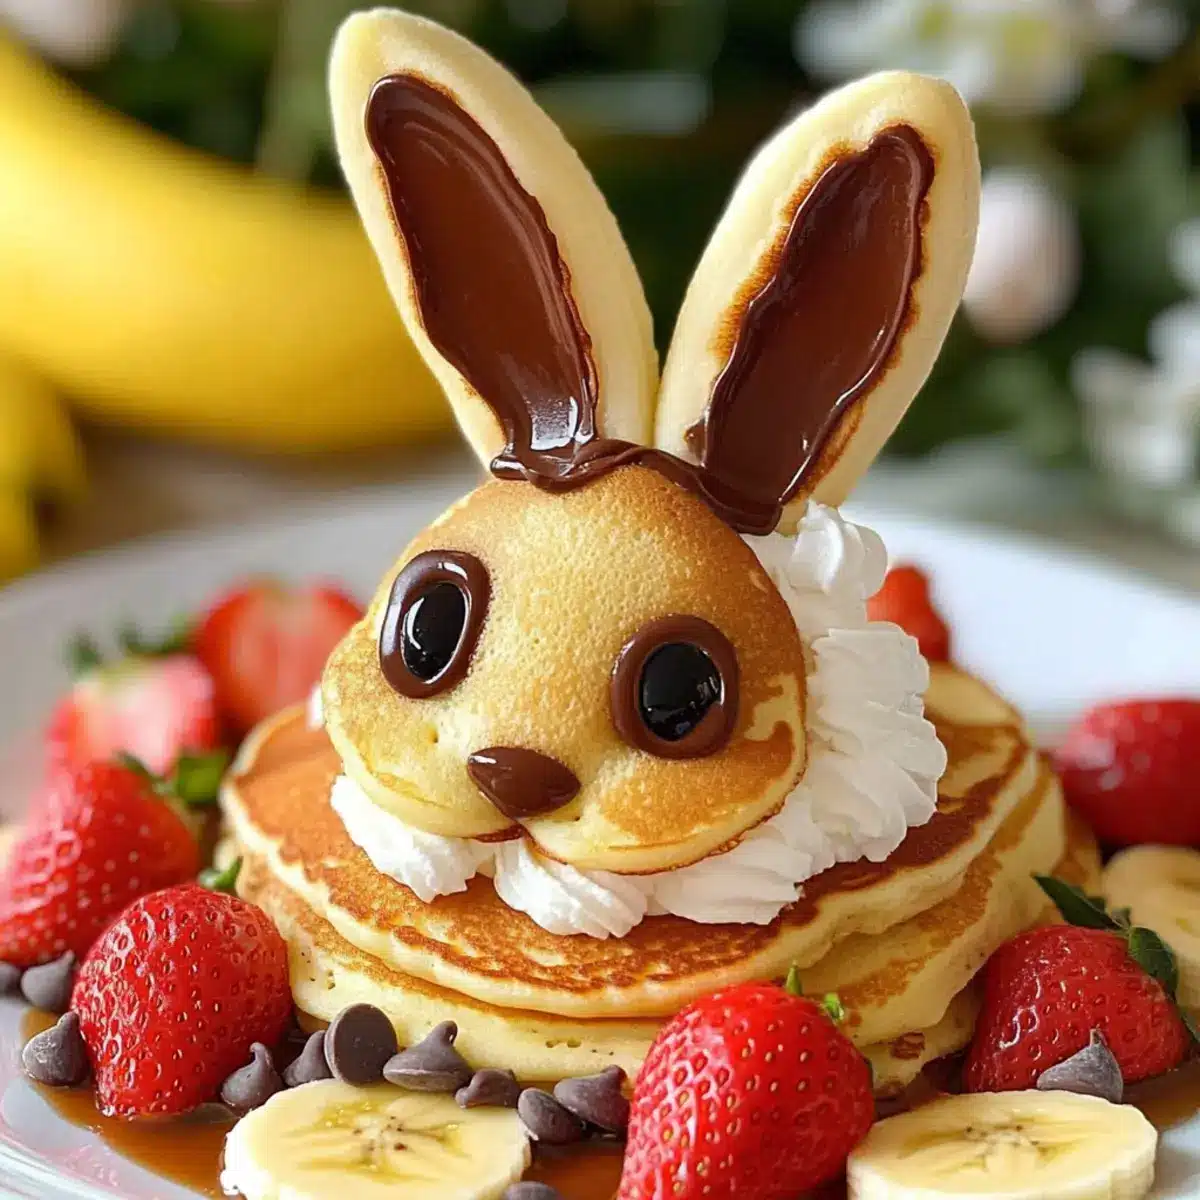
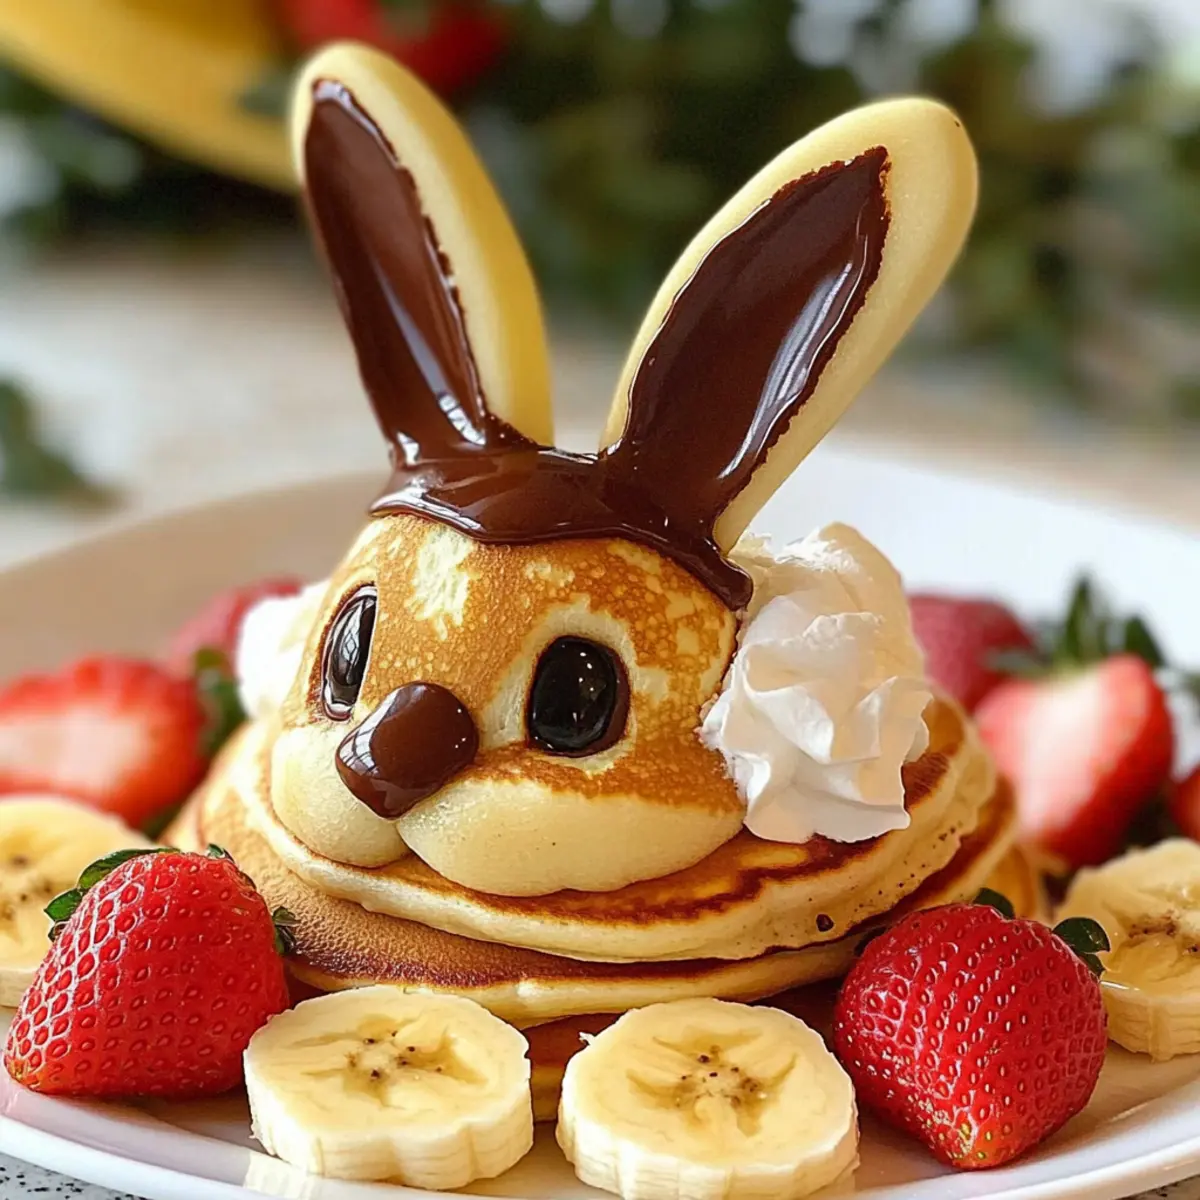
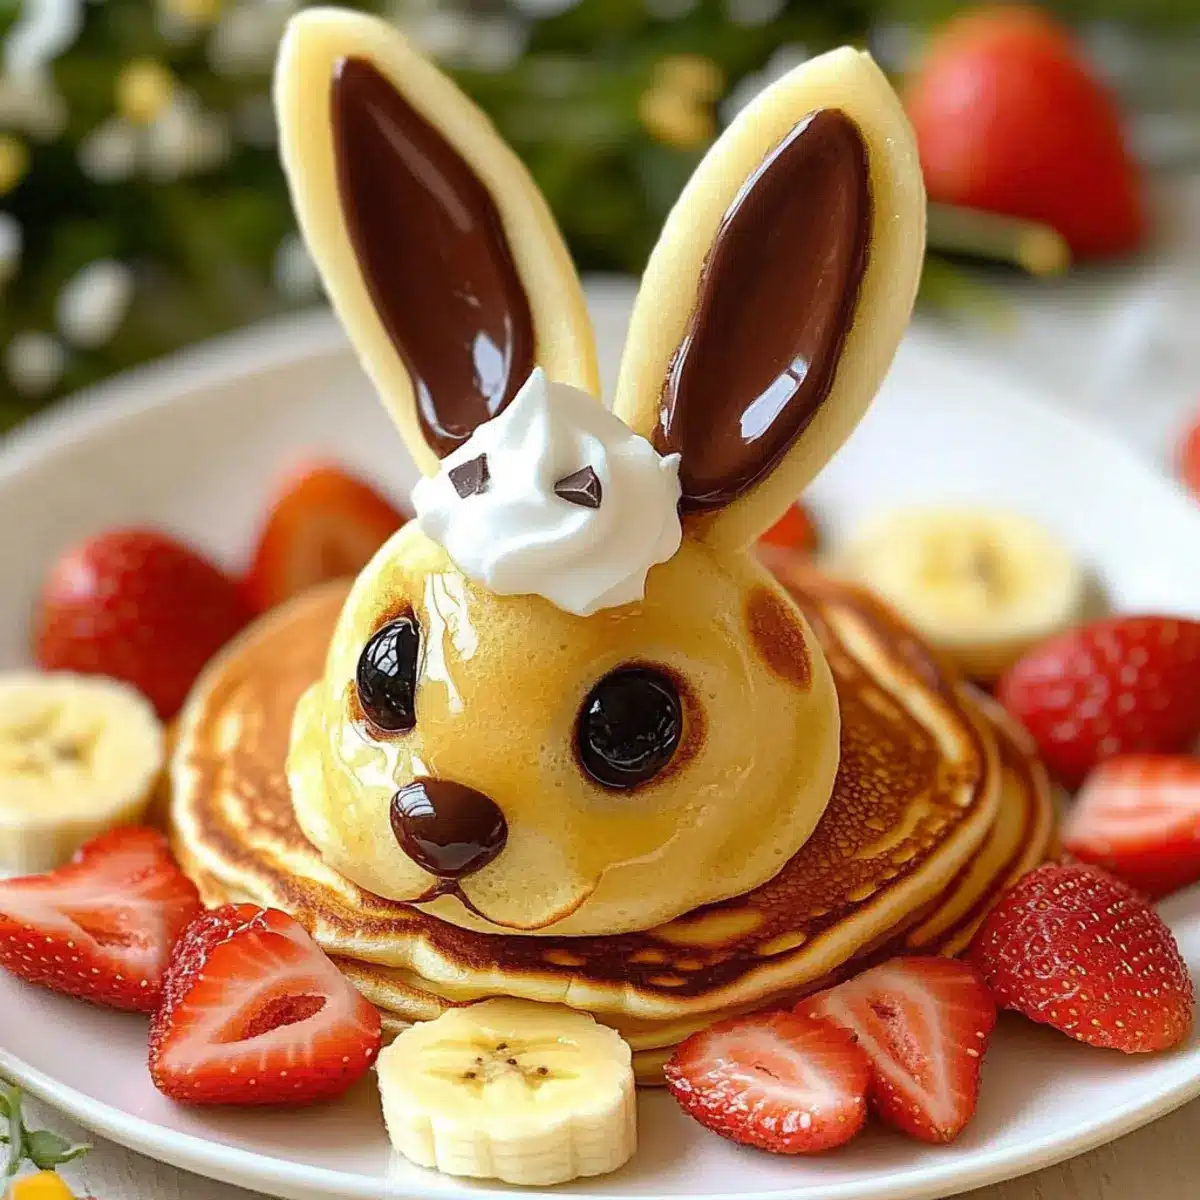
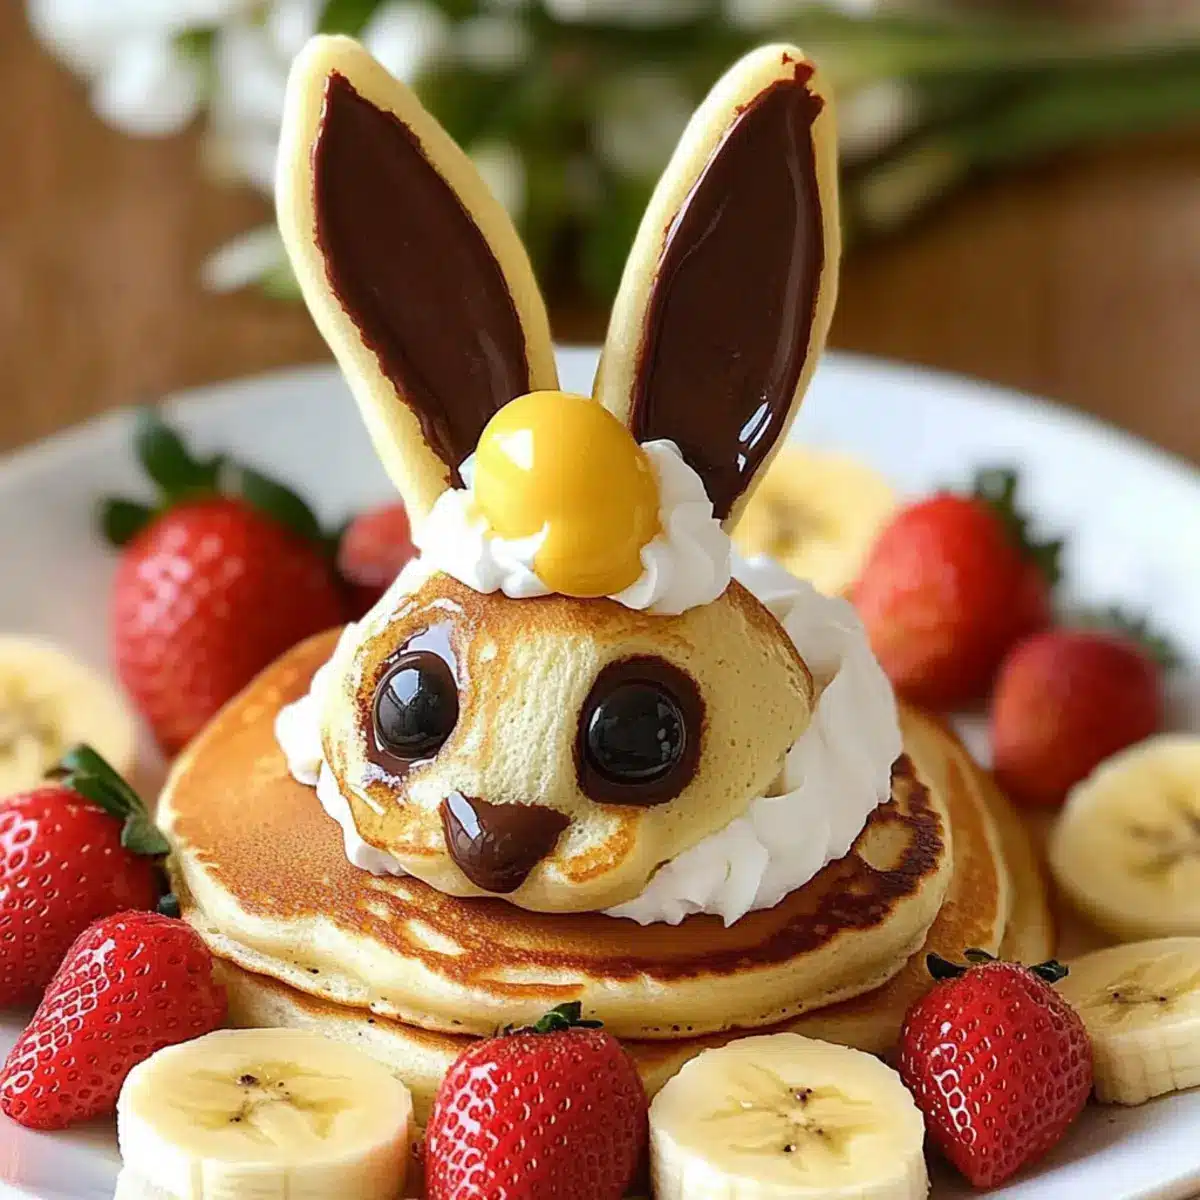
As I flipped the last pancake on my griddle, a wave of excitement washed over me—these weren’t just any pancakes; they were my whimsical Easter Bunny Pancakes! Perfect for adding a sprinkle of magic to your festive brunch, these charming little bunnies are sure to put smiles on faces of all ages. What I love most about this recipe is how incredibly quick they are to whip up, making them ideal for both seasoned chefs and kitchen newcomers alike. Plus, they’re a playful way to bring loved ones together around a table filled with laughter and deliciousness. Ready to hop into the fun and make your brunch unforgettable? Let’s dive into these delightful pancakes!
Why Are Easter Bunny Pancakes So Adorable?
Charm and Whimsy: Each pancake transforms into a delightful bunny, making breakfast fun for kids and adults alike!
Quick to Prepare: With a straightforward method, you’ll be flipping these cuties in no time—ideal for busy mornings.
Customizable Creativity: Get adventurous with toppings—mix and match fruits like bananas and strawberries, or even add a dash of food coloring for pastel pancakes!
Shared Memories: These pancakes aren’t just food; they create moments. Enjoy making them together as a family, and cherish the laughter.
Sweet Simplicity: Using simple ingredients like pancake mix and chocolate chips, you create a festive dish that’s satisfying and easy on the wallet.
Perfect for Any Occasion: Whether it’s Easter or just a whimsical brunch, these pancakes bring joy to every table. Pair them with a light yogurt dip or side of fresh fruit salad for a balanced treat! Interested in other fun breakfast ideas? Check out these Japanese Souffle Pancakes for a fluffy twist!
Easter Bunny Pancakes Ingredients
• Create these festive delights with simple ingredients that spark joy!
For the Batter
- Pancake Mix – Use your favorite pancake mix or homemade batter for the perfect base.
- Milk – Helps achieve that fluffy texture; substitute with almond milk for a dairy-free version.
- Egg – Adds richness and binds the ingredients; use a flax egg for a vegan alternative.
For the Decorations
- Chocolate Chips – Perfect for the bunny’s eyes; you can swap with blueberries for a healthier option.
- Whipped Cream – Adds fluffiness representing the bunny’s fur; opt for coconut whipped cream for dairy-free.
- Chocolate Syrup – Ideal for detailing the bunny’s features like the nose; can be replaced with fruit puree for natural sweetness.
- Banana Slices and Strawberries – Great for decorative accents and flavors; feel free to use any preferred fruits like raspberries or kiwi.
Have fun crafting these Easter Bunny Pancakes and make your brunch a delightful celebration!
Step‑by‑Step Instructions for Easter Bunny Pancakes
Step 1: Prepare the Batter
Start by mixing your favorite pancake batter according to the package instructions or your homemade recipe. Make sure to use a whisk to blend the batter until smooth, with no lumps remaining. Preheat a non-stick skillet over medium heat for about 5 minutes. Lightly grease the skillet with butter or cooking spray to prevent sticking as you cook your Easter Bunny Pancakes.
Step 2: Cook the Face Pancake
Pour a generous amount of batter onto the skillet, forming a large round pancake about 6 inches in diameter for the bunny’s face. Cook for 3-4 minutes, or until bubbles form on the surface and the edges start to dry. Flip the pancake gently using a spatula and cook for an additional 2-3 minutes until golden brown. Transfer it to a plate once done and keep warm.
Step 3: Create the Bunny Ears
In the same skillet, pour two smaller oval shapes of batter, about 4 inches long, to make the bunny’s ears. Cook for 2-3 minutes on one side until the surface is bubbling and edges appear set. Flip each ear and cook for another 1-2 minutes until lightly golden. Carefully position them behind the face pancake on the plate to create an adorable bunny shape.
Step 4: Add the Bunny’s Eyes
For the eyes, place two chocolate chips in the center of the face pancake. Gently press them into the pancake so they adhere well. You want the eyes to sit firmly, creating a playful expression. This simple step brings your Easter Bunny Pancakes to life and adds a delightful touch that everyone will love.
Step 5: Draw the Face Features
Using melted chocolate or chocolate syrup, carefully draw a small nose and a tiny mouth on the face pancake. Use a toothpick or a piping bag for detailed control over the features. This charming detail enhances the appearance of your bunny and makes it irresistibly cute, ensuring your Easter Bunny Pancakes steal the show.
Step 6: Fluff with Whipped Cream
Spoon a generous dollop of whipped cream onto the top of the bunny’s head to mimic soft fur. Spread it around to add volume, giving your bunny a fluffy look that’s both fun and delicious. The whipped cream will blend beautifully with the pancake and create a visually appealing contrast to the chocolate features.
Step 7: Decorate with Fruits
Finally, arrange banana slices and strawberries around the plate as decorative accents. This not only adds sweetness and flavor but also enhances the visual appeal of your Easter Bunny Pancakes. Feel free to get creative with the arrangement, making each plate unique as you celebrate Easter with fun and laughter around the breakfast table.
Easter Bunny Pancakes Variations
Embrace your creativity with these delightful twists for your Easter Bunny Pancakes, making each breakfast a unique experience!
-
Dye Your Batter: Add food coloring to your pancake mix for pastel-colored bunny pancakes that are perfect for Easter festivities. The vibrant hues will add even more charm to your brunch table!
-
Fruit-Forward Fun: Swap chocolate chips for fresh blueberries or raspberries, giving your pancakes a fruity twist while ensuring each bite bursts with flavor. Fresh fruits also bring a vibrant pop to your plate!
-
Nutty Crunch: Sprinkle chopped nuts like almonds or walnuts into your batter for an extra crunch and a delicious nutty flavor. This adds texture and elevates your pancakes to a whole new level!
-
Flavored Whipped Cream: Try flavoring your whipped cream with vanilla extract or a hint of almond extract for a deliciously sweet topping that’s irresistibly fluffy. A simple twist that transforms the ordinary into extraordinary!
-
Savory Touch: Add a pinch of cinnamon or nutmeg to the pancake batter for a warm, cozy flavor that pairs beautifully with the sweet toppings. Try it out for a delightful mix of sweet and spice!
-
Chocolate Lovers Delight: Drizzle melted chocolate over the pancakes instead of syrup for an indulgent dessert-like treat. Your family will love this fun and decadent addition!
-
Pancake Skewers: Make mini bunny pancakes, skewer them with pieces of fruit like strawberries and banana slices on a stick for a fun, portable brunch treat! A perfect playful way to eat pancakes.
For more pancake inspiration, consider trying these Japanese Souffle Pancakes, which offer a delightfully fluffy alternative! Enjoy the process and create memorable moments around your brunch table!
How to Store and Freeze Easter Bunny Pancakes
Fridge: Store leftover pancakes in an airtight container for up to 3 days. This keeps your Easter Bunny Pancakes fresh and ready for a quick breakfast.
Freezer: For longer storage, freeze pancakes in a single layer on a baking sheet, then transfer to a freezer-safe bag. They can be stored for up to 2 months.
Reheating: To enjoy, reheat your pancakes in the microwave for about 30-60 seconds or in a toaster oven until warmed through. This way, you can revive their fluffy goodness!
Thawing: If frozen, thaw pancakes in the refrigerator overnight before reheating for best results. Enjoy your festive breakfast!
Expert Tips for Easter Bunny Pancakes
- Non-Stick Success: Make sure to use a non-stick skillet to prevent sticking; it’s essential for achieving perfectly shaped bunny pancakes without hassle.
- Heat Control: Adjust your heat to medium; cooking too fast can burn the pancakes. Watch for bubbles forming for an indication of readiness.
- Eye Placement: When adding chocolate chips for the eyes, press them gently but firmly into the pancake for stability, ensuring they stay in place while serving.
- Whipped Cream Wonders: Instead of just placing whipped cream on top, try swirling it for a more fluffy and appealing bunny appearance.
- Personalization Fun: Encourage kids to get creative with toppings! Let them choose fruits and add extra decorations to make their own unique Easter Bunny Pancakes.
- Storing Leftovers: Keep any leftover pancakes in the fridge for up to 3 days. Reheat them in the microwave for a quick, delicious breakfast treat later!
Make Ahead Options
These Easter Bunny Pancakes are a fantastic option for meal prep, saving you time on busy mornings! You can prepare the pancake batter up to 24 hours in advance and store it in the refrigerator; just remember to give it a gentle stir before cooking to ensure the texture remains fluffy. Additionally, you can pre-slice the bananas and strawberries, storing them in an airtight container to keep them fresh for up to 3 days. When it’s time to serve, simply cook the pancakes in your skillet, complete the adorable bunny faces with chocolate chips, and finish with whipped cream and fruit. Enjoy these delightful pancakes that are just as delicious, all while making your brunch preparation a breeze!
What to Serve with Easter Bunny Pancakes
Brighten your brunch table with delightful sides and drinks that enhance the fun of your charming pancakes!
-
Fresh Fruit Salad:
A colorful medley of seasonal fruits adds freshness and a burst of flavor to your meal, balancing the sweetness of the pancakes. -
Maple Syrup Drizzle:
Adding a touch of classic maple syrup elevates the pancake experience while seamlessly blending with the chocolate features. -
Yogurt Parfait:
Creamy yogurt layered with granola and fruits offers a delightful textural contrast, making each bite fulfilling and nutritious. -
Coffee or Tea:
A warm cup of coffee or tea complements the fun breakfast, creating a cozy atmosphere for your festive gathering. -
Mini Smoothies:
Whip up quick smoothies using fruits and yogurt for a fruity beverage that guests can enjoy while savoring the playful pancakes. -
Chocolate Milk:
Indulge the kids with chocolate milk as a sweet drink pairing that matches the joyful essence of these bunny pancakes. -
Coconut Whipped Cream:
Add more fluffy whipped goodness on the side, perfect for those wanting an extra treat with their bunny creations. -
Carrot Sticks with Dip:
Introduce a crunchy, fresh element; this playful nod to bunny food contrasts delightfully with the sweet pancake’s texture.
Easter Bunny Pancakes Recipe FAQs
What kind of pancake mix should I use?
Absolutely! You can use any pancake mix you love or even a homemade recipe for the base. Just ensure it’s made to your taste—whether that’s classic, whole wheat, or even gluten-free!
How should I store leftover pancakes?
Store leftover Easter Bunny Pancakes in an airtight container in the refrigerator for up to 3 days. This will keep them fresh and ready for a quick breakfast the next day! Just reheat in the microwave for about 30-60 seconds.
Can I freeze Easter Bunny Pancakes?
Yes, you can freeze these adorable pancakes! First, let them cool completely, then place them in a single layer on a baking sheet and freeze for 1-2 hours. Once firm, transfer the pancakes to a freezer-safe bag. They can be stored for up to 2 months. When you’re ready to eat, thaw them overnight in the fridge and reheat in the microwave for the best results.
What if I don’t have chocolate chips?
No worries at all! You can substitute chocolate chips for fresh fruit like blueberries or even raisins. Just make sure to press them into the pancake before flipping to create that cute bunny look.
Can I modify the toppings for dietary preferences?
Very much so! For a dairy-free version, use coconut whipped cream instead of regular whipped cream. You can also swap chocolate syrup for a fruit puree or a drizzle of honey. Feel free to get creative with fruits based on your family’s preferences!
What do I do if my pancakes stick to the skillet?
If you find your pancakes sticking, it might be time to check your skillet! Make sure it’s well-greased with butter or cooking spray before pouring in the batter. A non-stick skillet works wonders, but if you’re using a regular one, you may need to keep an eye on the heat and re-grease as necessary for perfect flipping!
Whimsical Easter Bunny Pancakes to Brighten Your Brunch
Ingredients
Equipment
Method
- Start by mixing your favorite pancake batter according to the package instructions until smooth.
- Preheat a non-stick skillet over medium heat for about 5 minutes and lightly grease it.
- Pour a generous amount of batter onto the skillet to form a large round pancake for the bunny's face.
- Cook for 3-4 minutes until bubbles form and flip to cook for another 2-3 minutes until golden brown.
- Pour two smaller oval shapes of batter for the bunny's ears and cook similarly until golden.
- Place two chocolate chips in the center of the face pancake for eyes, ensuring they adhere well.
- Draw a small nose and tiny mouth using melted chocolate or chocolate syrup.
- Add a generous dollop of whipped cream on top of the bunny's head to mimic soft fur.
- Arrange banana slices and strawberries around the plate for decorative accents.
Leave a Reply