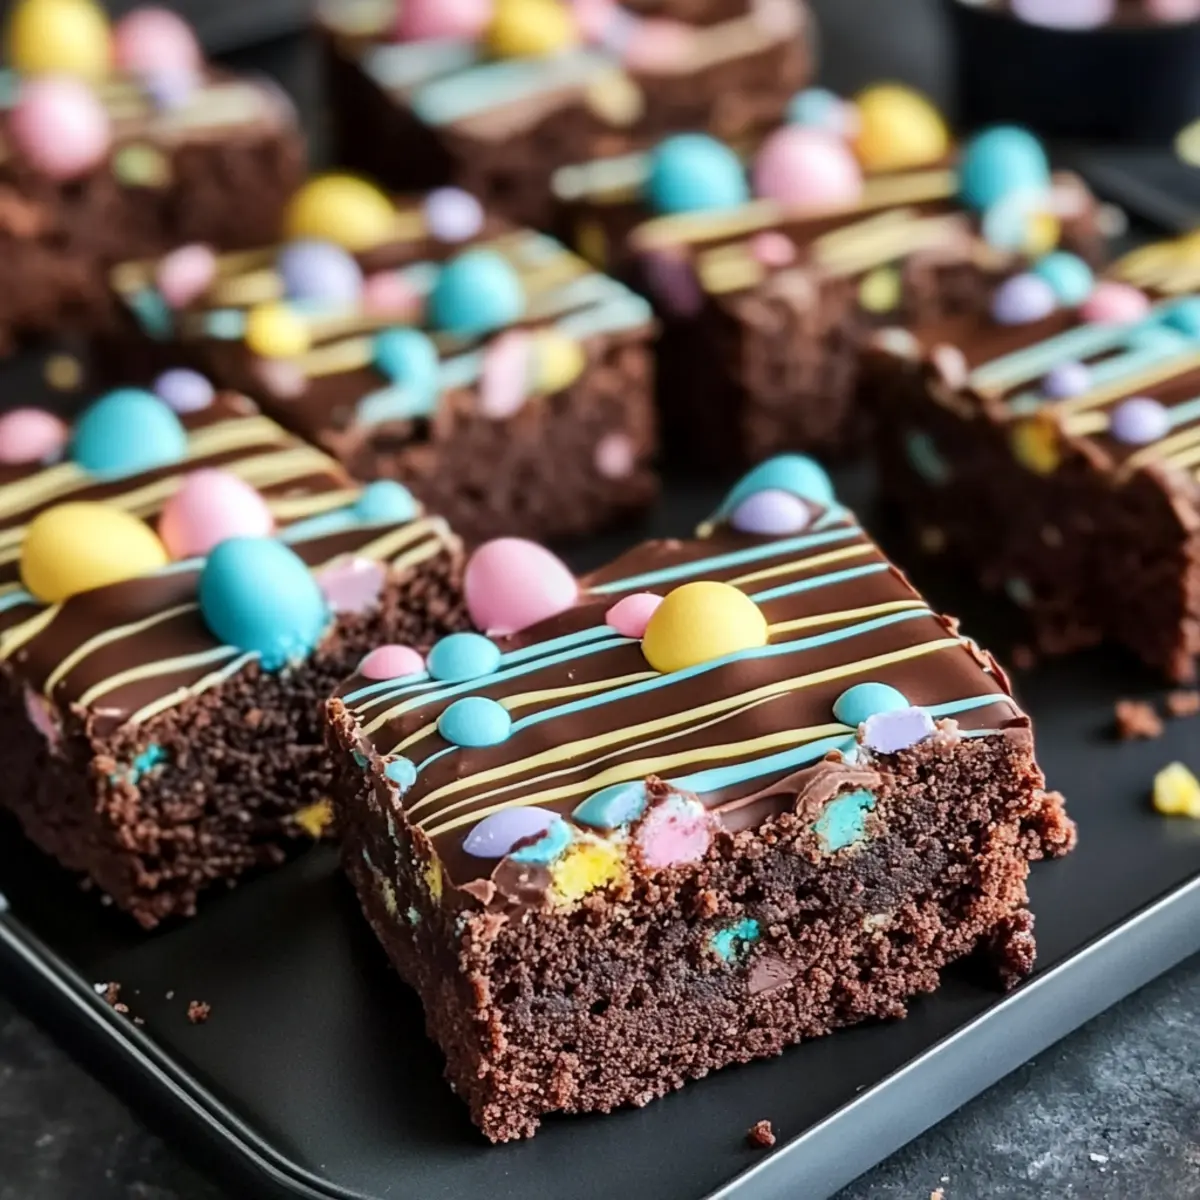
The scent of warm chocolate wafting through the house takes me back to my childhood, where springtime meant festive baking and sweet celebrations. This Fudgy Easter Brownies Recipe not only satisfies that craving for rich chocolate goodness but also brings a playful twist with its vibrant toppings. Easy to prepare and perfect for sharing, these brownies are a guaranteed crowd-pleaser for your holiday gatherings. They embody a delightful fusion of a dense, chewy texture with a glossy chocolate finish, making them visually stunning and utterly indulgent. Whether you’re celebrating with family or simply enjoying a cozy afternoon treat, these festive brownies are sure to spark joy and create cherished memories. Are you ready to bask in the joy of baking this Easter?
Why Are These Easter Brownies a Must-Try?
Indulgent, fudgy goodness: These Easter Brownies deliver a rich chocolate flavor that will satisfy any dessert lover.
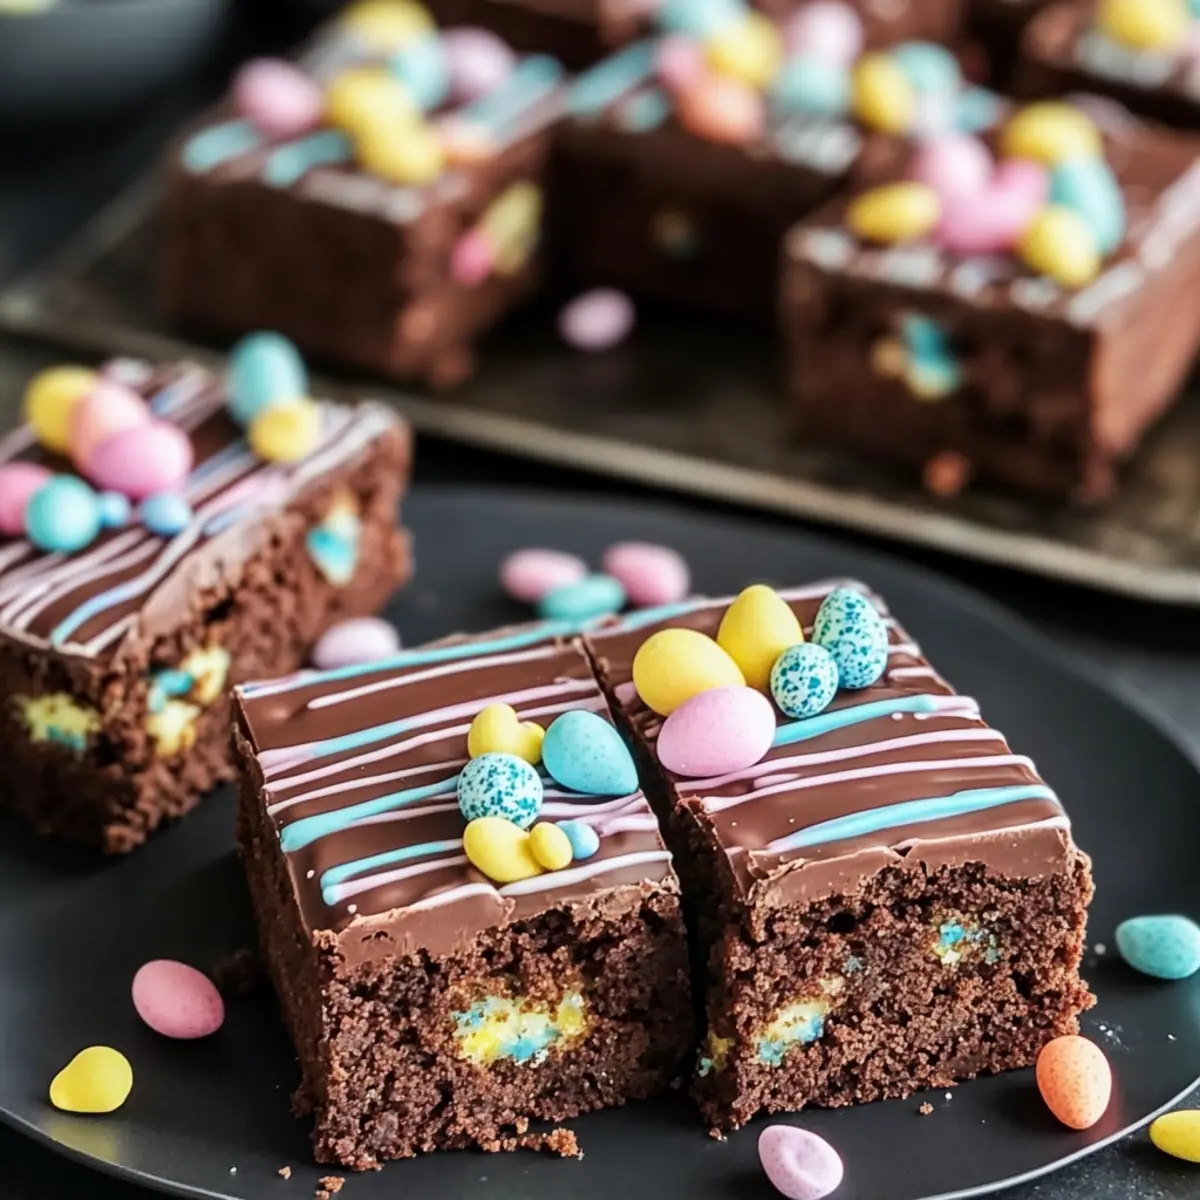
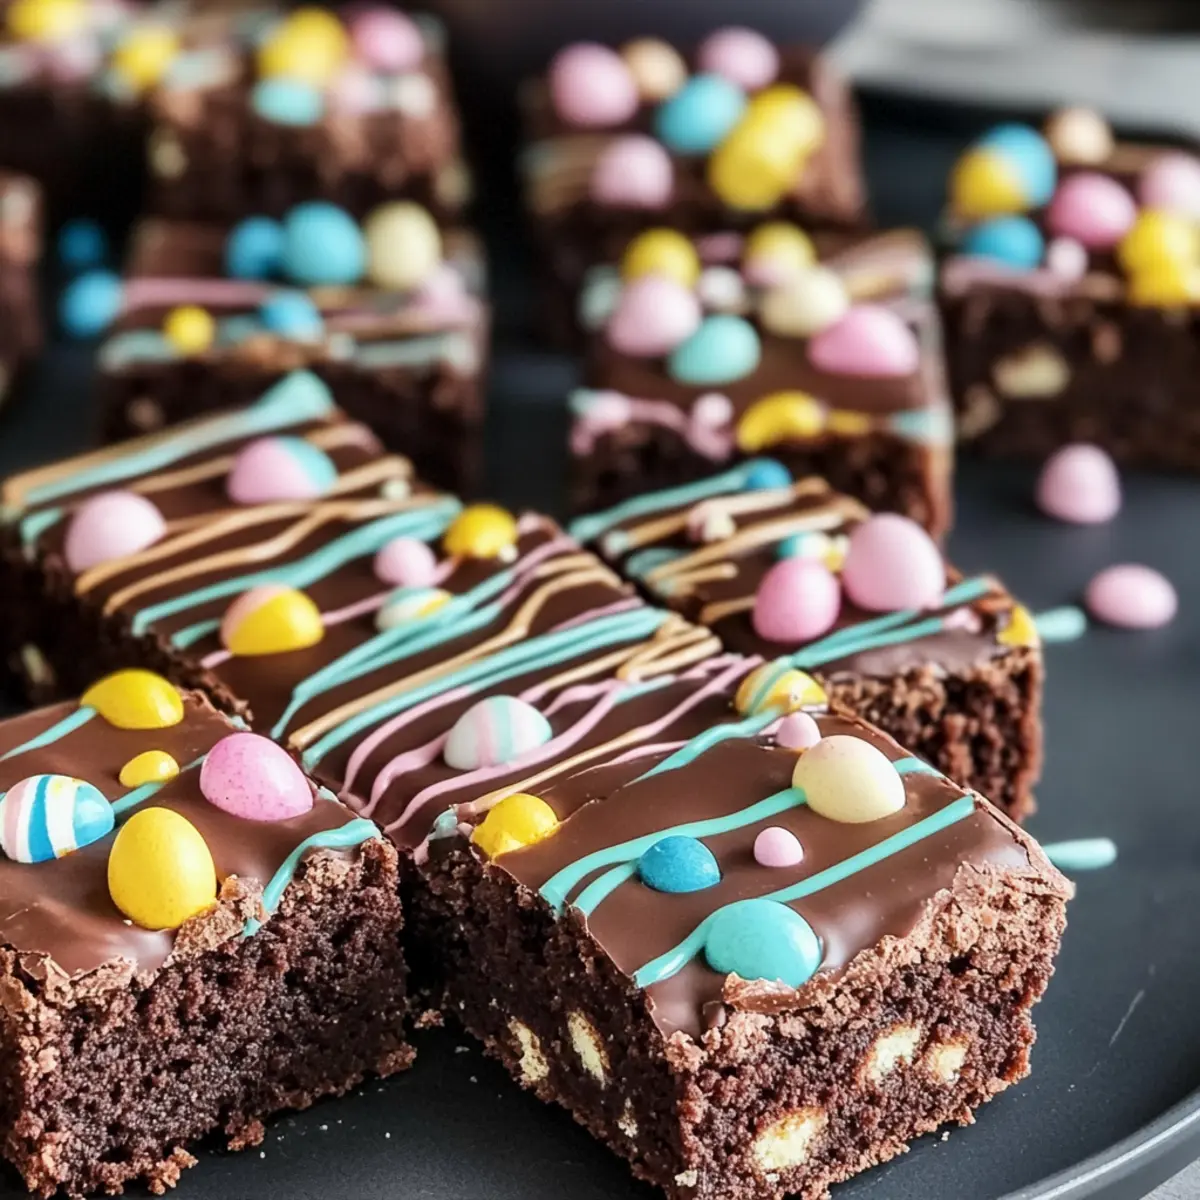
Visually stunning: The pastel chocolate toppings not only enhance the festive appeal but also make these treats perfect for spring celebrations.
Easy to make: With straightforward ingredients and simple steps, even novice bakers will feel confident whipping up this delightful dessert.
Customizable: Feel free to experiment by adding nuts, different chocolates, or seasonal decorations—there’s no limit to your creativity!
Crowd pleaser: Bring them to gatherings or share them among friends; they are guaranteed to steal the spotlight alongside other favorites like Mac Cheese or the comforting Chicken Dumplings Cozy.
Perfect for sharing: Made to be enjoyed together, these brownies will bring everyone together this Easter.
Easter Brownies Recipe Ingredients
For the Brownies
• Granulated Sugar – Adds sweetness and helps create a crispy top layer.
• Brown Sugar – Introduces moisture for a delightful chewy center.
• Butter – Enriches the brownies with a creamy, smooth flavor.
• Eggs – Binds the ingredients and contributes to the fudgy texture.
• Vanilla Extract – Enhances the sweet aroma and overall flavor profile.
• All-Purpose Flour – Provides structure for the brownies.
• Cocoa Powder – Delivers that deep chocolate taste that makes these Easter brownies irresistible.
• Salt – Balances the sweetness and enhances the overall flavor.
• Chocolate Chips – Creates pockets of luxurious chocolate indulgence throughout.
For the Topping
• Coconut Oil – Gives the chocolate topping a glossy finish.
• Gel Food Coloring – Used for tinting melted white chocolate in enchanting pastel shades (optional).
• Strong Coffee or Espresso – A splash can deepen the chocolate flavor without tasting like coffee.
These delicious Easter Brownies are not just easy to make—they’re a festive delight that brings the spirit of spring to your gatherings, making them the perfect addition to any celebration!
Step‑by‑Step Instructions for Easter Brownies Recipe
Step 1: Prepare the Batter
Begin by preheating your oven to 350°F (175°C). In a medium saucepan over low heat, melt 1 cup of butter, mixing in 1 cup of granulated sugar and 1 cup of brown sugar until smooth and combined. Remove from heat and allow it to cool slightly before whisking in 4 large eggs, one at a time, followed by 1 teaspoon of vanilla extract. This creates a glossy, rich base for your fudgy Easter Brownies.
Step 2: Combine Dry Ingredients
In a separate bowl, sift together 1 cup of all-purpose flour, ¾ cup of cocoa powder, and ½ teaspoon of salt. Gradually incorporate the dry mixture into the wet mixture, stirring gently until just combined. Avoid overmixing; you want to retain a fudgy texture. A few lumps are okay. See the batter darken as the cocoa blends, forming a luscious chocolate flavor for your Easter Brownies.
Step 3: Add Chocolate Chips
Once the batter is well combined, gently fold in 1 cup of chocolate chips. These will melt slightly during baking, creating delightful pockets of chocolate throughout the brownies. Be careful not to overwork the batter; you want to keep it thick and rich. This step ensures every bite of your brownies will be decadent and filled with chocolate goodness!
Step 4: Bake
Pour the brownie batter into a parchment-lined 9×13 inch baking pan, spreading it evenly. Bake in the preheated oven for 30-35 minutes, or until a toothpick inserted into the center comes out with moist crumbs. The top should have a slight sheen and appear set, indicating that the Easter Brownies are ready for cooling.
Step 5: Make the Topping
While the brownies cool, prepare the chocolate topping. In a microwave-safe bowl, combine 1 cup of chocolate chips with 1 tablespoon of coconut oil. Heat in short, 30-second intervals, stirring until smooth and glossy. This luscious topping will enhance your brownies’ festive flair.
Step 6: Cool and Decorate
Allow the brownies to cool completely in the pan. Once cooled, carefully spread the melted chocolate topping over the brownies, creating an even layer. If you wish, swirl in some melted white chocolate colored with gel food coloring for a cheerful, pastel effect. Finally, sprinkle with colorful candies to add a delightful crunch and a visual pop to your Easter Brownies.
Step 7: Slice
For perfect slices, warm a sharp knife under hot water, then wipe it dry. Carefully cut your Easter Brownies into squares, revealing those glorious layers of chocolate and toppings. This little technique will help you achieve clean cuts for a beautiful presentation, ideal for sharing at your spring gatherings!
Make Ahead Options
These Fudgy Easter Brownies are perfect for meal prep enthusiasts! You can prepare the brownie batter up to 24 hours in advance by mixing everything together, then refrigerate it in an airtight container. When you’re ready to bake, simply pour the batter into the pan and bake as instructed. Additionally, the chocolate topping can be made and stored separately in the fridge for 3 days; just reheat gently before spreading it over the cooled brownies. To keep the brownies from drying out, store them in an airtight container at room temperature after baking. With these make-ahead options, you can enjoy fabulous Easter Brownies with minimal effort on the day of your celebration!
Expert Tips for Easter Brownies
• Cool First: Allow brownies to cool completely before adding the chocolate topping to prevent it from melting—this ensures a beautiful finish.
• Vibrant Colors: Use gel food coloring instead of liquid to achieve vibrant hues without altering the consistency of your Easter brownies.
• Sharp Knife: For clean, precise cuts, warm a sharp knife under hot water and wipe it dry before slicing—this avoids messy edges.
• Add Pockets of Joy: Incorporate different types of chocolate chips or nuts for added texture and flavor depth, personalizing your Easter brownies recipe.
• Mind the Mixing: Overmixing the batter can lead to dry brownies; mix only until ingredients are combined for that perfect fudgy texture.
• Storage Tip: Store any leftovers in an airtight container at room temperature for up to 3 days; they’ll stay fudgy and delicious!
Easter Brownies Recipe Variations
Feel free to let your creativity shine by customizing these delightful brownies to suit your taste!
- Nuts: Add ½ cup of chopped walnuts or pecans for a delightful crunch and additional flavor contrast.
- Different Chocolates: Switch out semi-sweet chocolate chips for white or dark chocolate to create varied profiles that excite the palate.
- Minty Twist: Incorporate ½ teaspoon of peppermint extract to the batter for a refreshing hint of mint—pair it with chocolate for a classic combo!
- Seasonal Sprinkles: Top with festive spring-colored sprinkles or edible flowers to enhance the visual appeal, making them perfect for Easter gatherings.
- Fruit Additions: Add 1 cup of cherries or raspberries into the batter for a delicious fruit burst. These offsets the richness of chocolate nicely.
- Caramel Swirl: Drizzle with caramel sauce before baking for a gooey surprise, combining luscious flavors as the brownies bake to perfection.
- Spicy Kick: For a warm twist, add a pinch of cayenne or chili powder to the batter—just enough to give a subtle kick against the chocolate’s sweetness.
- Mini Brownie Bites: Pour the batter into mini muffin tins for individual brownie bites, making them a fun, shareable treat at Easter brunch or gatherings.
Want more ideas to elevate your festivities? Why not pair these brownies with some comforting Italian Penicillin Soup or enjoy them alongside a vibrant Mediterranean Steak Bowl for a delightful, balanced meal!
What to Serve with Fudgy Easter Brownies?
Indulging in fudgy goodness is just the beginning—let’s create a beautiful spring feast that harmonizes with these delightful treats.
-
Vanilla Ice Cream: A classic pairing, creamy vanilla ice cream melts delightfully on warm brownies, enhancing their rich chocolate flavor.
-
Fresh Fruit Medley: A vibrant mix of strawberries, raspberries, and kiwi adds a refreshing, fruity contrast to the chocolate sweetness and enhances visual appeal.
-
Whipped Cream: Light and airy, a dollop of homemade whipped cream elevates each bite, offering a luscious texture that complements the dense brownies.
-
Espresso or Strong Coffee: The bitter notes of coffee balance the sweetness of the brownies, making each forkful a decadent experience that awakens the senses.
-
Chocolate Sauce Drizzle: For the ultimate chocolate lover, a drizzle of warm chocolate sauce on top brings an extra layer of indulgence and ties together the flavors beautifully.
-
Marshmallow Fluff: A swirl of fluffy marshmallow adds a whimsical touch and a pillowy soft contrast that cuts through the rich brownie texture.
-
Mint Tea: The light, herbal notes of mint tea refresh the palate and provide a nice balance to the sweetness of the brownies, perfect for a cozy afternoon treat.
-
Holiday Punch: A cheerful, fruity punch or sparkling beverage makes a festive addition to your dessert spread, enhancing the celebratory atmosphere of Easter gatherings.
These pairings will not only complement your Easter Brownies recipe but will also bring an exciting culinary adventure to your table!
How to Store and Freeze Easter Brownies
Room Temperature: Keep your brownies in an airtight container at room temperature for up to 3 days to maintain their fudgy texture and fresh flavor.
Fridge: For longer storage, refrigerate the brownies in an airtight container for up to a week, allowing you to enjoy your Easter Brownies recipe even days after baking.
Freezer: Freeze brownies for up to 3 months by wrapping them tightly in plastic wrap and then placing them in a freezer bag. Thaw overnight in the fridge before serving.
Reheating: For enhanced taste, gently warm brownies in the microwave for 15-20 seconds or enjoy them at room temperature to savor that rich chocolate experience.
Easter Brownies Recipe FAQs
What kind of chocolate should I use for these brownies?
Absolutely! For the best flavor, I recommend using high-quality semi-sweet or dark chocolate chips. These provide pockets of richness and sweetness throughout. If you’d like to experiment, feel free to use milk chocolate for a sweeter treat or bittersweet chocolate for a deeper cocoa flavor.
How can I tell when my brownies are done baking?
Great question! Bake the brownies for 30-35 minutes and watch closely. The top should look shiny and slightly cracked, and a toothpick inserted into the center should come out with moist crumbs, not wet batter. If you notice the edges pulling away from the pan, that’s another sign they’re ready to come out!
How should I store leftover brownies?
To keep your Easter Brownies fresh, store them in an airtight container at room temperature for up to 3 days. Alternatively, you can refrigerate them for up to a week to maintain their fudginess. Just be sure to allow them to come back to room temperature before serving for the best texture!
Can I freeze these brownies?
Yes, you can freeze these delightful Easter Brownies! Wrap them tightly in plastic wrap and place them in a freezer bag or airtight container. They will keep in the freezer for up to 3 months. When you’re ready to enjoy, thaw them overnight in the refrigerator and serve them at room temperature for that perfect fudgy experience.
Are there any dietary considerations for making these brownies?
Definitely! If you have allergies, feel free to substitute the all-purpose flour with a gluten-free blend. Also, you can swap butter for coconut oil or vegan butter to create a dairy-free version. If you’re concerned about sugar, consider using alternatives like applesauce or a sugar substitute, but note that this may affect the texture.
What if my brownies turn out too dry?
If you find that your brownies are on the dry side, it might be due to overbaking. Be sure to watch for those visual cues mentioned earlier. If they still turn out dryer than desired, you can add a gooey topping like a drizzle of melted chocolate or a scoop of ice cream when serving to add moisture back into each bite!
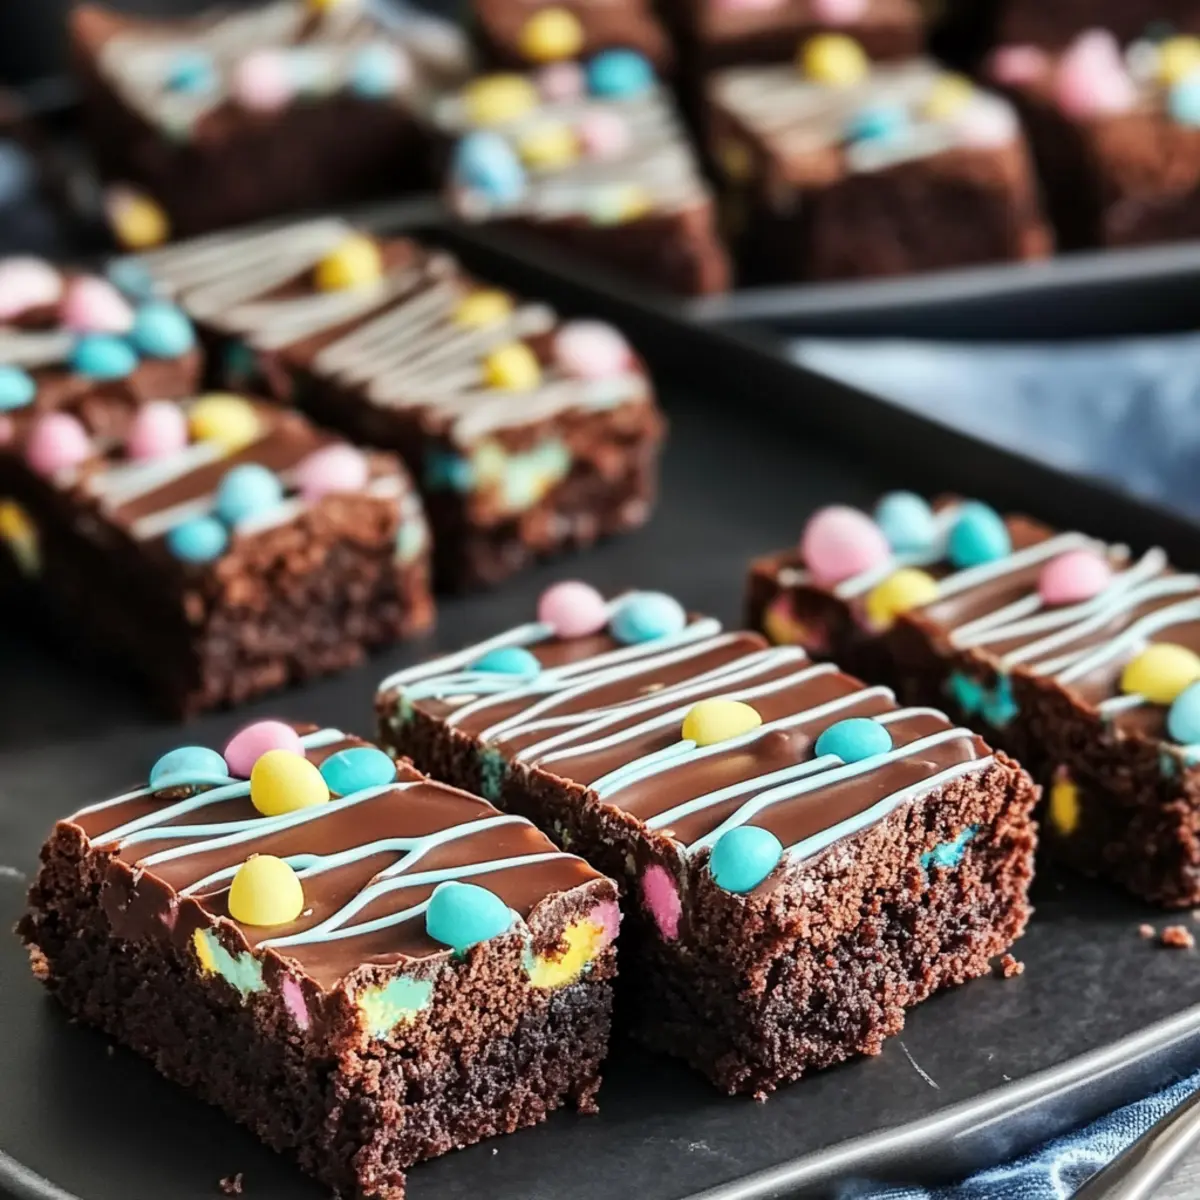
Deliciously Fudgy Easter Brownies Recipe for Spring Joy
Ingredients
Equipment
Method
- Preheat your oven to 350°F (175°C). In a medium saucepan over low heat, melt the butter, mixing in the granulated sugar and brown sugar until smooth. Remove from heat and allow to cool slightly before whisking in eggs, one at a time, followed by vanilla extract.
- In a separate bowl, sift together the all-purpose flour, cocoa powder, and salt. Gradually incorporate the dry mixture into the wet mixture, stirring gently until just combined.
- Gently fold in the chocolate chips to the batter, being careful not to overwork it.
- Pour the brownie batter into a parchment-lined baking pan, spreading it evenly. Bake for 30-35 minutes, or until a toothpick inserted in the center comes out with moist crumbs.
- While the brownies cool, prepare the topping by combining chocolate chips with coconut oil in a microwave-safe bowl and heating until smooth.
- Allow the brownies to cool completely. Spread the melted chocolate topping over the brownies, creating an even layer. Optionally, swirl in melted white chocolate colored with gel food coloring.
- For perfect slices, warm a sharp knife under hot water, then wipe it dry. Carefully cut the brownies into squares.
Leave a Reply