In a world bustling with takeout and fast food convenience, discovering culinary treasures in your own backyard is pure magic. This Dandelion Jelly Recipe transforms those often-overlooked yellow blooms into a delightful homemade treat that brings spring’s essence into your kitchen. Not only is it a fantastic way to embrace foraging, but it also serves as a natural sweetener, perfect for livening up breakfast toast or adding a unique touch to desserts. Imagine the joy of creating a sweet spread that’s gluten-free and plant-based, all while making use of what your garden offers. Want to impress your friends with an unexpected homemade delight? Let’s dive into the world of dandelion jelly and unlock the secrets of this eco-friendly gem!
Why Create Dandelion Jelly?
Unique Flavor Experience: Dandelion Jelly offers an enchanting floral sweetness that can’t be found in store-bought jams. It’s a delightful way to savor the tastes of spring, capturing the essence of your garden!
Foraging Adventure: Embrace nature by foraging for dandelions right in your backyard. It’s a fun and eco-friendly activity that connects you with your environment, perfect for chefs and homecooks alike.
Versatile Uses: Spread it on toast, drizzle over desserts, or pair with cream cheese for a delightful snack. The options are endless, making it a unique addition to any meal.
Health-Conscious Choice: Packed with goodness, this gluten-free and plant-based recipe serves as a natural sweetener, ideal for those looking to reduce refined sugar in their diets.
Simple to Make: With just a few ingredients, you’ll find this recipe approachable, whether you’re a seasoned chef or a culinary novice. For more delightful homemade treats, check out my Gingerbread Latte Cake or Pumpkin Curry Cozy.
Dandelion Jelly Ingredients
• Unlock the taste of spring!
For the Jelly
- Dandelion Petals – The vibrant yellow petals are the main flavor base, bringing a floral sweetness to your jelly.
- Sugar – This sweetener helps to balance the flavors and acts as a preservative; consider honey or agave syrup for a natural twist.
- Lemon Juice – Freshly squeezed lemon juice adds a bright acidity, enhancing the overall flavor of the dandelion jelly.
- Pectin – A crucial thickening agent that gives your jelly its delightful gel-like consistency; low-sugar pectin can offer a lighter alternative.
- Water – Essential for extracting the dandelion essence; filtered water yields the best results.
Feel free to get creative with variations by mixing in herbs or different citrus juices! Making dandelion jelly at home not only reduces food waste but also puts your foraging skills to good use.
Step‑by‑Step Instructions for Dandelion Jelly Recipe
Step 1: Prepare Dandelion Petals
Start by foraging or purchasing dandelion flowers, ensuring you only use the yellow petals to avoid bitterness. Carefully remove the petals from the green parts using your fingers or scissors. Rinse the petals in cold water to remove any dirt or insects, allowing them to dry on a paper towel while you prepare the other ingredients.
Step 2: Steep the Petals
In a saucepan, bring 4 cups of filtered water to a rolling boil. Once boiling, add the prepared dandelion petals to the water, reducing the heat to a simmer. Allow the mixture to steep for about 15 minutes, stirring occasionally. As the petals steep, you’ll notice the water turning a vibrant yellow, indicating that the dandelion essence is infusing.
Step 3: Strain the Mixture
After steeping, remove the saucepan from heat and set up a fine-mesh sieve over a bowl. Carefully strain the dandelion infusion, discarding the petals. The resulting liquid should be bright and fragrant. Measure out 2 cups of the dandelion liquid for the next steps in your Dandelion Jelly recipe.
Step 4: Combine Ingredients
In the same saucepan, combine the 2 cups of dandelion liquid with 4 cups of sugar and the juice of one lemon. Stir the mixture thoroughly to dissolve the sugar, then bring it to a gentle boil over medium heat. Keep an eye on the mixture as it heats, ensuring it doesn’t boil over; you want the sugar to completely dissolve and the liquid to become clear.
Step 5: Add Pectin
Once the mixture reaches a rolling boil, stir in 1 package of pectin quickly. Continue to boil for an additional 1-2 minutes, stirring constantly to ensure the pectin is completely dissolved. The mixture should be bubbling vigorously and glossy, signaling that it’s ready for the next step in making your Dandelion Jelly.
Step 6: Test the Consistency
To check the jelly’s consistency, take a spoonful and place it on a cold plate. Allow it to sit for a minute, then run your finger through it. If it holds its shape and doesn’t flood back together, it’s ready. If it’s too runny, boil for another minute and retest. This is an important step to ensure your Dandelion Jelly sets perfectly.
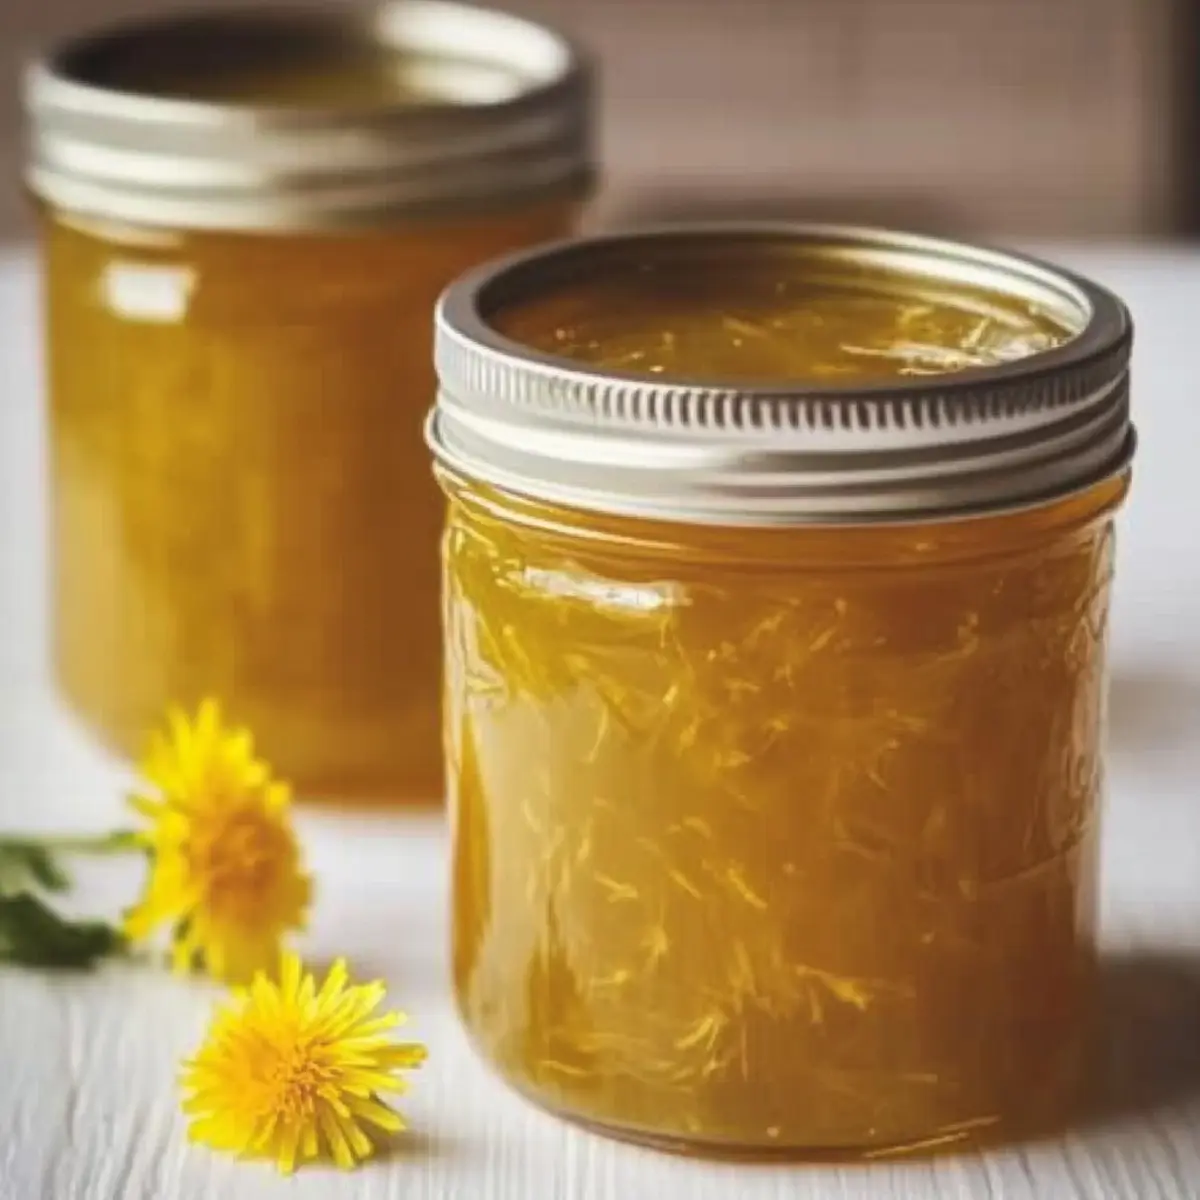
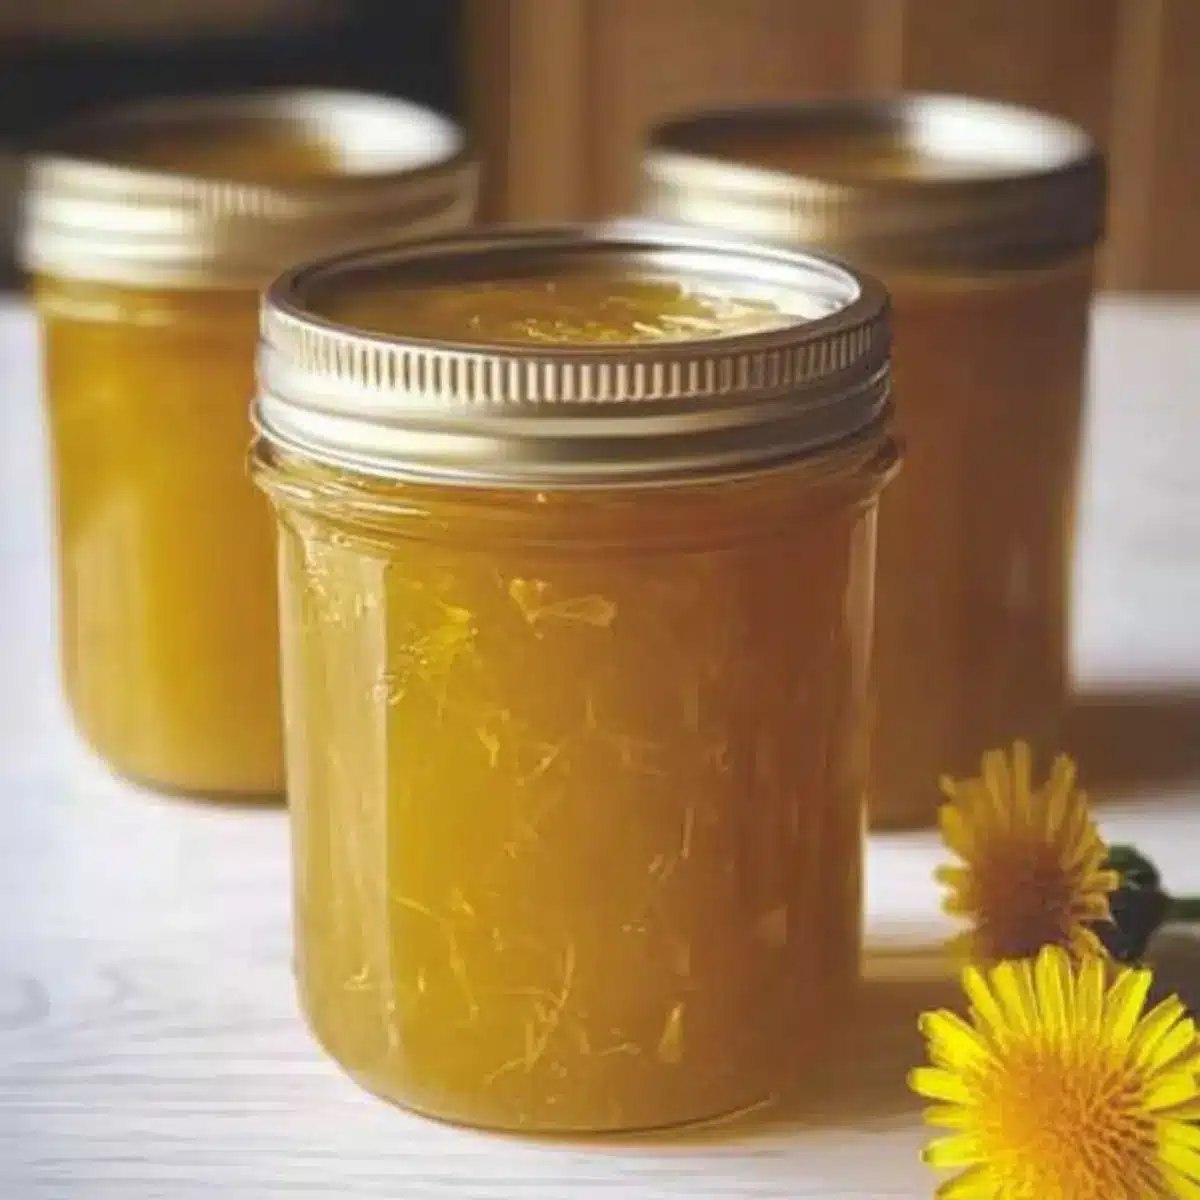
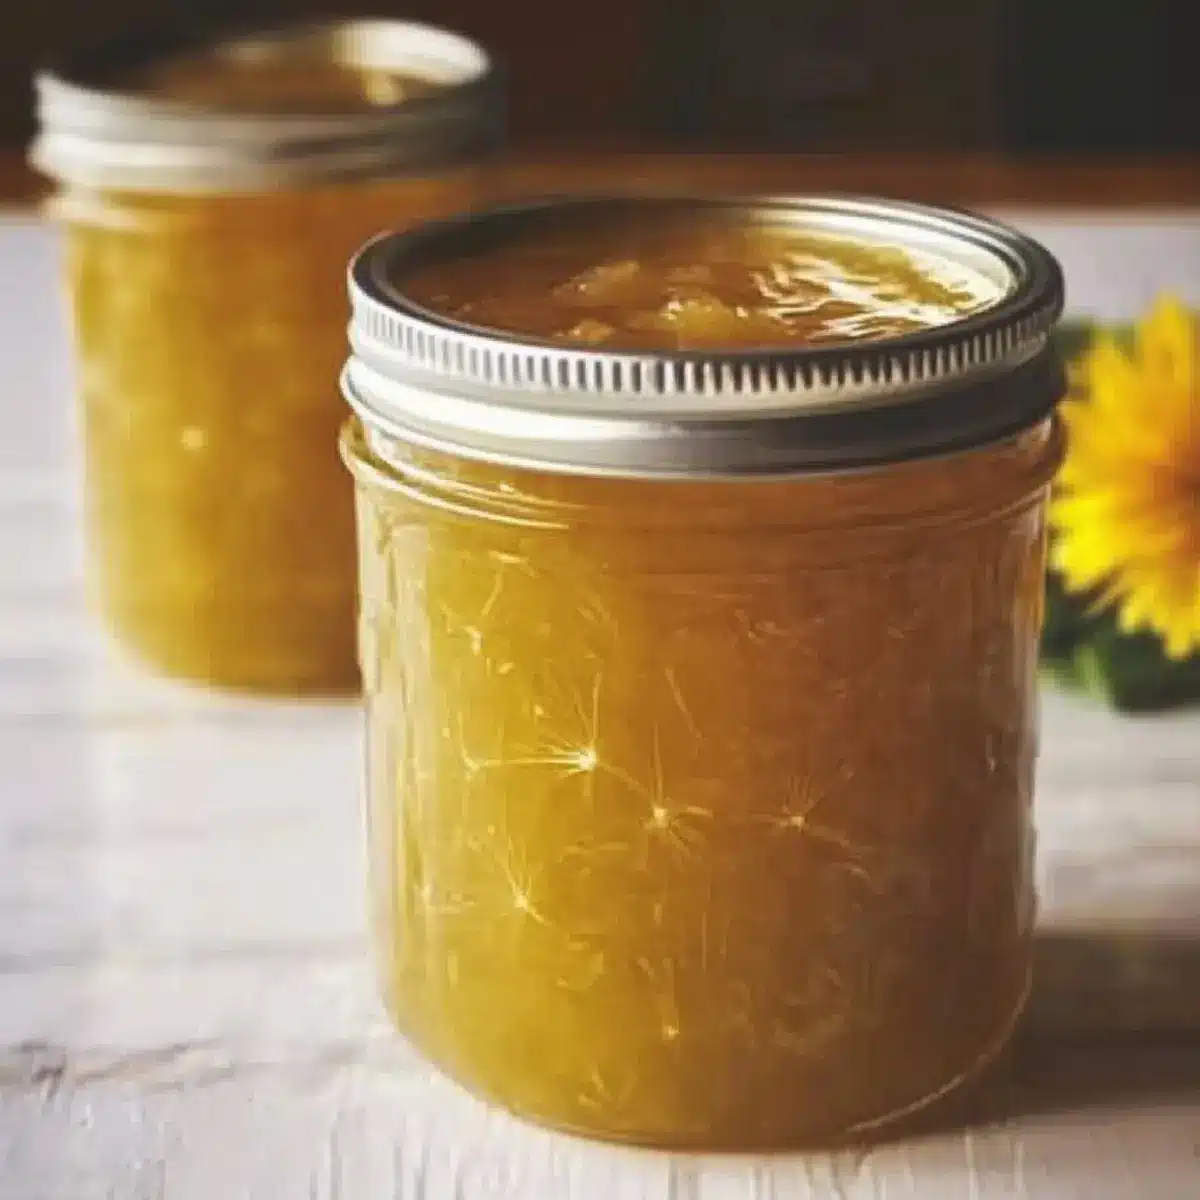
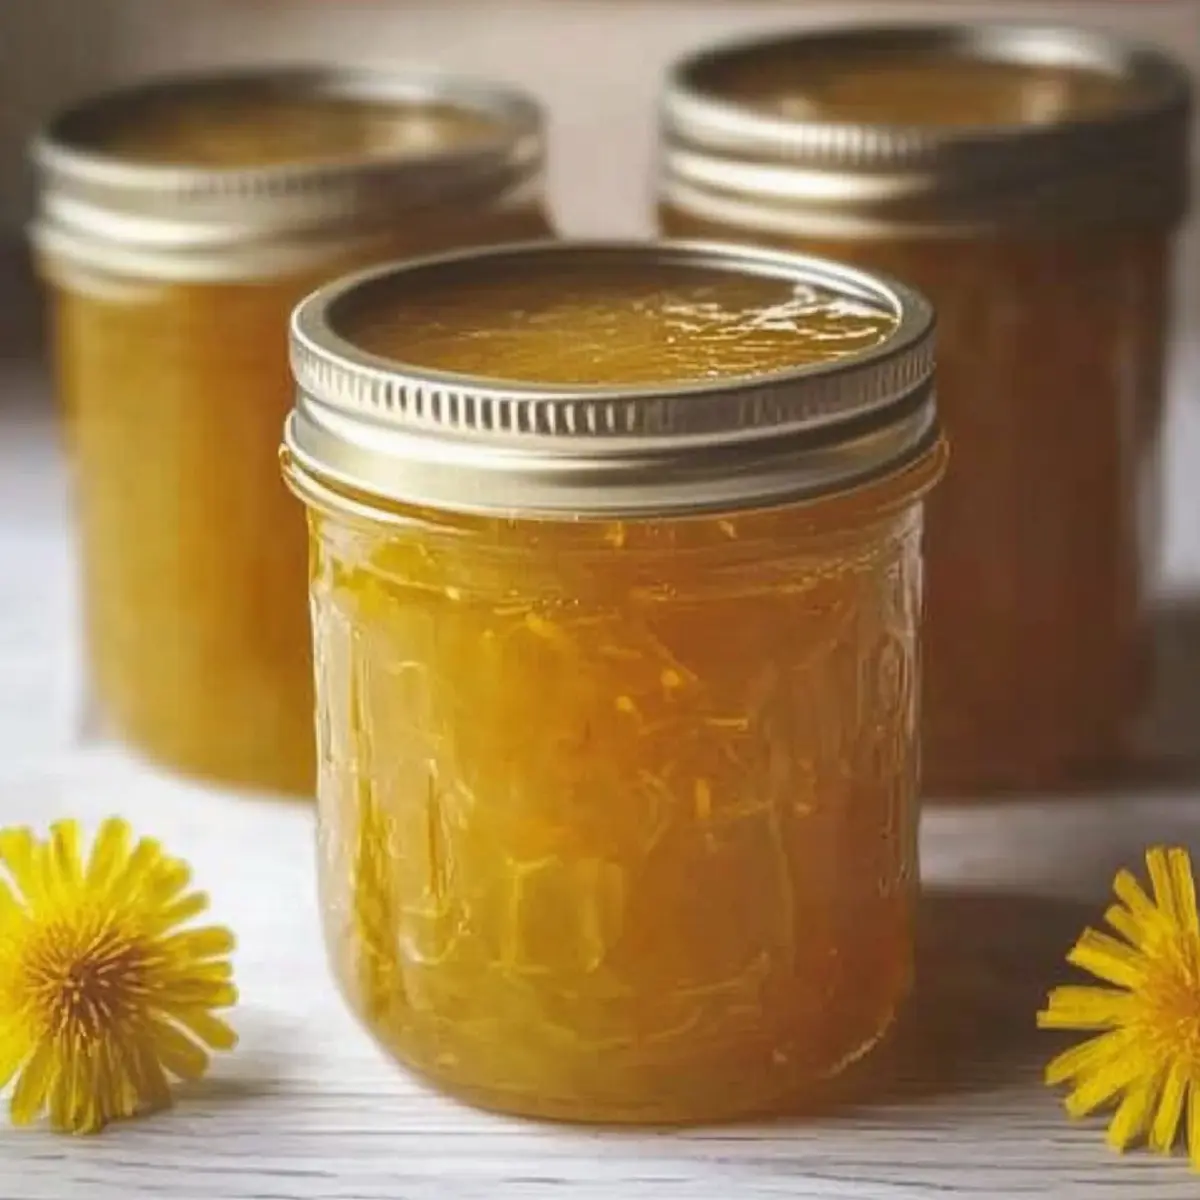
Step 7: Jar and Seal
Once the desired consistency is achieved, pour the hot dandelion jelly into sterilized jars. Leave about ¼-inch of headspace at the top of each jar. Wipe the rims of the jars with a clean cloth to remove any residue, then immediately seal with lids. Invert the jars for a few minutes to create a vacuum seal, then set them upright to cool completely.
Step 8: Store and Enjoy
After the jars have cooled to room temperature, check that the seals are secure by pressing down in the center of each lid. Store your Dandelion Jelly in the refrigerator, where it will keep for up to a year. When ready to enjoy, simply spread it on toast, use it in desserts, or get creative with your food pairings!
Dandelion Jelly Recipe Variations
Feel free to personalize your Dandelion Jelly Recipe with these delightful twists to elevate your homemade treat!
-
Natural Sweeteners: Swap sugar for honey or agave syrup to create a richer flavor profile. This option is perfect for those wanting to embrace a healthier lifestyle.
-
Citrus Splash: Use different citrus juices, like orange or lime, to bring a zesty brightness to your jelly. A hint of lime can transform the flavor into a tropical delight!
-
Herbal Infusions: Add fresh herbs such as mint or basil into the dandelion infusion for a refreshing twist. Just steep them along with the dandelion petals for an aromatic experience.
-
Spicy Kick: Incorporate a pinch of ginger or even a dash of cayenne pepper for a unique spicy version. This unexpected twist provides a lovely warmth that balances the jelly’s sweetness.
-
Layered Flavors: Combine dandelion petals with other edible flowers such as elderflower or lavender for an exquisite floral blend. This will create a stunning jelly that’s unique and visually appealing!
-
Berry Mix: Blend in crushed strawberries or raspberries for a fruity infusion. The tartness from the berries complements the sweetness of the dandelion jelly beautifully.
-
Texture Varieties: For a chunkier texture, leave some dandelion petals in the jelly before sealing. This creates a delightful rustic look and an exciting mouthfeel.
-
Seasonal Spices: Infuse with seasonal spices like cinnamon or nutmeg during cooking for a holiday-inspired twist that brings warmth and coziness to your spread.
With these variations, your dandelion jelly will not only be a handmade delight but an expression of your creativity in the kitchen! Explore different styles and perhaps even use your jelly as a unique topping for dishes like my Mediterranean Steak Bowl or drizzle it over a slice of Mac Cheese Ready. Enjoy your culinary adventure!
What to Serve with Dandelion Jelly
Imagine indulging in a delightful spread that brings the essence of spring to your table, elevating every bite.
-
Cream Cheese & Bagels: The rich creaminess of cheese balances the floral sweetness, creating a delightful breakfast experience. Spread generously for the perfect morning start!
-
Greek Yogurt Parfaits: Layer dandelion jelly with creamy yogurt and fresh berries for a refreshing dessert or snack. The bright flavors harmonize beautifully.
-
Toast & Scones: Slather on warm buttered toast or scones for a heavenly tea-time treat. Each bite bursts with sunshine and sweetness, making ordinary moments special.
-
Pancakes or Waffles: Drizzle over pancakes or waffles for a unique twist on breakfast classics. The jelly adds a vibrant color and light sweetness that’s irresistibly charming.
-
Cheese Boards: Pair with soft cheeses like brie or goat cheese for a gourmet touch. The contrast of flavors and textures will impress your guests without any fuss!
-
Ice Cream Topping: Use dandelion jelly as a topping for vanilla or coconut ice cream to elevate your dessert game. The floral notes will transform any scoop into a seasonal delight!
-
Sparkling Water: Serve with a refreshing spritz of sparkling water infused with lemon slices for a light, bubbly pairing that complements the sweetness of the jelly.
Embrace the versatility of dandelion jelly when planning your next meal, inviting flavors that celebrate seasonal bounty!
Expert Tips for Dandelion Jelly Recipe
-
Quality Ingredients: Use only vibrant yellow dandelion petals for the best flavor. Avoid the green parts, which can lend a bitter taste to your jelly.
-
Mind the Temperature: Test the jelly consistency on a cold plate to avoid disappointment. If it’s too runny, return it to the heat for a minute or two more.
-
Use a Candy Thermometer: This ensures that your dandelion jelly reaches the proper setting temperature, making it more likely to thicken perfectly.
-
Consider Substitutes: For a natural twist, swap out regular sugar for honey or agave syrup in your dandelion jelly recipe.
-
Proper Sterilization: Ensure jars are sterilized before pouring in the hot jelly. This enhances the shelf life and prevents spoilage.
-
Long-term Storage: Your dandelion jelly can last up to a year in the refrigerator when stored properly; just make sure the lids are sealed tightly.
Make Ahead Options
These Dandelion Jelly preparations are perfect for busy home cooks looking to save time! You can prepare the dandelion petals by removing and rinsing them up to 24 hours in advance, storing them in an airtight container in the refrigerator to maintain freshness and prevent browning. Furthermore, you can steep the petals and prepare the dandelion infusion up to 3 days ahead. Just refrigerate the infused liquid, and it will be ready whenever you’re set to make your jelly. When you’re ready to finish, simply follow the final steps by heating the dandelion liquid with sugar and pectin, and you’ll have a delightful homemade treat with minimal effort!
Storage Tips for Dandelion Jelly
Fridge: Store your dandelion jelly in the refrigerator for up to one year. Ensure jars are sealed tightly to maintain freshness and prevent spoilage.
Freezer: If you wish to keep it longer, you can freeze the jelly. Transfer it into freezer-safe containers, leaving some headspace for expansion, and it will last for up to two years.
Reheating: When ready to use frozen dandelion jelly, thaw it in the refrigerator overnight or place the container in warm water. Stir gently before serving to restore its smooth texture.
Room Temperature: Once opened, consume within two to three months if left unrefrigerated, making sure to use a clean utensil each time to avoid contamination.
Dandelion Jelly Recipe FAQs
What type of dandelions should I use?
Absolutely! When foraging for dandelions, it’s best to collect vibrant yellow petals from clean areas, ideally free of pesticides or chemicals. Avoid using any parts that are green, as they can lend a bitter taste to your jelly. Look for healthy blooms that are freshly opened for the sweetest flavor!
How long can I store my dandelion jelly?
Very! Your dandelion jelly can last in the refrigerator for up to one year when sealed tightly in sterilized jars. To keep it fresh, make sure the lids are secure after each use and store it in a cool, dark place in your fridge.
Can I freeze dandelion jelly?
Yes indeed! To freeze your dandelion jelly, transfer it into freezer-safe containers, leaving at least ½ inch of headspace to allow for expansion. It can be stored in the freezer for up to two years. When you’re ready to use it, simply thaw overnight in the refrigerator or place the container in warm water.
How can I fix runny dandelion jelly?
Not to worry! If you find that your jelly didn’t set properly, you can cook it again to reach the jelly consistency you desire. Pour it back into a saucepan, bring it to a boil, and let it simmer. Stir in additional pectin according to the package instructions, continuing to boil for 1-2 minutes, then test again on a cold plate until it reaches the right thickness.
Is dandelion jelly safe for pets and people with allergies?
Very good question! Dandelion jelly is generally safe for both people and pets, but it’s always a good idea to consult your vet if you have any concerns regarding allergies or specific dietary restrictions. If you’re unsure about allergies, introduce the jelly slowly and monitor for any adverse reactions.
Can I use different types of sweeteners in the jelly?
Absolutely! You can swap out the regular sugar for natural alternatives like honey or agave syrup in your dandelion jelly recipe for a healthier twist. Just keep in mind that using different sweeteners may affect the texture slightly, and you might need to adjust the amount of sugar accordingly.
Delightful Dandelion Jelly Recipe: Sweeten Your Spring!
Ingredients
Equipment
Method
- Prepare Dandelion Petals: Forage or purchase dandelion flowers and use only yellow petals. Rinse in cold water and let them dry.
- Steep the Petals: Boil 4 cups of filtered water, add dandelion petals, and simmer for 15 minutes.
- Strain the Mixture: Strain the dandelion infusion into a bowl, discarding the petals. Measure out 2 cups of liquid.
- Combine Ingredients: In the saucepan, combine 2 cups of dandelion liquid, 4 cups of sugar, and lemon juice. Bring to a gentle boil, stirring until clear.
- Add Pectin: Stir in 1 package of pectin and boil for an additional 1-2 minutes.
- Test the Consistency: Place a spoonful on a cold plate to check. If too runny, boil again until it sets.
- Jar and Seal: Pour the hot jelly into sterilized jars, leaving ¼-inch headspace. Seal and invert jars.
- Store and Enjoy: Once cooled, store jelly in the fridge for up to a year. Enjoy with toast or desserts!
Leave a Reply