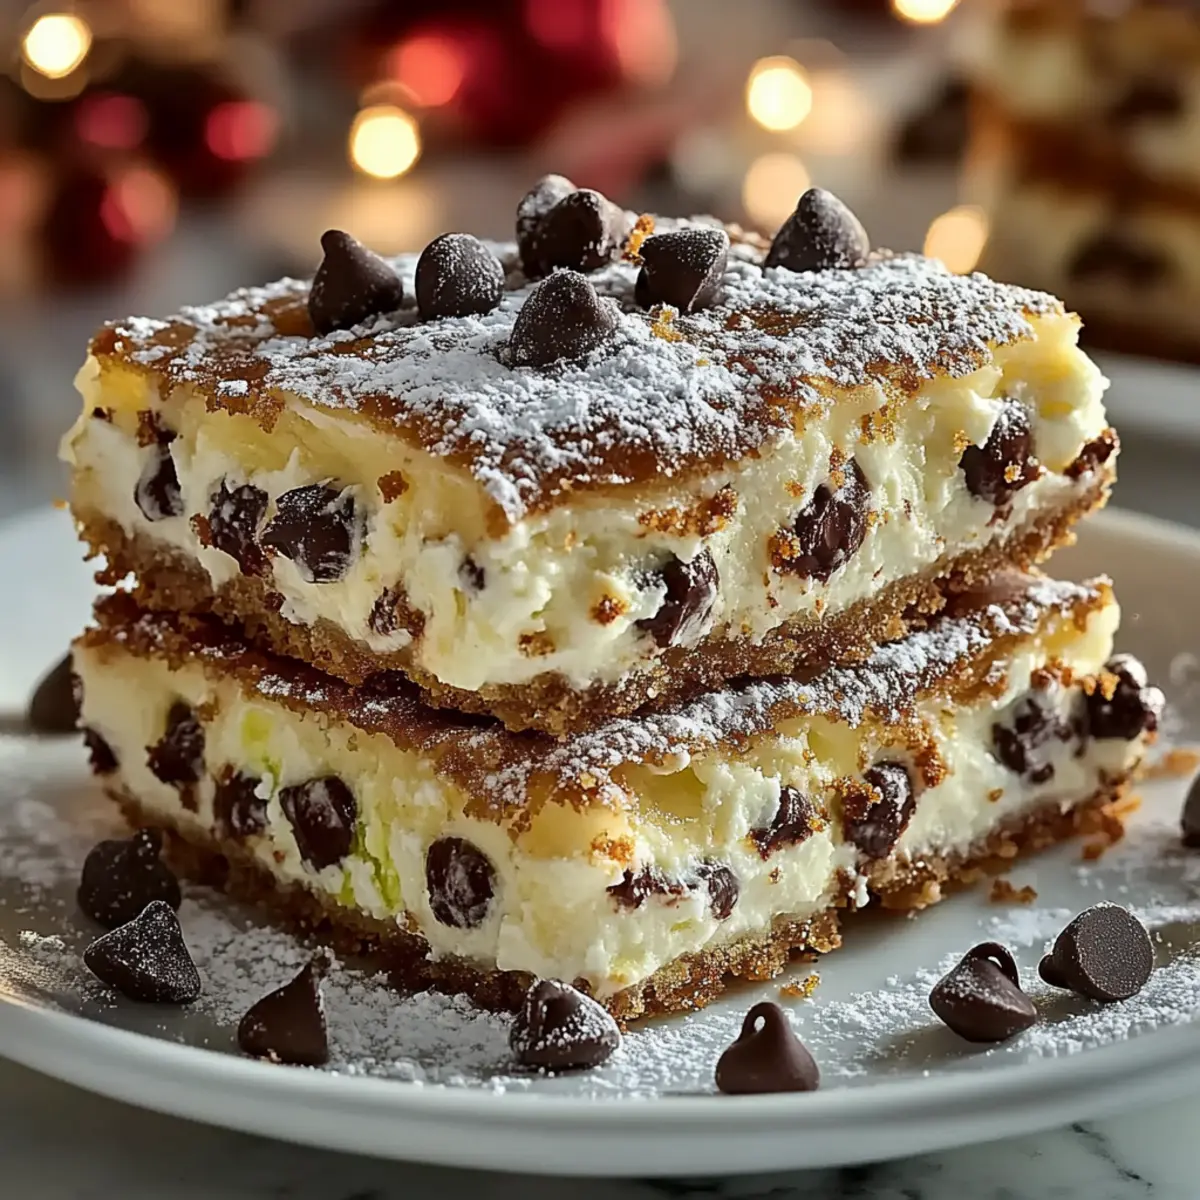
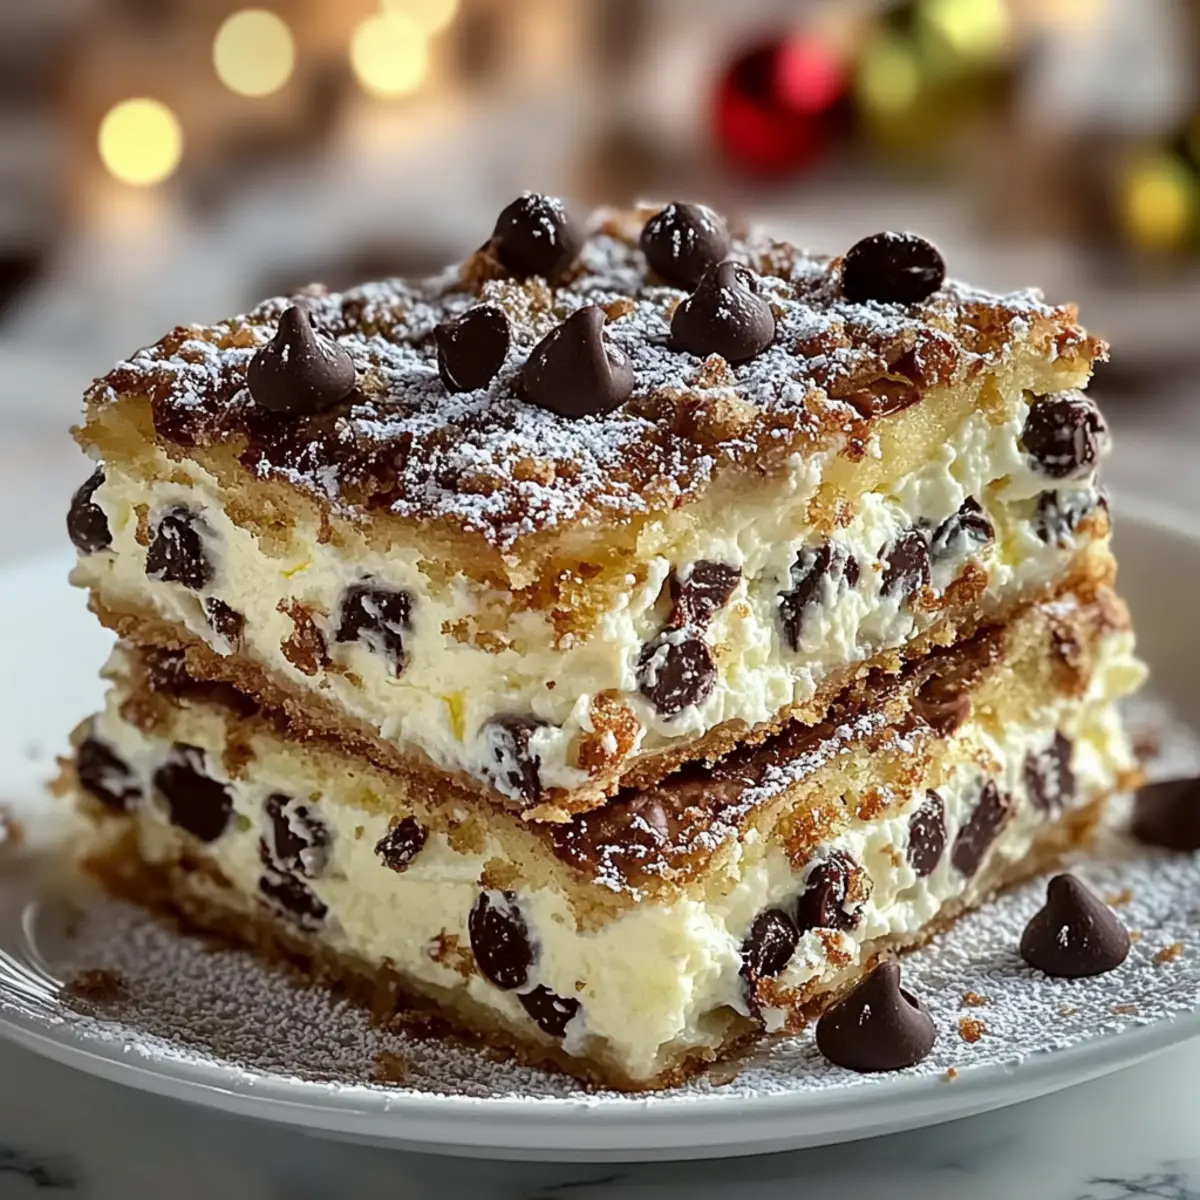
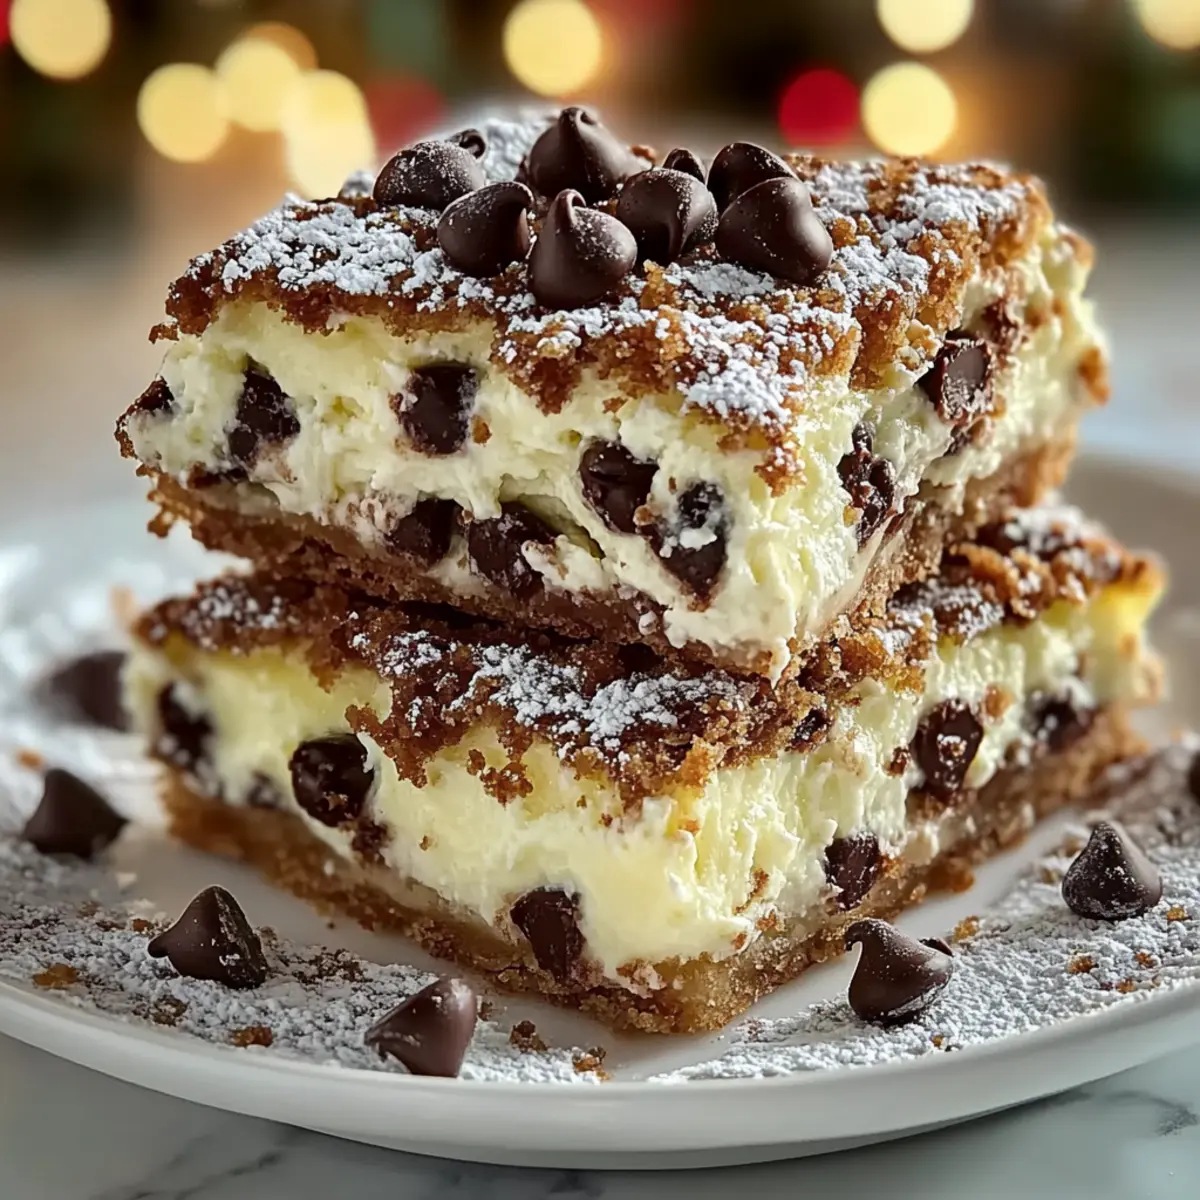
As I stood in my kitchen, a delightful aroma whisked through the air, taking me straight to the bustling streets of Italy—where the charm of traditional cannoli began. If you’ve ever craved that rich, creamy filling enveloped in a crispy shell but felt daunted by the fussiness of preparation, my Classic Cannoli Squares are here to save the day! This easy dessert captures all the familiar flavors of the beloved classic but simplifies the process, making it perfect for families or cozy gatherings. In just over an hour, you can serve up these crowd-pleasers without any stress. Plus, with healthy substitutions for the filling, even the health-conscious can indulge. Ready to satisfy your sweet tooth in an effortless way? Let’s dive into this delicious adventure together!
Why are Classic Cannoli Squares a must-try?
Simplicity: These squares make it easy to enjoy a beloved dessert without the hassle of making individual cannoli.
Deliciously Creamy: The ricotta filling, enhanced with vanilla and cinnamon, offers that authentic Italian flavor that melts in your mouth.
Crowd-Pleasing: Perfect for gatherings, these squares are sure to impress family and friends alike. Everyone loves a sweet treat!
Versatile: With options for healthier ingredients, you can customize this recipe to suit your dietary needs without sacrificing flavor. Try swapping in coconut sugar or low-fat ricotta for a lighter touch.
Time-Saving: With just over an hour from prep to table, these squares fit perfectly into your busy schedule while still delivering on taste.
Experience the joy of homemade desserts without the fuss, and check out the full recipe for the best tips on perfecting your Classic Cannoli Squares.
Classic Cannoli Squares Ingredients
For the Filling
• Ricotta Cheese – Provides the creamy filling; whole milk for extra richness or low-fat for a lighter option.
• Powdered Sugar – Adds sweetness; coconut sugar can be used for a healthier, lower glycemic alternative.
• Vanilla Extract – Enhances flavor with sweet, aromatic notes, making the filling irresistible.
• Cinnamon – Adds warmth and depth, complementing the sweetness beautifully.
• Mini Chocolate Chips – Contributes delightful texture and flavor; dark chocolate chips deepen the richness.
For the Crust
• Pre-made Pie Crusts – Offers a flaky base for convenience; homemade crust can add a personal touch.
• Egg (for wash) – Creates a beautiful golden finish for the crust, making it visually appealing.
• Sugar (for sprinkling) – Adds a touch of sweetness and sparkle on top, enhancing the final presentation.
Optional Garnishes
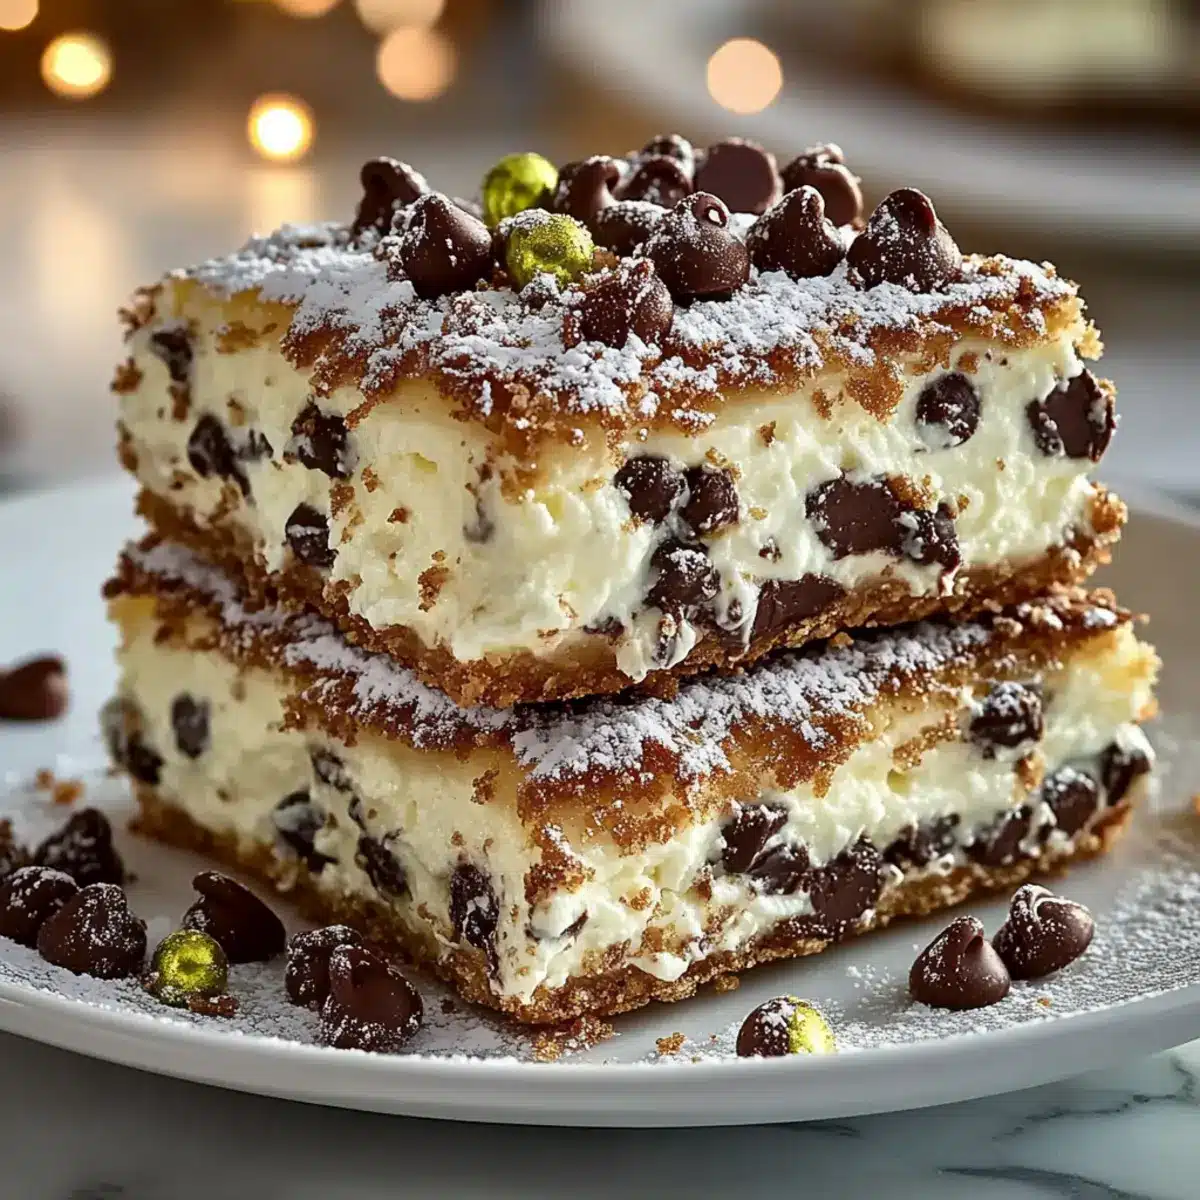
• Chopped Pistachios – Adds a lovely crunch and a pop of color for decoration.
• Maraschino Cherries – Brings a sweet and fruity touch to your Classic Cannoli Squares.
• Extra Chocolate Chips – For those who simply can’t get enough chocolate; a perfect finishing touch!
Step‑by‑Step Instructions for Classic Cannoli Squares
Step 1: Prepare the Filling
In a mixing bowl, combine 15 ounces of ricotta cheese, 1 cup of powdered sugar, 1 teaspoon of vanilla extract, 1 teaspoon of cinnamon, and ½ cup of mini chocolate chips. Stir using a spatula until the mixture is smooth and creamy, ensuring all ingredients are well incorporated. This filling should be beautifully luscious, reminiscent of the rich cream found in traditional cannoli.
Step 2: Preheat the Oven
While the filling comes together, preheat your oven to 375°F (190°C). This temperature ensures that your Classic Cannoli Squares will bake evenly, resulting in a golden-brown crust. A preheated oven is essential for achieving that delightful flaky texture, so be sure to give it enough time to reach the right heat before proceeding to the next steps.
Step 3: Roll Out the Pie Crust
Take 1 pre-made pie crust and roll it out gently on a floured surface to ensure it fits perfectly into a 9×9-inch baking dish. Carefully transfer the rolled-out crust to the dish, pressing it into the corners and making sure there are no cracks. The crust should slightly overhang the edges for a neat finish once baked, creating a lovely base for your filling.
Step 4: Add the Filling
Evenly spread the prepared ricotta filling over the pie crust in the baking dish. Use a spatula to ensure the filling is distributed smoothly, leaving a small border around the edges to avoid overflow during baking. This step is crucial for keeping your Classic Cannoli Squares neat and delicious, as the filling should remain contained beneath the crust.
Step 5: Prepare the Top Crust
Roll out another pre-made pie crust and gently place it over the filling, sealing the edges by crimping them with a fork or your fingers. Brush the top crust with a beaten egg to achieve a lovely golden finish, then sprinkle a light dusting of sugar on top for added sweetness and a sparkling appearance. This enhances the overall presentation of your Classic Cannoli Squares.
Step 6: Bake
Place the baking dish in your preheated oven and bake for 30-35 minutes. Keep an eye on the crust—look for a golden-brown color and a bubbly filling as indicators of doneness. The aroma wafting from the oven will be delightful, signaling your delicious cannoli-inspired dessert is almost ready.
Step 7: Cool and Serve
Once baked, remove the dish from the oven and let your Classic Cannoli Squares cool for at least 30 minutes before slicing into squares. Allowing them to cool helps the filling set nicely and makes for easier serving. For an added touch, consider garnishing with chopped pistachios or a drizzle of chocolate for an extra dose of indulgence.
Make Ahead Options
These Classic Cannoli Squares are perfect for meal prep, allowing you to indulge in a delicious dessert without the last-minute rush. You can prepare the ricotta filling up to 24 hours in advance; just store it in an airtight container in the refrigerator to keep it fresh and creamy. Additionally, you can assemble the entire dish (with the top crust) and refrigerate it for up to 3 days before baking, ensuring it’s ready when you are. Simply follow the baking instructions—just pop it into the oven straight from the fridge, adding an extra 5 minutes to the cooking time as needed, for a delightful dessert that’s just as delicious as freshly made!
Storage Tips for Classic Cannoli Squares
Fridge: Store your Classic Cannoli Squares in an airtight container to keep them fresh for up to 3 days. Allow them to cool completely before sealing to maintain the texture.
Freezer: For longer storage, freeze the squares wrapped tightly in plastic wrap and then in aluminum foil. They’ll stay fresh for up to 2 months, ready to be enjoyed whenever a craving hits.
Reheating: Thaw your frozen squares in the fridge overnight and then reheat in the oven at 350°F (175°C) for about 10 minutes for that freshly baked taste.
Serving Cold: These squares can also be enjoyed chilled straight from the fridge, making them a versatile treat for any occasion!
What to Serve with Classic Cannoli Squares?
Elevate your dessert experience with delightful pairings that complement the creamy bliss of these squares.
-
Espresso Coffee: The rich, bold flavor of espresso cuts through the sweetness, providing a perfect finish to your meal. A delightful way to awaken the senses!
-
Fresh Berries: Juicy strawberries or raspberries add a refreshing contrast to the creamy filling. Their natural tartness balances the sweetness splendidly.
-
Whipped Cream: Light and airy, it enhances the creamy texture of Cannoli Squares while adding a touch of elegance. A drizzle of flavored whipped cream can elevate your presentation!
-
Chocolate Sauce Drizzle: For chocolate lovers, a warm drizzle adds a luscious touch that intensifies the dessert’s flavors. You can even sprinkle some mini chocolate chips on top for extra indulgence.
-
Pistachio Crumble: Add a crunch with finely chopped pistachios sprinkled on top. This not only brings texture but also an aromatic note that perfectly complements the filling.
-
Gelato: A scoop of creamy gelato (vanilla, pistachio, or even mocha) is an Italian classic that creates a gorgeous contrast in temperature and flavor.
-
Hazelnut Liqueur: A glass of Frangelico or similar liqueur can enhance the meal with smooth, nutty undertones, making each bite of the squares even more delightful.
-
Mint Tea: This soothing beverage cleanses the palate and makes for a refreshing accompaniment that harmonizes beautifully with Mediterranean desserts.
Pairing your Classic Cannoli Squares with any of these delicious options will ensure an unforgettable dining experience!
Classic Cannoli Squares: Endless Variations
Feel free to put your own spin on these Classic Cannoli Squares and make them uniquely yours!
-
Mascarpone Swap: Use mascarpone instead of ricotta for a richer, creamier filling that amps up the indulgence.
-
Zesty Twist: Add lemon zest for a refreshing burst of citrus that brightens the flavors beautifully.
-
Nutty Flavor: Mix in toasted almond slivers to add a crunchy texture and a delightful nutty flavor that complements the sweetness.
-
Cocoa Boost: For a chocolate lover’s delight, incorporate cocoa powder into the filling or sprinkle cocoa on top before baking.
-
Healthy Option: Substitute the sugar with a natural sweetener like honey or maple syrup to enhance flavor while cutting out refined sugars.
-
Spicy Kick: Sprinkle in a pinch of cayenne pepper for a surprising heat that contrasts with the sweetness, giving a fun twist that keeps guests guessing.
-
Vegan Variant: Replace ricotta with blended silken tofu and almond milk, creating a surprisingly creamy vegan filling that everyone can enjoy.
These variations enhance the experience of making your Classic Cannoli Squares while also accommodating different dietary needs. For more fun ideas, don’t forget to explore our recipes for Almond Sweet Rolls and Desserts to Impress.
Expert Tips for Classic Cannoli Squares
• Drain Ricotta Well: Use a fine-mesh sieve to drain excess moisture from the ricotta for a thicker filling that holds its shape better.
• Watch Baking Time: Keep an eye on your Classic Cannoli Squares in the oven; if the crust browns too quickly, cover it loosely with foil to prevent burning.
• Leave an Edge: When spreading the filling, leave a small border around the edges of the pie crust to prevent overflow during baking.
• Customize Sweetness: Adjust the amount of powdered sugar to taste; start with less and add more if desired for the perfect level of sweetness.
• Experiment with Flavors: Add lemon zest or almond extract to the filling for a unique twist on the traditional cannoli flavor profile.
Classic Cannoli Squares Recipe FAQs
How do I select the right ricotta cheese?
Absolutely! For a rich and creamy filling, I recommend using whole milk ricotta. If you’re looking for a lighter option, low-fat ricotta still provides great flavor but with fewer calories. Always check the expiration date and look for any excess liquid in the package; a fresher ricotta will have a pleasant, creamy texture without a sour smell.
How should I store Classic Cannoli Squares after baking?
Very! You can store your Classic Cannoli Squares in an airtight container in the refrigerator for up to 3 days. Be sure to let them cool completely before covering, as this keeps the texture just right. If you’ve already cut them into squares, consider placing a sheet of parchment paper in between layers to prevent sticking.
Can I freeze Classic Cannoli Squares?
Absolutely! To freeze, allow the squares to cool completely, then wrap them individually in plastic wrap and place them in a freezer-safe bag or container. They can last in the freezer for up to 2 months. When you’re ready to enjoy, simply thaw them overnight in the fridge and reheat in the oven at 350°F (175°C) for about 10 minutes for a freshly baked taste.
What should I do if my filling is too runny?
Very! If your filling seems runny, don’t worry; here’s a solution! First, try draining the ricotta in a fine-mesh sieve for 30 minutes to remove excess moisture. If it’s still too thin after mixing in other ingredients, you can blend in a bit of cornstarch or additional powdered sugar to thicken it up. Just make sure you mix gently to keep it creamy.
Are these Classic Cannoli Squares suitable for those with nut allergies?
Absolutely! Since this recipe doesn’t call for any nuts, it should be safe for individuals with nut allergies. However, always double-check the ingredients you use, particularly with options like garnishes (e.g., pistachios). If you wish to add extras, feel free to stick to nut-free options like additional chocolate chips or fruits for garnishing!
What’s the best way to serve Classic Cannoli Squares?
Very! These squares can be served warm or chilled, so you have options depending on your preference or occasion. For an extra touch, consider garnishing with chopped pistachios, a drizzle of chocolate, or even a dollop of whipped cream. These little additions can elevate your dessert to the next level!
Classic Cannoli Squares: Irresistibly Creamy & Easy to Make
Ingredients
Equipment
Method
- In a mixing bowl, combine ricotta cheese, powdered sugar, vanilla extract, cinnamon, and mini chocolate chips. Stir until smooth and creamy.
- Preheat your oven to 375°F (190°C).
- Roll out one pre-made pie crust on a floured surface; fit it into a 9x9-inch baking dish.
- Spread the ricotta filling evenly over the pie crust, leaving a small border around the edges.
- Roll out the second pie crust and place it over the filling, crimping the edges to seal. Brush with beaten egg and sprinkle sugar on top.
- Bake in the preheated oven for 30-35 minutes until golden brown.
- Cool for at least 30 minutes before slicing into squares and serving.
Leave a Reply