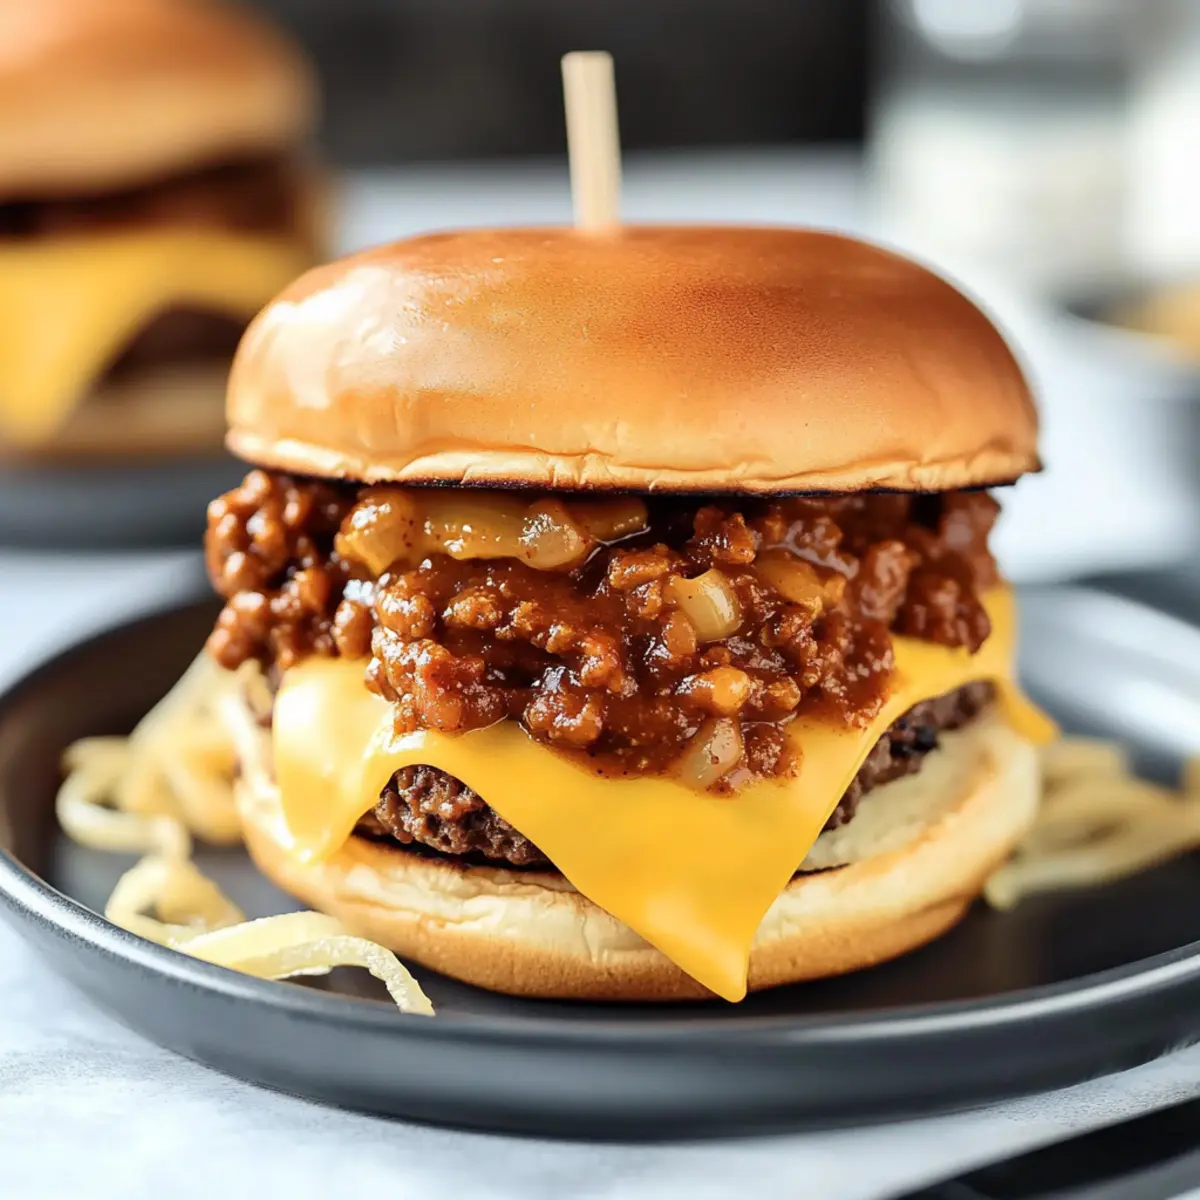
As I grilled outside one evening, the scent of sizzling beef mingled with the rich aroma of spices bubbling in my pot. This wasn’t just any dinner; it was the moment I unveiled my Chili Cheeseburgers—a delightful spin on the classic burger that combines the comfort of hearty chili with the gooeyness of melted cheese. Quick to prepare and packed with robust flavors, these burgers are perfect for those hectic weeknights when you crave something satisfying yet effortless. The warmth of the chili, the crunch of crispy onion strings, and the cheesy goodness all nestled in a fresh bun create a harmony that could turn any meal into a cherished occasion. So, are you ready to fire up your grill and transform your dinner into a flavor-packed experience?
Why are Chili Cheeseburgers irresistible?
Bold flavors: The combination of rich chili and gooey melted cheese ensures each bite is full of deliciousness. Quick and easy: These Chili Cheeseburgers come together in no time, making them a perfect weeknight dinner solution. Crowd-pleaser: Whether you’re hosting a casual get-together or a family meal, these burgers are sure to impress. Customizable: Adjust toppings and spices to suit your taste, making them versatile for everyone. Dive into your own culinary adventure and pair these with some garlic parmesan fries for the ultimate comfort meal!
Chili Cheeseburger Ingredients
For the Chili
• Lean Ground Beef – The foundation of the burger; choose 15-20% fat for juiciness.
• Diced Tomatoes (canned) – Adds moisture and flavor; use them undrained for best consistency.
• Brown Sugar – Balances the chili’s spice with a touch of sweetness.
• Roma Tomatoes, Diced – Freshness and texture; swap with any juicy tomatoes if needed.
• Onion Powder – Enhances savory notes; fresh sautéed onions can be used as an alternative.
• Chili Seasoning (packet) – Infuses flavor and spice; feel free to customize with your favorite blend.
• Tomato Paste – Thickens the chili, providing essential richness.
• Ground Cumin – Introduces earthy depth; a must-have for chili.
• Chili Powder – Essential for heat and flavor; adjust according to spice preference.
• Black Beans – Adds protein and texture; make sure to rinse and drain.
• Pinto Beans – Optional, but great for added heartiness to the chili.
For the Burger
• Salt and Pepper – Key for seasoning; adjust to your taste preferences.
• American Cheese – Melts beautifully, though cheddar is a delightful alternative.
• Queso Cheese Dip – Adds an extra layer of richness and flavor; easily found in the condiment aisle.
• Crispy Onion Strings – For that delightful crunch; substitute with fried onions if preferred.
• Good Quality Hamburger Buns – Choose fresh and sturdy buns to hold all the delicious toppings.
Embrace the delightful essence of these Chili Cheeseburgers, where every bite is a savory experience you won’t forget!
Step-by-Step Instructions for Chili Cheeseburgers
Step 1: Cook Beef
In a large skillet over medium-high heat, brown 1 pound of lean ground beef for about 7-10 minutes, breaking it up as it cooks until no longer pink. Drain any excess grease and set the cooked beef aside, allowing it to cool slightly while you prepare the chili.
Step 2: Prepare Chili
In a large stock pot, combine the cooked ground beef with 1 can of diced tomatoes (undrained), 2 diced Roma tomatoes, 1 tablespoon of brown sugar, 1 teaspoon of onion powder, a packet of chili seasoning, 2 tablespoons of tomato paste, 1 teaspoon of ground cumin, 1 tablespoon of chili powder, and 1 cup each of black and pinto beans. Stir well and bring to a boil, then reduce heat to low and let it simmer for 1 hour, stirring occasionally.
Step 3: Form Patties
While the chili is simmering, shape the remaining ground beef into 4 equal burger patties, roughly ½ inch thick. Season each patty lightly with salt and pepper on both sides to enhance the flavors. Let them rest while you prepare to cook.
Step 4: Cook Patties
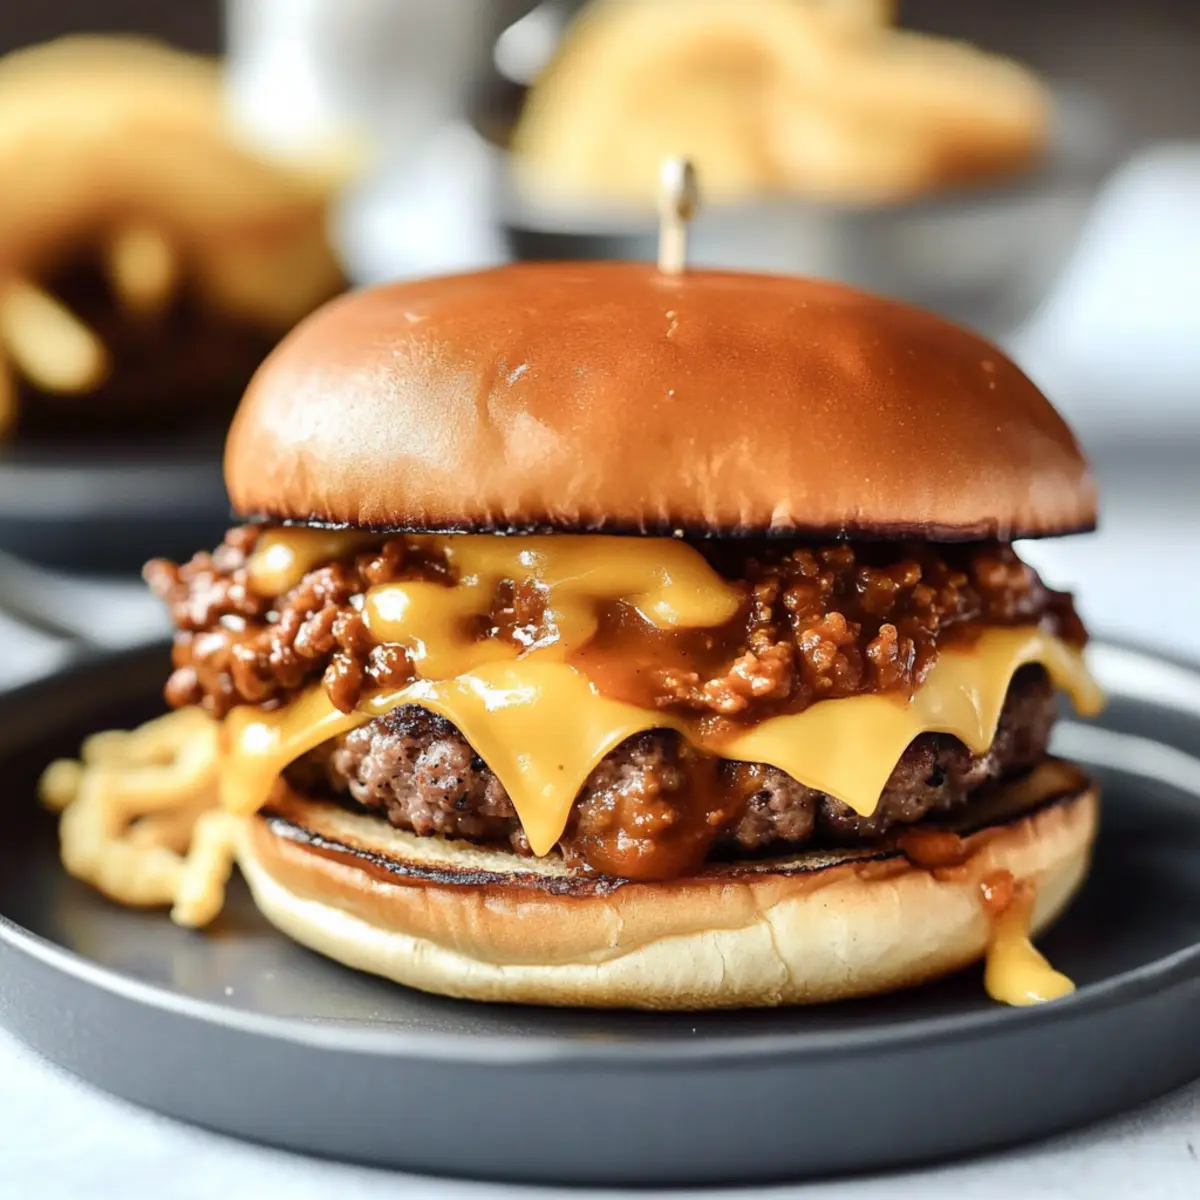
Preheat your grill or skillet to medium-high heat. Cook the burger patties for about 7 minutes on each side for medium doneness. In the last minute of cooking, place a slice of American cheese over each patty and cover with a lid to help it melt beautifully.
Step 5: Assemble Burgers
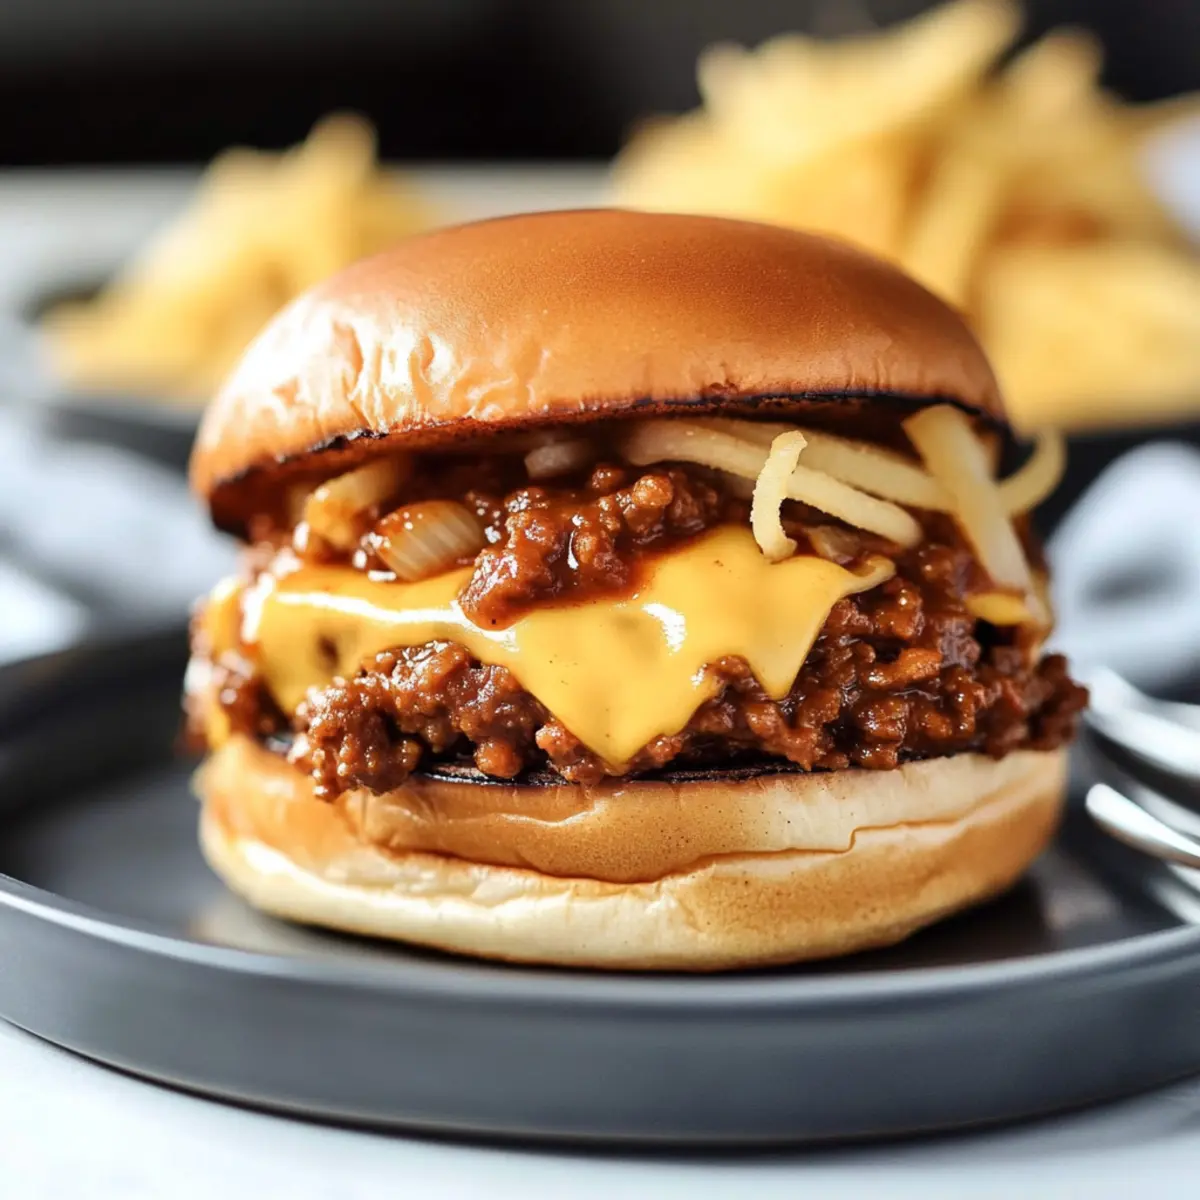
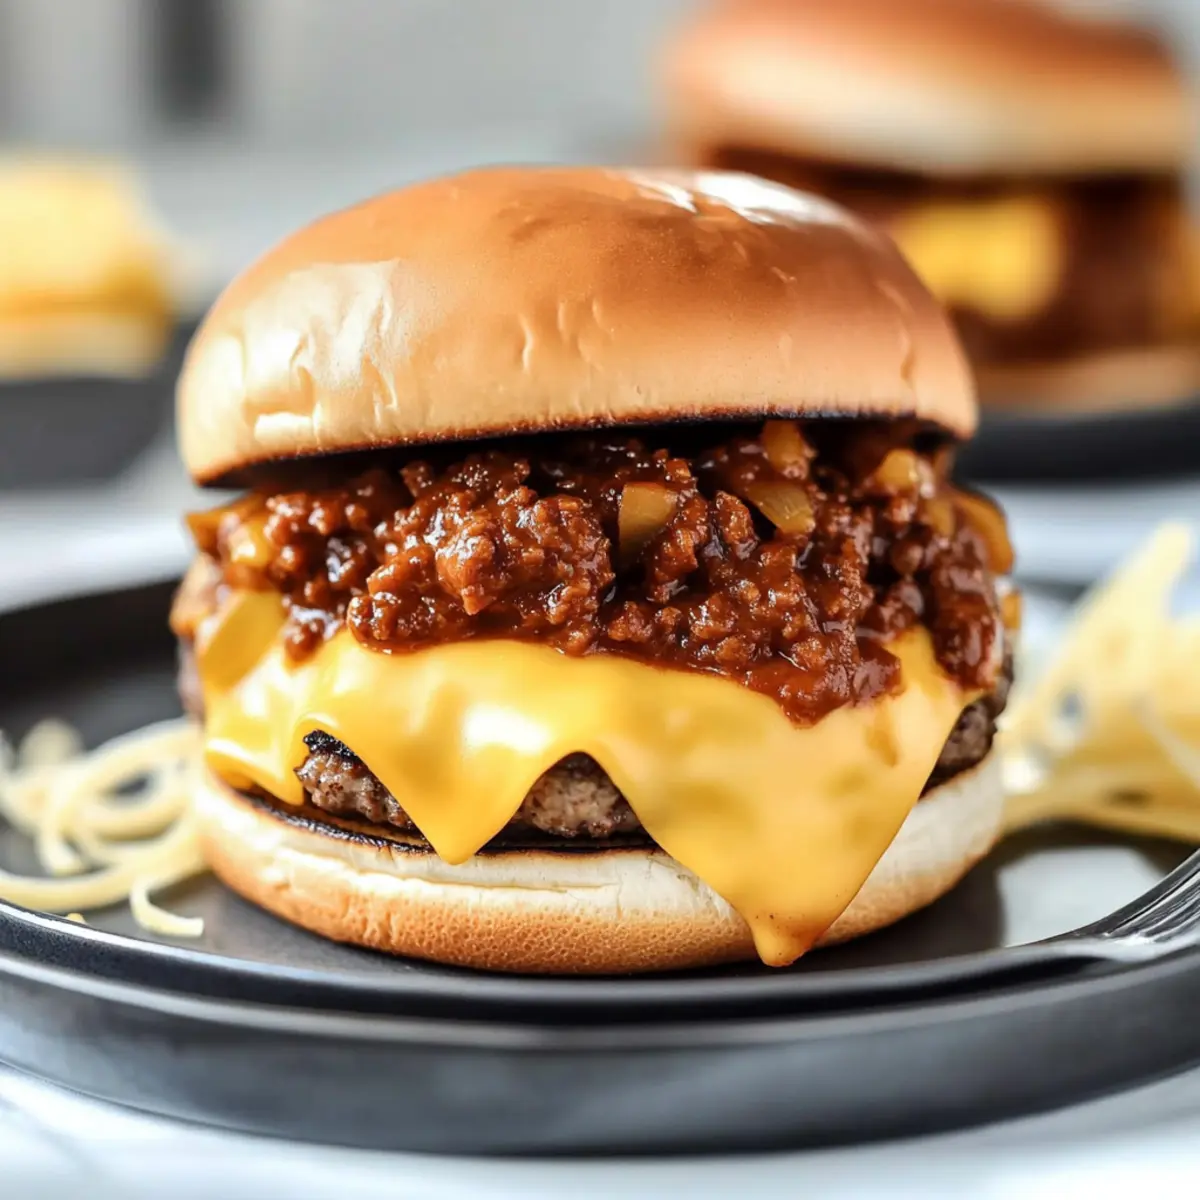
Once the patties are cooked and the cheese has melted, place each burger on the bottom half of a good quality hamburger bun. Generously spoon about ¼ cup of the warm chili over each burger, then drizzle on 1 tablespoon of queso cheese dip for an extra creamy layer. Top with crispy onion strings for that delightful crunch.
Step 6: Finish
Carefully place the top half of the bun over the assembled chili cheeseburgers. Serve immediately while everything is warm and melty, inviting your family and friends to dig in right away to experience the comforting flavors of these irresistible Chili Cheeseburgers.
Make Ahead Options
These Chili Cheeseburgers are perfect for meal prep enthusiasts! You can prepare the chili up to 3 days in advance, allowing the flavors to develop beautifully in the fridge—just be sure to let it cool completely before refrigerating to maintain quality. The burger patties can also be formed and kept in the fridge for up to 24 hours; simply wrap them individually to prevent drying out. When you’re ready to serve, reheat the chili on the stovetop until bubbling, grill or pan-fry the patties for about 7 minutes per side, adding cheese to melt during the last minute. With this make-ahead strategy, you’ll enjoy all the delicious comforts of your Chili Cheeseburgers without the last-minute rush!
Expert Tips for Chili Cheeseburgers
- Juiciness Matters: Use ground beef with 15-20% fat content to keep your Chili Cheeseburgers deliciously juicy. Avoid lean cuts to prevent dryness!
- Simmer Well: Allow the chili to simmer for at least one hour. This deepens the flavors and enriches your dish, creating a savory depth that’s unmissable.
- Spice It Up: Customize the chili’s spice level by adjusting the chili powder. A little tweak here can make your Chili Cheeseburgers as mild or fiery as you like!
- Perfect Cheese Melt: For the best cheeseburger experience, cover the patties with a lid during the last minute of cooking to achieve that gooey, melted cheese perfection.
- Onion Crunch: When adding crispy onion strings, ensure they’re fresh and crispy. They provide the delightful crunch that balances the softness of the bun and chili!
Chili Cheeseburgers Customizations
Feel free to make these Chili Cheeseburgers uniquely yours with some fun modifications and tasty swaps!
- Lean Option: Swap ground beef for ground turkey or chicken for a lighter yet still delicious burger experience.
- Spicy Kick: Use pepper jack cheese instead of American for an added layer of heat that complements the chili nicely.
- Add Heat: Incorporate jalapeños or drizzle some hot sauce on the burgers for extra spice—just the right touch for spice lovers!
- Bean Variations: Try adding kidney beans or chickpeas to the chili for different textures and flavors.
- Herb Infusion: Stir in chopped fresh cilantro or parsley to the chili right before serving for a burst of freshness.
- Vegan Twist: Replace meat and cheese with plant-based ground meat and vegan cheese for a wholesome, cruelty-free alternative.
- Bread Change: Use ciabatta rolls or whole-grain buns for a unique twist on the classic burger bun experience.
- Cheesy Upgrade: Mix in cream cheese or a dollop of sour cream into the chili before serving for an extra creamy texture.
Each variation will give your Chili Cheeseburgers a delightful twist, so feel free to experiment and discover your new favorite version! Not sure what to serve with them? Consider pairing them with some crisp garlic parmesan fries to complete your meal!
Storage Tips for Chili Cheeseburgers
Room Temperature: Leftover Chili Cheeseburgers should not be left out for more than 2 hours to prevent bacterial growth.
Fridge: Store any uneaten burgers in an airtight container for up to 3 days. To maintain flavor, keep the chili separate until ready to serve.
Freezer: If you’re looking to enjoy your Chili Cheeseburgers later, wrap them tightly in aluminum foil or freezer-safe bags, and they’ll last in the freezer for 2-3 months.
Reheating: When ready to eat, reheat burgers in the microwave for about 1-2 minutes or warm them on the grill to revive that fresh-off-the-grill taste!
What to Serve with Chili Cheeseburgers
Elevate your dinner experience with delightful sides that complement the rich flavors of your homemade burgers.
- Garlic Parmesan Fries: Crispy and savory, these golden fries are the perfect companion, adding crunch that pairs beautifully with the cheeseburger’s softness.
- Baked Onion Rings: A classic favorite, these crispy rings enhance the onion crunch already present in the burgers while adding a satisfying bite.
- Coleslaw: Light and refreshing, coleslaw brings a cool, crisp contrast to the warmth of the Chili Cheeseburgers, balancing flavors harmoniously.
- Cornbread: Soft and slightly sweet, cornbread adds a comforting texture, making it a delightful accompaniment to soak up any chili goodness.
- Simple Green Salad: A side of mixed greens with a light vinaigrette introduces fresh elements, cutting through the richness of the cheese and chili.
- Creamy Mac and Cheese: Indulge in this cheesy side that adds a comforting richness to the meal—everyone will love this classic combination.
- Beer or Iced Tea: Pair your meal with a cold craft beer or a refreshing iced tea to balance the flavors wonderfully while enhancing the overall dining experience.
Chili Cheeseburgers Recipe FAQs
What types of ground beef are best for Chili Cheeseburgers?
Absolutely! For best results, choose lean ground beef with a fat content of 15-20%. This allows your burgers to stay juicy while cooking. Very lean ground beef can lead to dry burgers, which would be a shame considering the richness of the chili topping.
How should I store leftover Chili Cheeseburgers?
To keep your Chili Cheeseburgers fresh, store any leftovers in an airtight container in the fridge for up to 3 days. To maintain the flavor, I recommend keeping the chili separate until you’re ready to serve. This way, you won’t lose that delicious freshness!
Can I freeze Chili Cheeseburgers for later?
Yes, you can! Just wrap each burger tightly in aluminum foil or in a freezer-safe bag. They’ll keep well in the freezer for about 2-3 months. When you’re ready to enjoy, simply thaw in the fridge overnight, then reheat in the microwave for about 1-2 minutes or warm them on the grill for the best taste.
What should I do if my chili is too spicy?
If you find your chili is a bit too spicy for your taste, don’t worry! You can adjust the flavor by adding a spoonful of sugar or honey to balance out the heat. Another method is to incorporate some extra diced tomatoes or a splash of cream to neutralize the spice level. Alternatively, serve it with a dollop of sour cream on top; it can help offset the heat deliciously!
What dietary considerations should I keep in mind?
Very! Given that these Chili Cheeseburgers contain cheese and beans, they may not be suitable for those allergic to dairy or legumes. As an alternative, feel free to use dairy-free cheese options and skip the beans if needed. For gluten-sensitive individuals, opt for gluten-free buns to ensure everyone enjoys this delightful dish!
Savory Chili Cheeseburgers That Melt in Your Mouth
Ingredients
Equipment
Method
- In a large skillet over medium-high heat, brown the ground beef for about 7-10 minutes, breaking it up until no longer pink. Drain excess grease and set aside.
- In a large stock pot, combine cooked ground beef with diced tomatoes, Roma tomatoes, brown sugar, onion powder, chili seasoning, tomato paste, ground cumin, and chili powder. Stir well and bring to a boil, then simmer for 1 hour.
- While chili simmers, shape remaining ground beef into 4 equal patties, about ½ inch thick. Season with salt and pepper.
- Preheat grill or skillet to medium-high heat. Cook patties for about 7 minutes on each side. In the last minute, add cheese on top and cover to melt.
- Place each cooked patty on the bottom half of a bun. Spoon chili over each patty, drizzle with queso cheese dip, and top with crispy onion strings.
- Place the top half of the bun over the burgers and serve immediately.
Leave a Reply