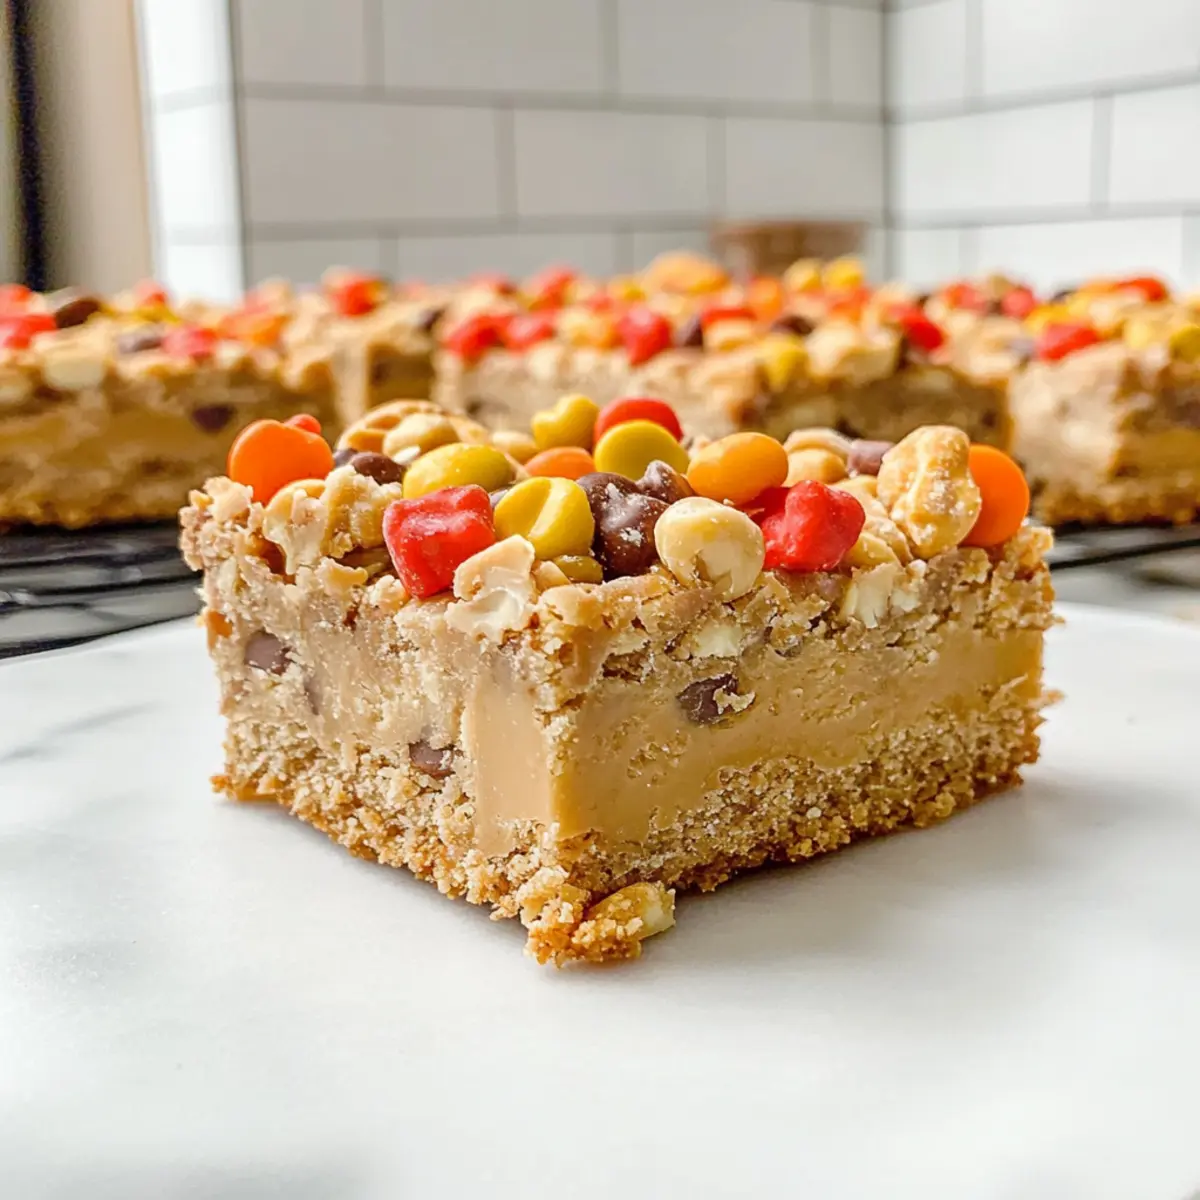
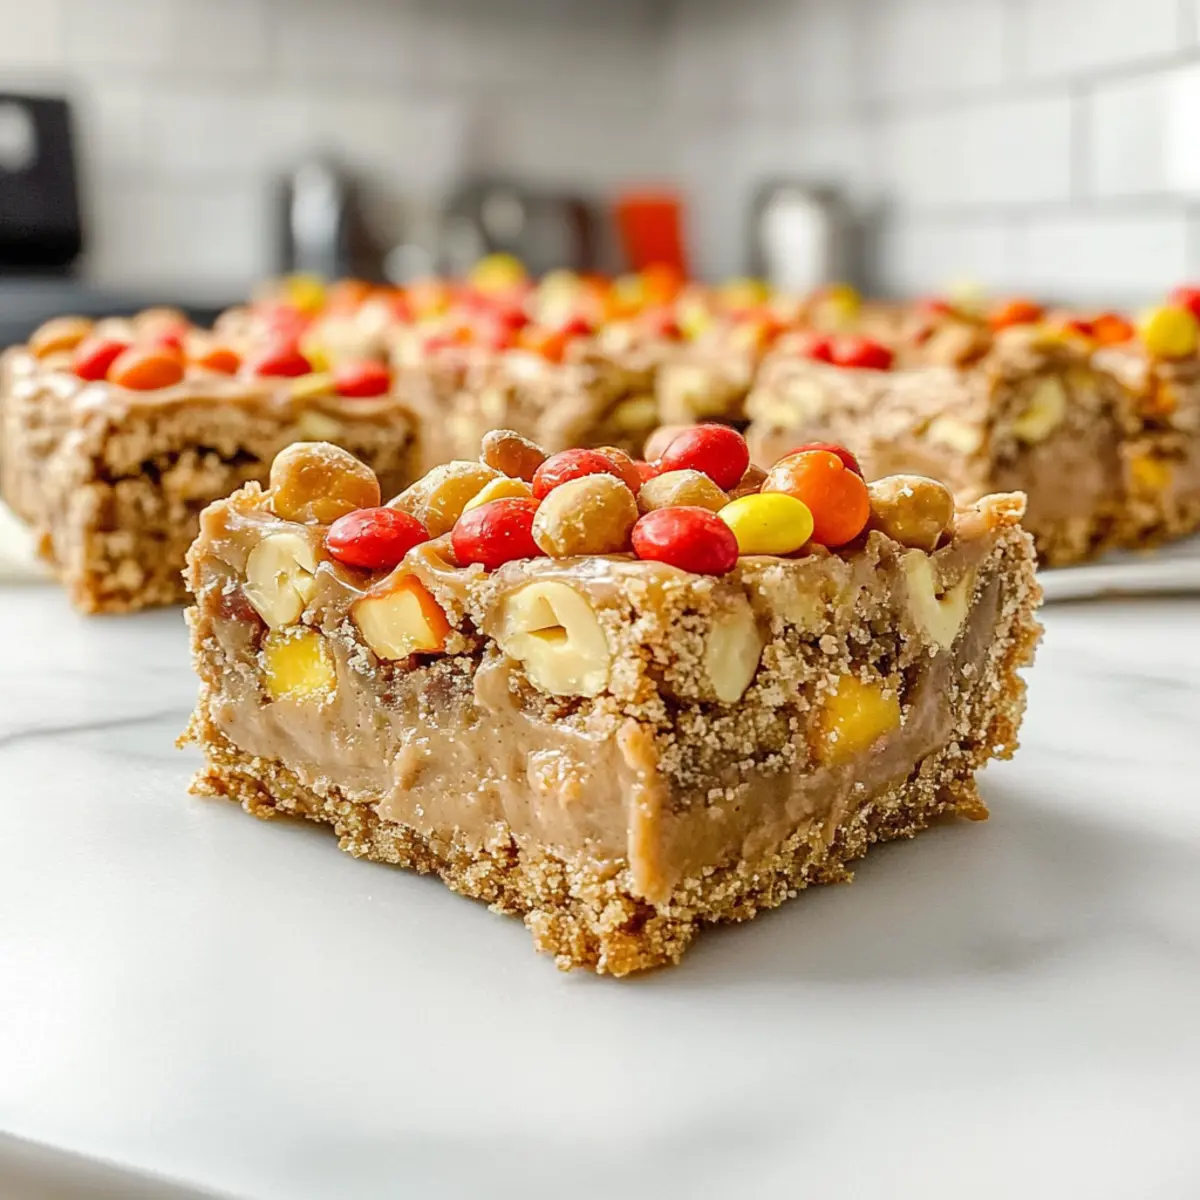
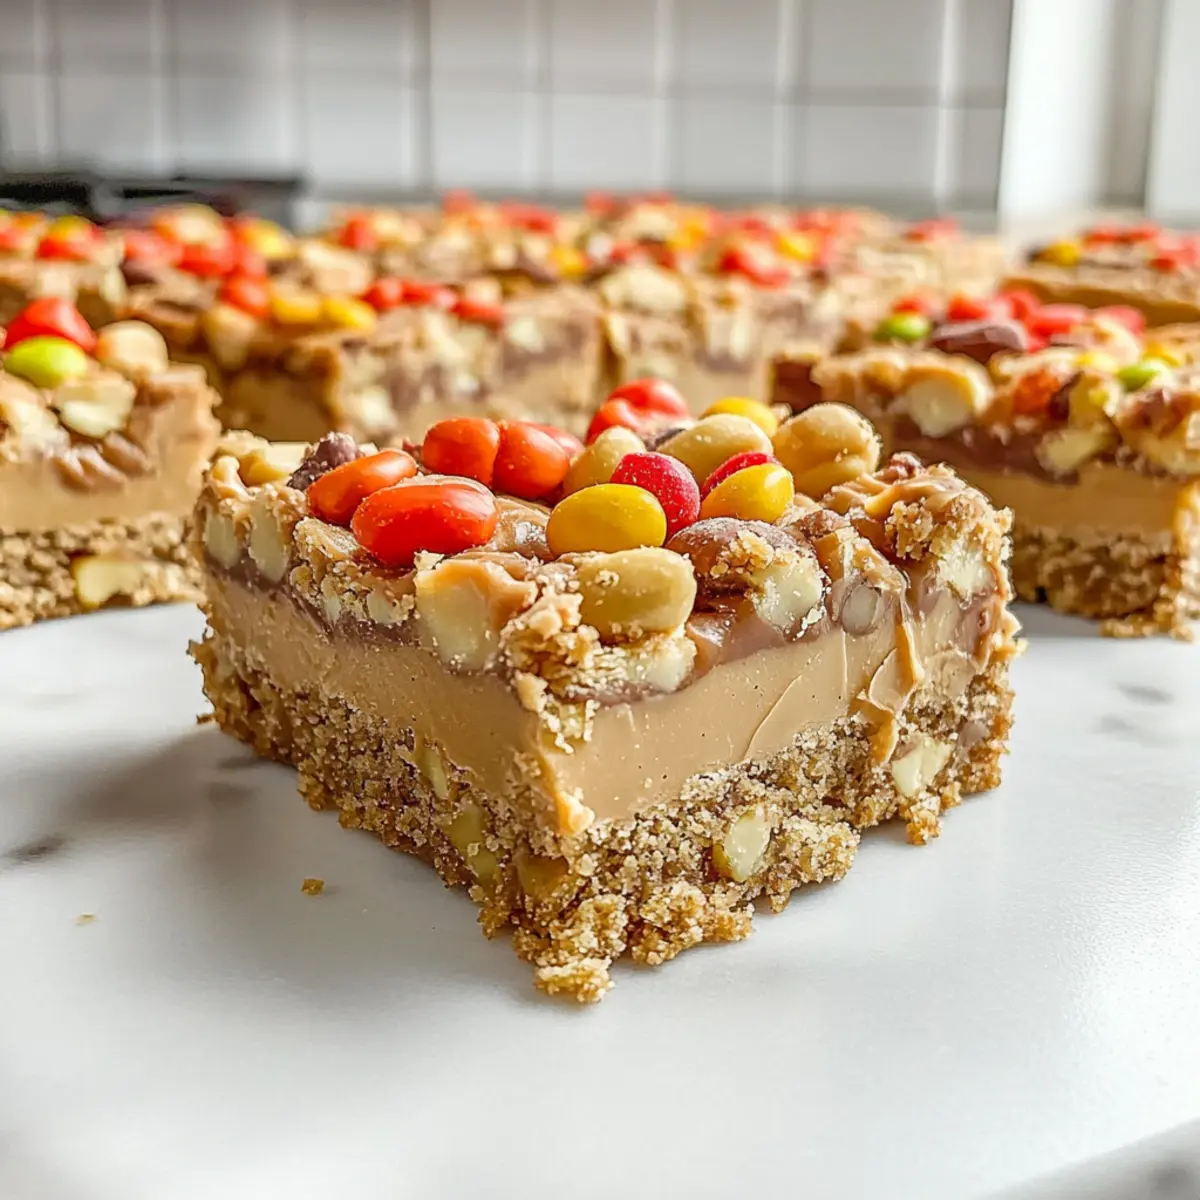
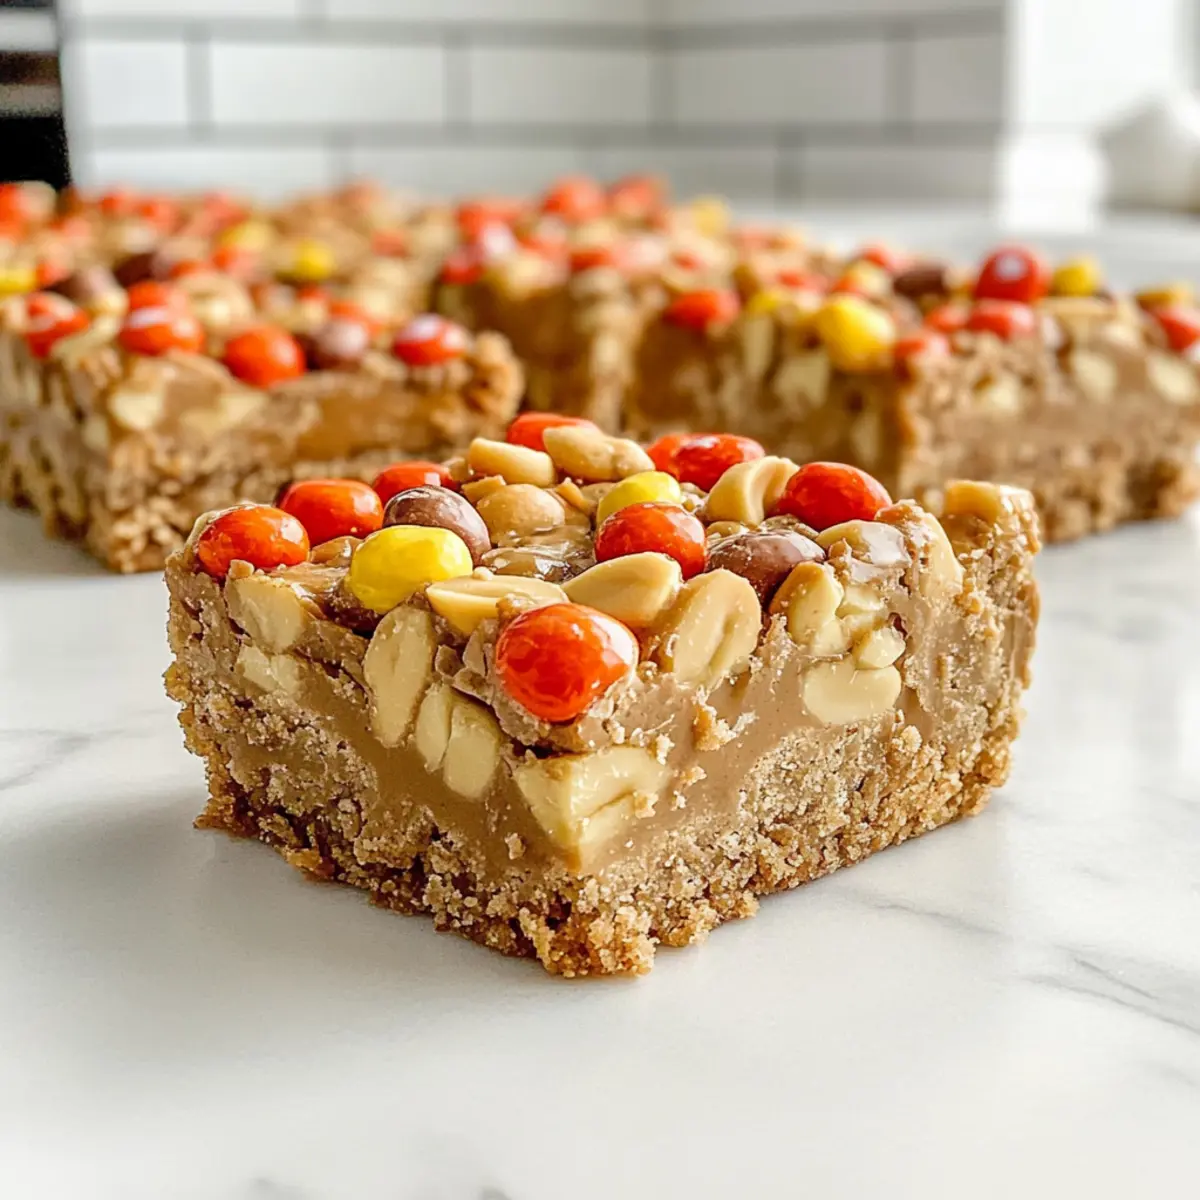
As I rummaged through my pantry last week, a forgotten bag of Nutter Butter cookies caught my eye. It was a mini crisis—what to do with those sweet, buttery bites? That’s when inspiration struck! Cue the Ultimate Nutter Butter Peanut Butter Bars, an indulgent treat designed for anyone who can’t get enough of that creamy, nutty goodness. With a dreamy, gooey filling nestled in a rich Nutter Butter crust, these bars are not just a quick and easy dessert—they’re also a total crowd-pleaser. Perfect for potlucks or just satisfying that late-night sweet tooth, every bite reveals crunchy peanuts and colorful Reese’s Pieces for added fun. Are you ready to make your snack time a little more exciting?
Why Are These Nutter Butter Bars Irresistible?
Decadent Layers: The combination of a buttery Nutter Butter crust and a gooey peanut butter filling makes every bite an explosion of flavor.
Crowd-Pleasing Treat: Perfect for gatherings, these bars will impress friends and family with their rich taste and delightful toppings.
Easy to Make: With a straightforward process, you’ll whip up these treats in no time—ideal for those busy weeknights.
Versatile Customizations: Feel free to experiment by adding chocolate chips or switching up the nuts to suit your taste. Check out our Cranberry Bliss Bars for another fun twist on dessert!
Satisfies Sweet Cravings: These bars aren’t just good—they’re great! You’ll want to keep them stocked for any craving. Serve them with Roasted Butternut Squash for a balanced meal that’s still delicious!
BEST Nutter Butter Bars Ingredients
• Get ready to create deliciousness!
For the Crust
- Nutter Butter cookies – You’ll need 44 cookies (32 for the crust, 12 chopped for topping) for that rich buttery foundation.
- Melted butter – Binds the crust together, ensuring it remains moist and flavorful.
- Brown sugar – Adds a touch of sweetness and helps keep the crust soft and tasty.
- Salt – Enhances the overall flavor; flaky sea salt can provide a delightful texture contrast.
For the Filling
- Sweetened condensed milk – Creates a gooey, scrumptious filling when mixed with the peanut butter.
- Creamy peanut butter – The star of the filling—heat it before combining for an easy pour.
- Peanut butter chips – Increases that irresistible peanut butter flavor; swap half for chocolate chips if you’re feeling adventurous.
- Roasted peanuts – Adds a lovely crunch that balances the creaminess; any preferred nut works as a substitute.
For the Topping
- Reese’s Pieces candy – Sprinkles of color and sweetness on top to brighten your day!
- Flaky sea salt (optional) – Adds a savory note to counteract the sweetness, sprinkle before or after baking.
Step‑by‑Step Instructions for BEST Nutter Butter Bars
Step 1: Preheat the Oven
Begin by preheating your oven to 350°F (175°C). While it warms up, prepare a 9×13-inch pan by lining it with parchment paper, allowing some overhang for easy removal later. This step ensures your BEST Nutter Butter Bars have the perfect environment—cooking evenly and achieving that delightful golden color.
Step 2: Make the Crust
Crush 32 Nutter Butter cookies into fine crumbs using a food processor or a resealable bag and rolling pin. In a mixing bowl, combine the crumbs with brown sugar and a pinch of salt, then pour in melted butter. Mix until all ingredients are well incorporated. Press this mixture firmly into the bottom of the prepared pan to form a smooth, even crust that will hold together nicely after baking.
Step 3: Prepare the Filling
In a microwave-safe bowl, melt ¼ cup of creamy peanut butter in the microwave in 20-second intervals until it’s smooth and pourable. In another bowl, combine the melted peanut butter with sweetened condensed milk, stirring until you achieve a creamy, homogeneous mixture. This luscious filling will bring the decadent richness your Nutter Butter Bars deserve.
Step 4: Assemble the Bars
Layer the peanut butter chips and chopped roasted peanuts over the Nutter Butter crust, distributing them evenly for a delightful crunch. Pour the creamy peanut butter and sweetened condensed milk filling over the toppings, making sure it covers everything well. Sprinkle the remaining chopped Nutter Butter cookies and colorful Reese’s Pieces candy on top, pressing down gently to keep them in place.
Step 5: Bake
Carefully place the assembled bars into the preheated oven and bake for 30-35 minutes. Your BEST Nutter Butter Bars are ready when the edges turn golden brown and a toothpick inserted in the center comes out clean. Keep an eye on them as they bake to ensure they don’t overcook—golden edges are your cue for perfection!
Step 6: Cool and Refrigerate
Once finished baking, remove the pan from the oven and allow the bars to cool in the pan on a wire rack for about 30 minutes. Afterward, transfer them to the refrigerator and let them chill for at least 2 hours. Chilling allows the filling to set properly, making cutting into squares much easier and resulting in neater bars.
Step 7: Drizzle & Serve
After the bars are fully chilled, melt the remaining peanut butter until it’s runny for drizzling. Carefully drizzle this melted peanut butter over the cooled bars for a beautiful finishing touch. Slice them into squares, and voilà, your irresistible BEST Nutter Butter Bars are ready to be enjoyed!
Expert Tips for the BEST Nutter Butter Bars
-
Crush Them Well: Ensure you’re thoroughly crushing the Nutter Butter cookies to avoid a crumbly crust. A food processor or rolling pin works best!
-
Right Consistency: When melting the peanut butter for drizzling, it should be smooth and slightly runny. Microwave in short increments for perfect consistency.
-
Press Firmly: Make sure to press the crust mixture firmly into the pan so it holds together nicely after baking. Use a flat-bottom object for best results.
-
Cool Before Cutting: Always allow the bars to cool completely before cutting into squares. This will help maintain their shape and make for a cleaner cut.
-
Optional Salt: If you love contrast, sprinkle flaky sea salt before or after baking for an extra punch of flavor that complements the sweetness of the bars.
-
Storage Tips: Keep your BEST Nutter Butter Bars in an airtight container at room temperature for up to a week, or refrigerate for a longer shelf life.
What to Serve with Ultimate Nutter Butter Peanut Butter Bars
Elevate your dessert experience with delightful pairings that will make your taste buds sing and your gatherings unforgettable.
- Ice Cream Sundae: A scoop of creamy vanilla ice cream or even chocolate complements the rich bars, creating a delightful contrast in temperature and flavor.
- Fresh Berries: Strawberries, raspberries, or blueberries add a refreshing pop of sweetness and acidity that balances the richness of the bars perfectly.
- Whipped Cream: Light, airy whipped cream adds volume and a hint of sweetness that enhances the overall dessert experience. Drizzle some chocolate sauce for added fun!
- Coffee or Espresso: A warm cup of coffee or a shot of espresso pairs beautifully with the sweet flavors, providing a lovely contrast and kick of energy.
- Milkshake: Blend up a classic peanut butter milkshake for an indulgent, creamy drink that mimics the flavors in the bars—pure bliss with every sip!
- Chocolate Drizzle: For an extra layer of flavor, drizzle melted chocolate over the bars before serving. This rich addition enhances every bite while looking stunning.
- Nut Mix: A bowl of lightly salted mixed nuts adds crunch and salty contrast, making for a satisfying nibble alongside these sweet treats.
- Sweet Tea: A glass of homemade sweet tea or Arnold Palmer (iced tea with lemonade) offers a refreshing, easy drink option that cools off the sweetness.
- Banana Slices: These can be layered on top or served on the side, offering a creamy, fruity balance that pairs exceptionally well with the nutty flavors.
Make Ahead Options
These irresistible BEST Nutter Butter Bars are perfect for meal prep and will help you save time during busy weeks! You can prepare the crust (made from Nutter Butter cookies, melted butter, and brown sugar) up to 24 hours in advance. Simply crush the cookies, combine with melted butter and brown sugar, and press into the pan; cover and refrigerate until ready to bake. Additionally, you can make the filling by melting the peanut butter and mixing it with sweetened condensed milk up to 3 days ahead. Store it in an airtight container in the fridge. When you’re ready to enjoy your bars, simply assemble the toppings and filling on your prepped crust, bake, and drizzle with more peanut butter, giving you that delightfully decadent treat with minimal effort!
How to Store and Freeze BEST Nutter Butter Bars
Room Temperature: Keep the bars in an airtight container at room temperature for up to 7 days. This will help maintain their moist texture and flavor.
Fridge: For an even longer shelf life, store the bars in the refrigerator. They can last up to 2 weeks while remaining deliciously creamy.
Freezer: To freeze, cut the bars into squares and layer them between parchment paper in a freezer-safe container. They can be frozen for up to 3 months without losing taste.
Reheating: To enjoy, simply thaw the bars in the fridge overnight or at room temperature for a couple of hours. Drizzle with melted peanut butter before serving for an extra treat!
BEST Nutter Butter Bars Variations
Feel free to get creative with these bars and tailor them to your tastes or dietary needs!
- Nut-Free: Substitute sunflower seed butter for peanut butter to keep that creamy texture while making it nut-free. Ideal for school snacks!
- Gluten-Free: Use gluten-free Nutter Butter cookies to maintain that delicious flavor without gluten. You won’t even notice the difference!
- Chocolate Twist: Add a layer of melted chocolate ganache before chilling for a rich, fudgy flavor that chocolate lovers will adore. The combination of flavors creates an incredible dessert experience.
- Dairy-Free: Swap sweetened condensed milk for coconut milk and use dairy-free chocolate chips for a delightful vegan option. These bars will be a hit at any gathering!
- Fruity Surprise: Toss in a handful of dried cranberries or chopped dried cherries into the filling for a fruity lift—a playful twist that brightens each bite!
- Spiced Up: Sprinkle cinnamon or a pinch of cayenne pepper into the crust mixture for a warm, aromatic surprise that elevates the dessert. It’s a simple change that can radically alter the taste experience.
- Extra Crunch: Mix chopped pretzels or crushed graham crackers into the filling for an exciting textural contrast. The crunch will make each bite even more satisfying.
- Choco-Peanut Delight: Use half peanut butter chips and half chocolate chips to create a delightful duo of flavors. Drizzling melted milk chocolate on top can add a touch of decadence!
These delicious ideas will help you cater to everyone’s tastes or dietary restrictions. If you’re looking for more inventive desserts, consider trying out my Cranberry Bliss Bars for a different twist or complement these bars with a side of Roasted Butternut Squash for a heartier meal!
BEST Nutter Butter Bars Recipe FAQs
What type of Nutter Butter cookies should I use?
Absolutely! For the BEST Nutter Butter Bars, use the classic Nutter Butter cookies, as their flavor and texture are perfect for both the crust and topping. Ensure they’re fresh without any dark spots or discoloration, which can indicate staleness.
How should I store the bars after I make them?
You can store your BEST Nutter Butter Bars in an airtight container at room temperature for up to 7 days. If you’d like them to last even longer, refrigerate them, and they’ll stay fresh for up to 2 weeks. Always allow them to cool completely before storing to maintain their texture.
Can I freeze these bars, and if so, how?
Yes, you can freeze your Nutter Butter Bars! Cut them into squares and layer them between sheets of parchment paper in a freezer-safe container. They’ll retain their deliciousness for up to 3 months. When you’re ready to enjoy, simply thaw them in the fridge overnight or at room temperature for a couple of hours.
How can I prevent the crust from crumbling?
Very! To ensure your crust holds together, make sure you crush the Nutter Butter cookies into fine crumbs and press the mixture firmly into the pan. Using a flat-bottom object, like a glass, will help create a compact layer. Let it cool completely before cutting for neat squares.
Are these bars safe for kids with peanut allergies?
If you have concerns about allergies, it’s best to avoid this recipe, as it contains both peanut butter and peanut ingredients. You could consider making a nut-free version using sun butter or other nut alternatives, but always check for potential allergens if you plan to serve these to others, especially children.
What can I substitute if I don’t have peanut butter chips?
The more the merrier! If you don’t have peanut butter chips on hand, feel free to substitute half of them with chocolate chips or other flavored chips like butterscotch. This will still offer a delightful taste while adding variety to your BEST Nutter Butter Bars.
Irresistibly Gooey BEST Nutter Butter Bars You Can't Resist
Ingredients
Equipment
Method
- Preheat your oven to 350°F (175°C) and prepare a 9x13-inch pan by lining it with parchment paper.
- Crush 32 Nutter Butter cookies into fine crumbs and mix with brown sugar and salt. Pour in melted butter and mix.
- Press the crust mixture into the bottom of the prepared pan evenly.
- Melt 0.5 cups of creamy peanut butter in the microwave. Combine with sweetened condensed milk until smooth.
- Layer peanut butter chips and roasted peanuts on the crust, then pour the peanut butter filling over.
- Sprinkle the remaining chopped Nutter Butter and Reese's Pieces on top, pressing them down gently.
- Bake for 30-35 minutes until golden brown and a toothpick comes out clean.
- Cool the bars in the pan for 30 minutes, then refrigerate for at least 2 hours.
- Melt remaining peanut butter for drizzling, slice into squares, and enjoy.
Leave a Reply