“Did you hear about the coffee jello craze?” I overheard someone mention it at the café, and my curiosity was piqued. Imagine indulging in a dessert that not only satisfies your sweet tooth but also fuels your active lifestyle! This High Protein Creamy Coffee Jello is a game-changer—a no-bake delight that’s rich in protein and naturally sweetened, making it a guilt-free treat you can enjoy anytime. With its velvety texture and a kick of coffee flavor, it’s perfect as a refreshing post-workout snack or a delightful way to end your day. Plus, it’s gluten-free and customizable to your preferred sweetness level! Are you ready to elevate your dessert game with this unique creation? Let’s dive in!
Why is Protein Coffee Jello special?
Delightfully Unique: This high protein creamy coffee jello combines indulgent flavors with nutritional benefits, making it an irresistible dessert.
No-Bake Convenience: Save time in the kitchen! With minimal effort, this no-bake recipe is perfect for busy schedules.
Versatile Customization: Easily adjust the sweetness or swap Greek yogurt for non-dairy alternatives, making it suitable for various dietary needs.
Guilt-Free Treat: With only 156 calories and a substantial 16g of protein per serving, it satisfies your cravings without the guilt.
Crowd-Pleasing Appeal: Impress your family or guests with this unexpected yet delightful dessert. It’s bound to be a talk of the table!
Elevate your dessert game further by checking out these Cinnamon Roll Protein muffins that harmonize beautifully with this jello!
Protein Coffee Jello Ingredients
For the Jello Base
• Milk – A base liquid that can be any variety; soy milk works wonderfully as a dairy-free option.
• Raw Cane Sugar – This sweetness enhancer can be substituted with other sweeteners like honey or agave if desired.
• Gelatin Powder – Provides essential structure; use one packet from any trusted brand to set your jello.
• Espresso Powder – Infuses a rich coffee flavor; instant coffee is a great substitute if you’re in a pinch.
• Plain Greek Yogurt – Adds creaminess and protein; opt for dairy-free yogurt for a vegan-friendly choice.
• Vanilla – A flavor enhancer; pure vanilla extract elevates the overall taste beautifully.
• Salt – Just a pinch balances the sweetness perfectly, enhancing the overall flavor profile.
This Protein Coffee Jello is not only delicious but boasts a remarkable 16g of protein per serving, making it a fantastic addition to your dessert repertoire!
Step‑by‑Step Instructions for Protein Coffee Jello
Step 1: Combine Ingredients
In a medium saucepan, mix together 1 cup of milk, 1/4 cup raw cane sugar, 1 packet of gelatin powder, 1 tablespoon espresso powder, 1 teaspoon pure vanilla extract, and a pinch of salt. Stir the mixture gently with a whisk until everything is well combined.
Step 2: Heat the Mixture
Place the saucepan over medium heat and continuously stir until the mixture begins to simmer. You’ll notice the sugar and gelatin dissolving completely, and it should take about 4-5 minutes. Be careful not to let it boil, as that may affect the gelatin’s setting ability.
Step 3: Cool the Mixture
Once it simmers, remove the saucepan from heat and let the mixture cool for about 2-3 minutes. This cooling step is critical as it prevents the Greek yogurt from curdling when added later. You’ll know it’s ready when the steam has subsided, and it’s no longer hot to the touch.
Step 4: Blend with Greek Yogurt
In a mixing bowl, add 1 cup of plain Greek yogurt. Slowly pour in the cooled coffee mixture while whisking vigorously until it’s completely smooth and creamy. This step is essential in creating the delightful texture of your Protein Coffee Jello, so mix until you see no lumps.
Step 5: Pour into Serving Glasses
Carefully divide the creamy mixture into serving glasses or bowls, filling them about three-quarters full. This allows space for any additional toppings later on. Set the glasses on a flat surface, making sure they are stable and won’t tip over during the chilling process.
Step 6: Refrigerate to Set
Cover the glasses with plastic wrap or lids and place them in the refrigerator. Let your Protein Coffee Jello chill for approximately 3-4 hours, or until the jello is completely set. You’ll know it’s ready when it holds its shape firmly and you can shake it gently without any movement.
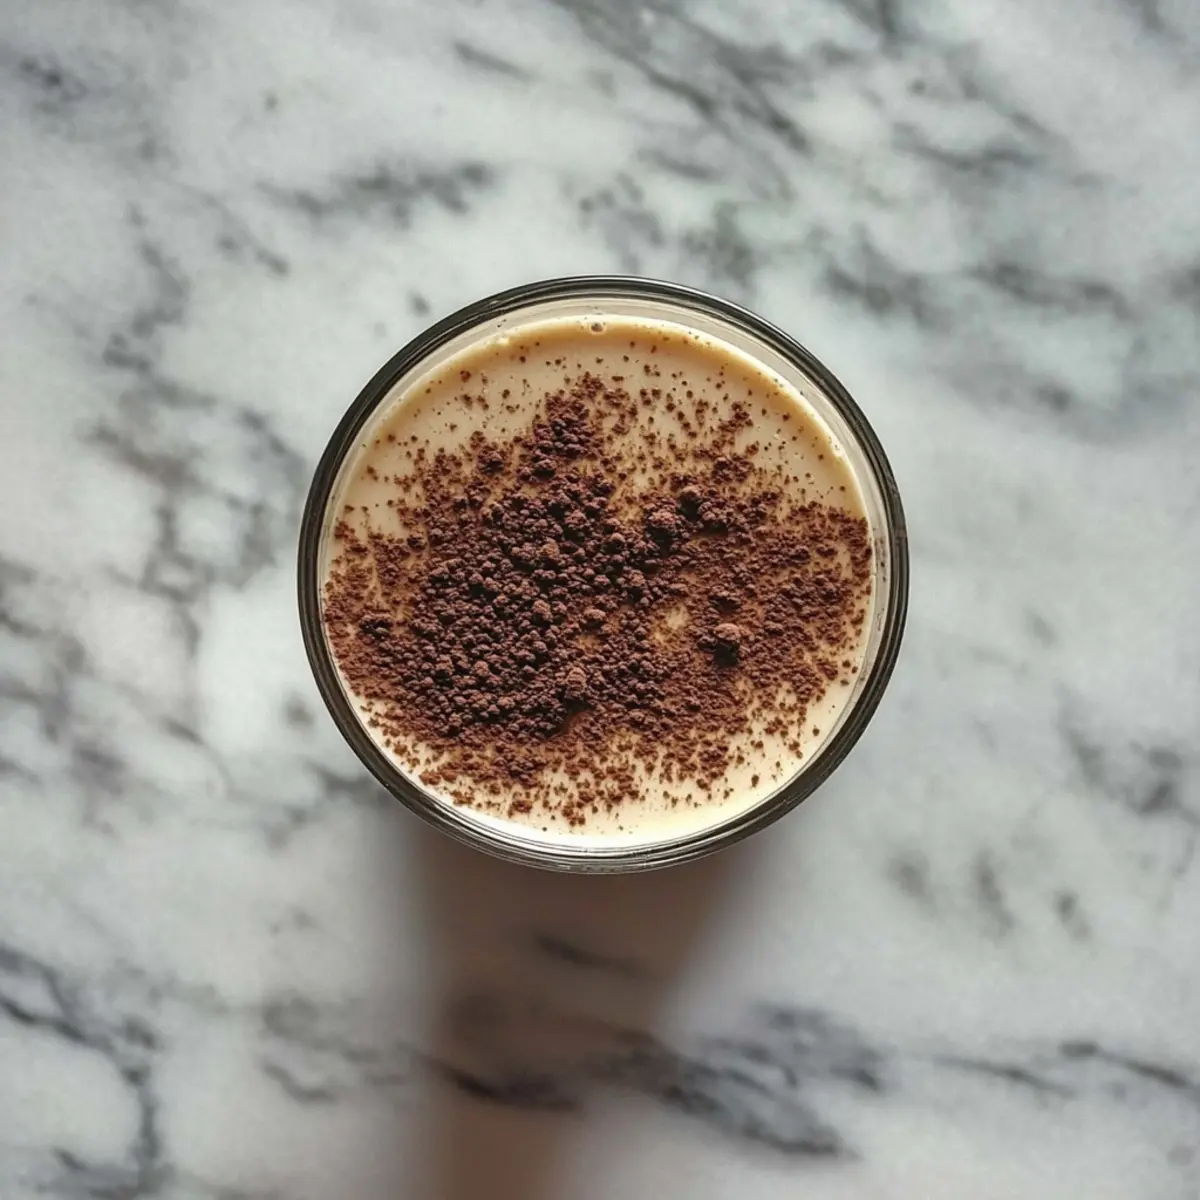
Step 7: Garnish and Serve
Once set, take the jello out of the refrigerator and remove the coverings. For an extra touch, sprinkle cacao powder or shaved chocolate over the top before serving. This adds not only visual appeal but additional flavor, enhancing your delicious Protein Coffee Jello.
Protein Coffee Jello Variations
Feel free to customize your Protein Coffee Jello to suit your taste and dietary needs!
-
Dairy-Free: Substitute Greek yogurt with coconut or almond yogurt for a vegan-friendly version. It maintains a lovely creaminess while infusing tropical notes.
-
Sugar-Free: Replace raw cane sugar with stevia, monk fruit, or erythritol for a guilt-free dessert. This ensures you can enjoy it without the extra calories!
-
Extra Protein: Boost the protein content by adding a scoop of your favorite protein powder to the mixture. This is a great way to make it an even more satisfying post-workout treat.
-
Flavor Fun: Add a splash of your favorite flavored extract, like hazelnut or almond, for a fun twist. Imagine the unique layers of flavor you could create!
-
Mocha Delight: Combine the espresso powder with cocoa powder for a mocha flavor boost, giving the jello an extra chocolatey richness. Chocolate lovers will rejoice!
-
Nutty Texture: Fold in some crushed nuts, like almonds or walnuts, before refrigerating for a delightful crunch that contrasts beautifully with the creamy texture.
-
Heat It Up: For a spicy kick, mix in a dash of cayenne pepper or a little cinnamon. The warmth will complement the coffee flavor without overwhelming it.
-
Serving Suggestions: Consider garnishing with whipped coconut cream for a lovely finishing touch. It’s both aesthetically pleasing and delicious!
Elevate your dessert experience even more by trying these delightful Cinnamon Roll Protein muffins; they complement your Protein Coffee Jello beautifully!
How to Store and Freeze Protein Coffee Jello
Fridge: Store the Protein Coffee Jello in airtight containers in the refrigerator for up to 4-5 days. This keeps it fresh and maintains its lovely texture.
Freezer: While it’s best enjoyed fresh, you can freeze the jello for up to 2 months. Divide it into portions, then wrap tightly in plastic wrap before placing in a freezer-safe bag.
Thawing: To thaw, move the frozen jello to the fridge for several hours or overnight. Avoid microwave thawing to preserve its texture.
Reheating: If you prefer slightly warmed jello, place it in a bowl and allow it to sit at room temperature for about 15 minutes before enjoying.
Make Ahead Options
These Protein Coffee Jello cups are perfect for meal prep enthusiasts! You can prepare the jello base up to 24 hours in advance, allowing the flavors to meld beautifully. Simply follow the cooking steps, let the mixture cool, blend it with Greek yogurt, and then divide it into serving glasses. Store them covered in the refrigerator for up to 3-5 days without compromising quality. If you’re looking to ensure freshness, keep the jello away from strong-smelling foods in the fridge. When ready to serve, just garnish with cacao powder or shaved chocolate, giving you a delightful dessert with minimal effort during those busy weeknights!
Expert Tips for Protein Coffee Jello
-
Dissolve Gelatin Thoroughly: Use a whisk when mixing ingredients to ensure the gelatin fully dissolves; this prevents a grainy texture in your Protein Coffee Jello.
-
Cool Before Yogurt: Always let the mixture cool for 2-3 minutes before adding Greek yogurt. This step avoids curdling and maintains a smooth consistency.
-
Check Your Sweetness: Taste the mixture before pouring into glasses; adjust sweetness as needed. Remember, the final jello will be less sweet once chilled.
-
Choose the Right Milk: Opt for low-fat or plant-based milk for a lighter version, but make sure it complements the coffee flavor; soy milk is a great choice.
-
Store Properly: Keep your Protein Coffee Jello in covered containers in the refrigerator for up to 4-5 days, ensuring it stays fresh and delicious!
What to Serve with High Protein Creamy Coffee Jello
Looking to create a delightful dining experience with this creamy coffee dessert?
- Fresh Berries: The tartness of strawberries or blueberries balances the rich jello, adding a juicy burst of flavor.
- Granola Crumble: A crunchy granola topping introduces a delightful texture contrast, enhancing the overall dessert experience.
- Whipped Coconut Cream: For a dairy-free twist, this light and fluffy topping adds a decadent finish with a tropical hint.
- Dark Chocolate Shavings: A sprinkle of dark chocolate on top elevates the dessert, offering a luxurious touch that resonates with coffee lovers.
- Iced Americano: Pair your jello with a refreshing iced Americano to intensify the coffee experience, creating a perfect afternoon treat.
- Almond Biscotti: Dip these crunchy treats into your jello for a delightful play on textures and a comforting, classic Italian flavor combination.
- Chilled Coconut Water: The lightness of coconut water complements the richness of the jello, ensuring a refreshing palate cleanser.
- Cinnamon-Spiced Nuts: A handful of lightly spiced nuts introduces savory warmth and fun crunch, enhancing the luxurious jello beautifully.
- Vanilla Ice Cream: A scoop of creamy vanilla ice cream alongside the jello brings indulgence to your dessert plate, creating harmony in flavors.
- Fresh Mint Leaves: Garnishing with fresh mint not only adds a pop of color but revives the palate with freshness after each luscious bite.
Protein Coffee Jello Recipe FAQs
What kind of milk should I use for the Protein Coffee Jello?
You can use any milk variety, but soy milk is highly recommended for those looking for a dairy-free option. The choice of milk can impact the overall flavor and creaminess, so choose one that complements the coffee essence well.
How should I store the Protein Coffee Jello, and how long does it last?
Store your Protein Coffee Jello in airtight containers in the refrigerator for up to 4-5 days. This keeps it fresh and preserves its delightful texture. If you plan to enjoy it later, consider freezing it for up to 2 months to maintain its quality.
Can I freeze Protein Coffee Jello?
Absolutely! While it’s best enjoyed fresh, you can freeze it by first dividing the jello into portions. Wrap each portion tightly in plastic wrap, then place them in freezer-safe bags. When ready to enjoy, simply thaw it in the refrigerator overnight for the best results.
What if my jello doesn’t set properly?
If your Protein Coffee Jello doesn’t set, it could be due to not dissolving the gelatin completely or adding the yogurt while the mixture was too hot. To troubleshoot, try reheating the mixture gently, blending in more gelatin, and then cooling it again before incorporating the yogurt.
Is this recipe suitable for anyone with dietary restrictions?
Yes! This recipe is gluten-free and easily customizable. You can replace Greek yogurt with dairy-free yogurt for a vegan option or substitute raw cane sugar with sweeteners like stevia or agave for a lower-sugar version. Just be mindful of any specific allergies when selecting your ingredients.
Protein Coffee Jello: A Decadent Treat for Coffee Lovers
Ingredients
Equipment
Method
- In a medium saucepan, mix together milk, raw cane sugar, gelatin powder, espresso powder, vanilla extract, and salt. Stir gently with a whisk until combined.
- Place the saucepan over medium heat, stirring continuously until the mixture simmers, about 4-5 minutes.
- Remove from heat and let the mixture cool for about 2-3 minutes.
- In a mixing bowl, add Greek yogurt and slowly pour in the cooled coffee mixture while whisking until smooth and creamy.
- Carefully divide the mixture into serving glasses, filling them three-quarters full.
- Cover with plastic wrap and refrigerate for 3-4 hours until set.
- Once set, garnish with cacao powder or shaved chocolate before serving.
Leave a Reply