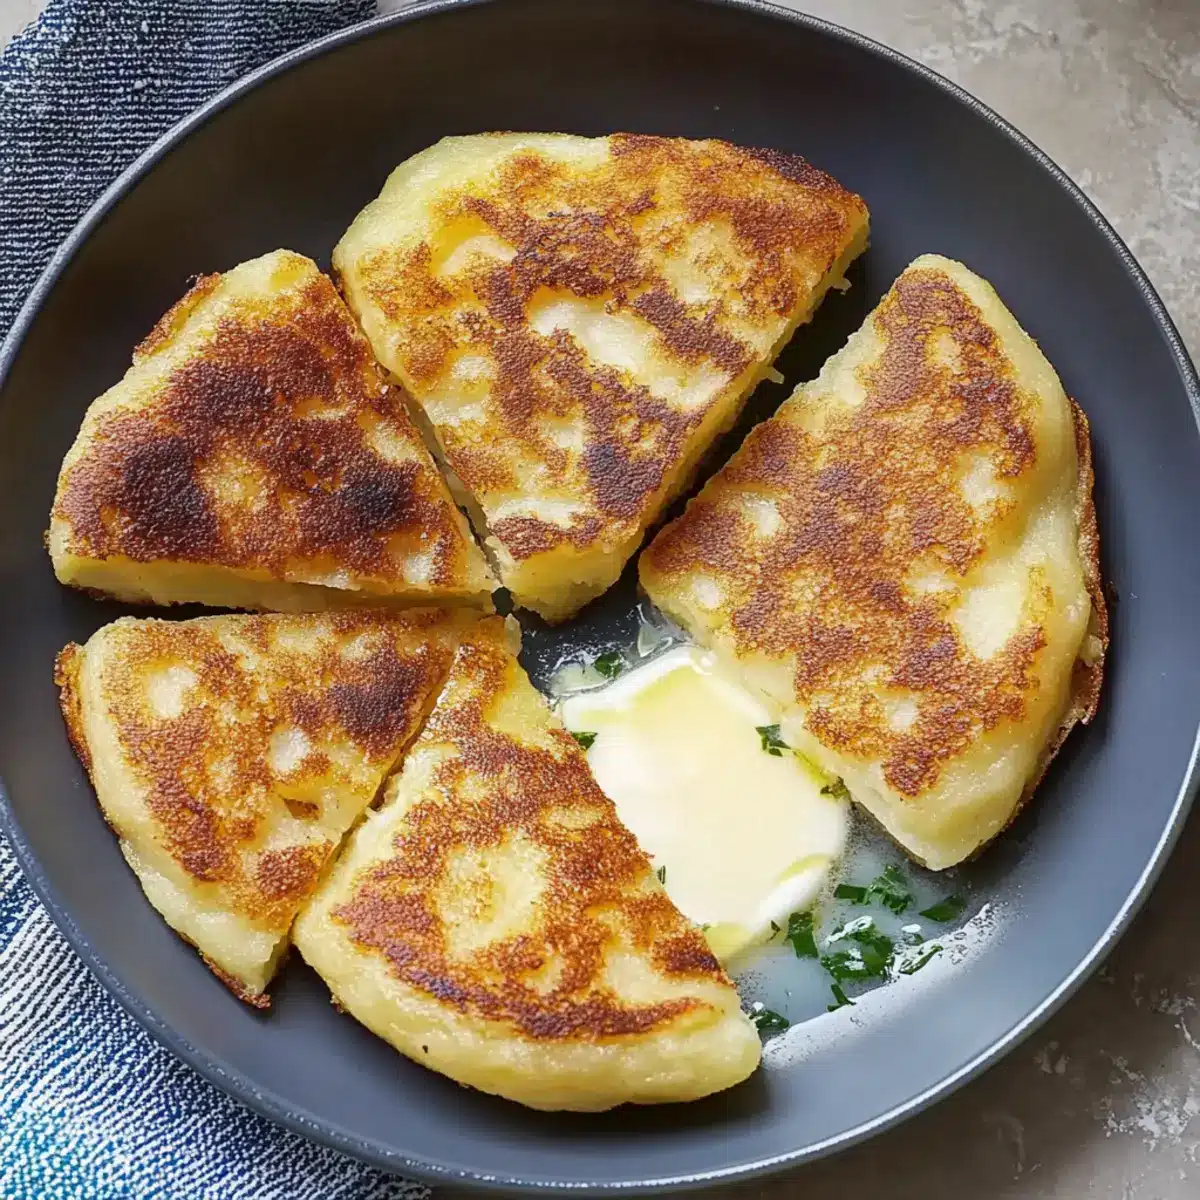
As I cradled a warm, crispy Irish Potato Farl in my hand, memories of cozy breakfasts flooded back—where laughter mingled with the fragrant aroma of freshly cooked potatoes. These delightful treats are the perfect blend of soft, creamy mashed potatoes wrapped in a golden-crisp exterior. What I love most is how easy they are to whip up, making them a fantastic option for busy mornings or a tasty brunch. Not only do they give new life to leftover mashed potatoes, but they also cater to a variety of diets with a simple gluten-free substitution. Whether you’re enjoying them topped with a sunny-side-up egg or alongside your favorite breakfast meats, these farls are sure to evoke warmth and satisfaction at your table. Ready to learn how to make these comforting bites? Let’s dive in!
Why Make Irish Potato Farls?
Easy to Prepare: The process comes together in just a few simple steps, making it perfect for both novice cooks and seasoned chefs!
Thrilling Flavor: With the rich taste of buttery mashed potatoes and a hint of sweetness, these farls offer a comforting experience that’s hard to resist.
Versatile Delight: Top them with poached eggs for brunch or serve with grilled tomatoes for a delightful breakfast; these farls fit any meal perfectly!
Resourceful Cooking: Transform leftover mashed potatoes into a fresh dish that minimizes waste while maximizing flavor—you’ll wonder why you didn’t try this sooner!
Diet-Friendly Options: Gluten-free? No problem! Simply swap the flour for rice or oat flour, and enjoy without compromising on taste.
Whether you’re joining forces with Funeral Potatoes Comforting or experimenting with Loaded Potato Taco Bowls, these Irish Potato Farls are a fantastic addition to your cooking repertoire!
Irish Potato Farls Ingredients
• Perfect for using up leftovers!
For the Dough
- Mashed Potatoes – Essential for moisture and flavor; it’s best to use cooled leftovers for optimal results.
- All-Purpose Flour – Provides structure; substitute with rice or oat flour for a gluten-free version, though expect a slight texture change.
- Salt – Enhances overall flavor; don’t skip this step!
- Butter (melted) – Adds richness; can be replaced with oil for a dairy-free option without losing too much flavor.
Embrace the simplicity of Irish Potato Farls in your kitchen and enjoy their crispy, comforting goodness!
Step‑by‑Step Instructions for Irish Potato Farls
Step 1: Combine Ingredients
In a large mixing bowl, combine your cooled mashed potatoes, all-purpose flour, salt, and melted butter. Stir the mixture with a fork or spatula until a sticky dough begins to form. This should take about 3–4 minutes, so ensure everything is well-integrated, and the potatoes are evenly distributed before moving on.
Step 2: Knead the Dough
Lightly flour your work surface and turn out the sticky dough onto it. Gently knead the dough for about 1–2 minutes until smooth and cohesive; avoid over-kneading to keep your Irish Potato Farls tender. The dough should feel slightly tacky but not overly sticky, making it easy to work with as you prepare to shape it.
Step 3: Roll Out the Dough
Using a rolling pin, roll the dough into a flat circle about 1/4 inch thick. Move smoothly and evenly, taking care not to tear the dough. If sticking occurs, sprinkle a little extra flour on top. The goal is a round disk that will later be cut into quarters for your Irish Potato Farls.
Step 4: Cut Into Farls
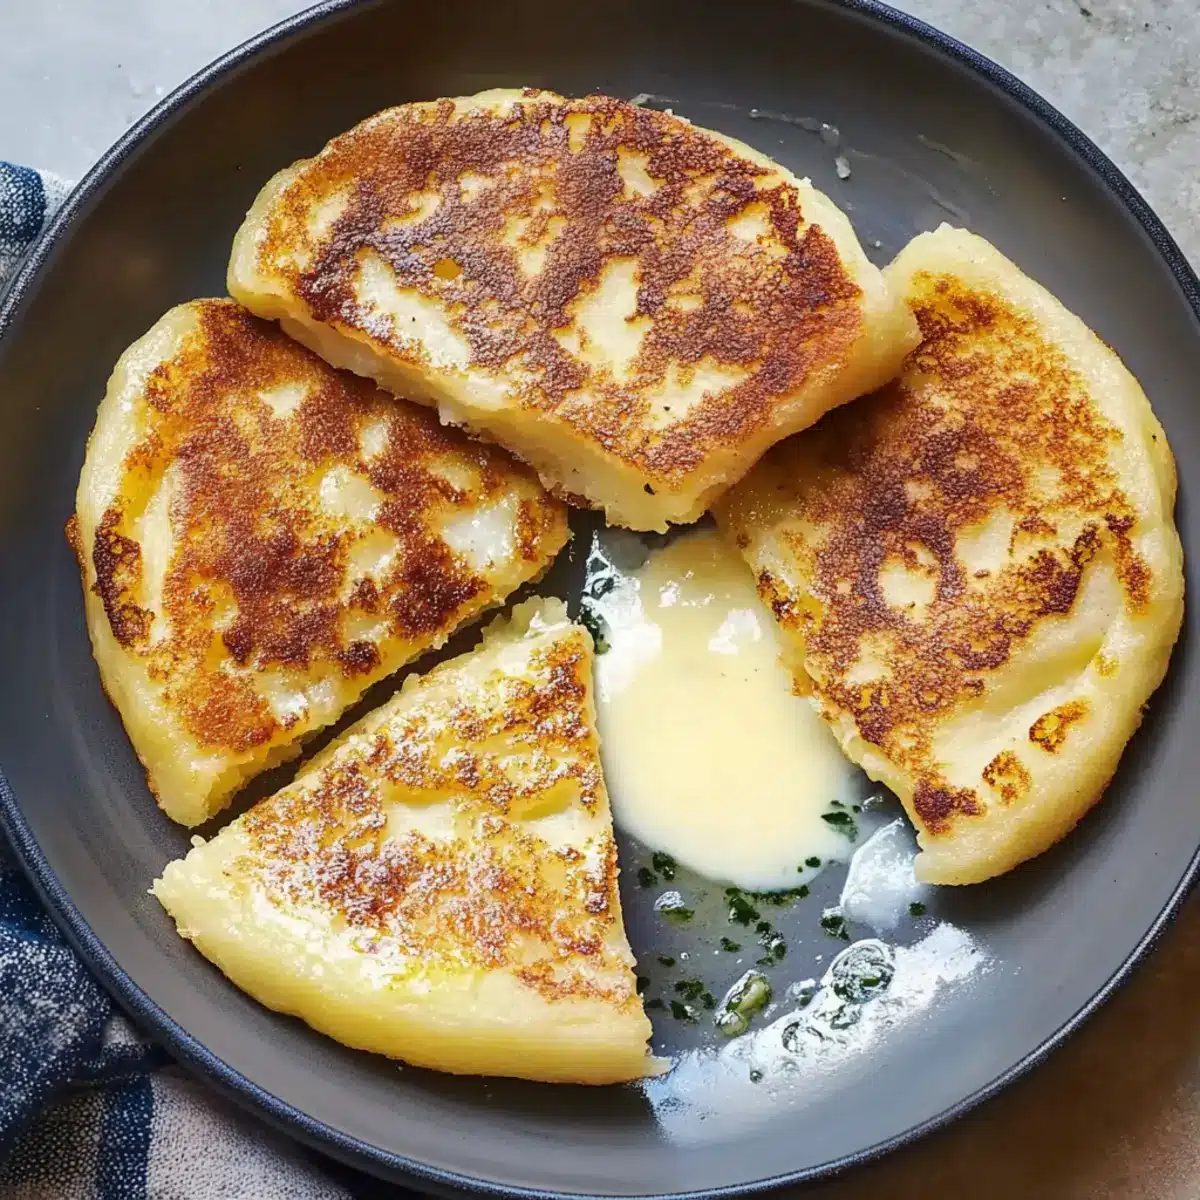
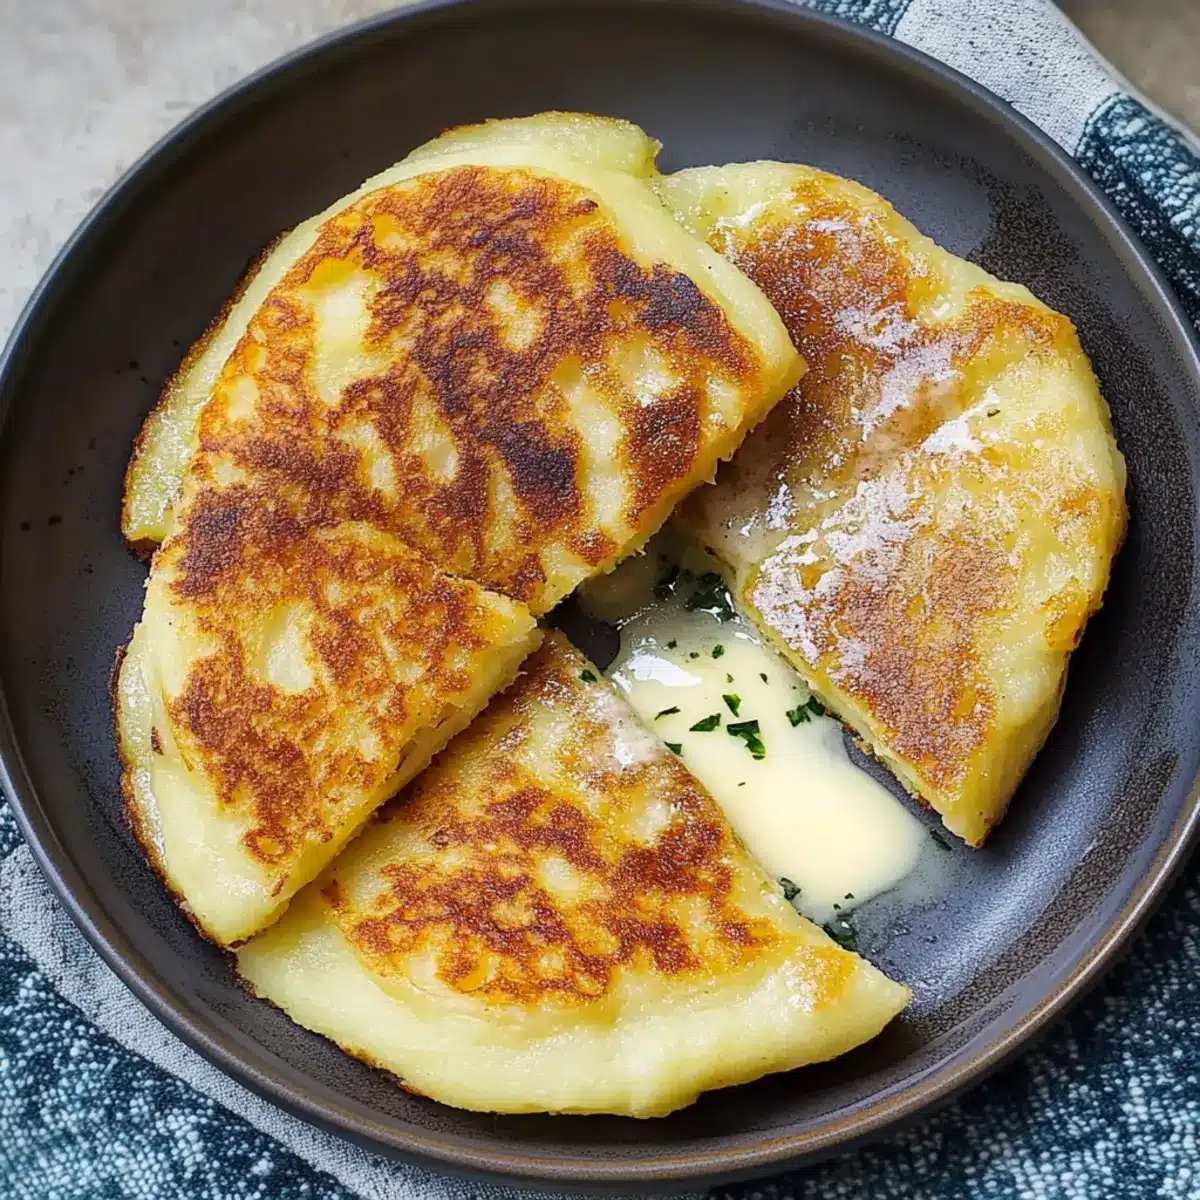
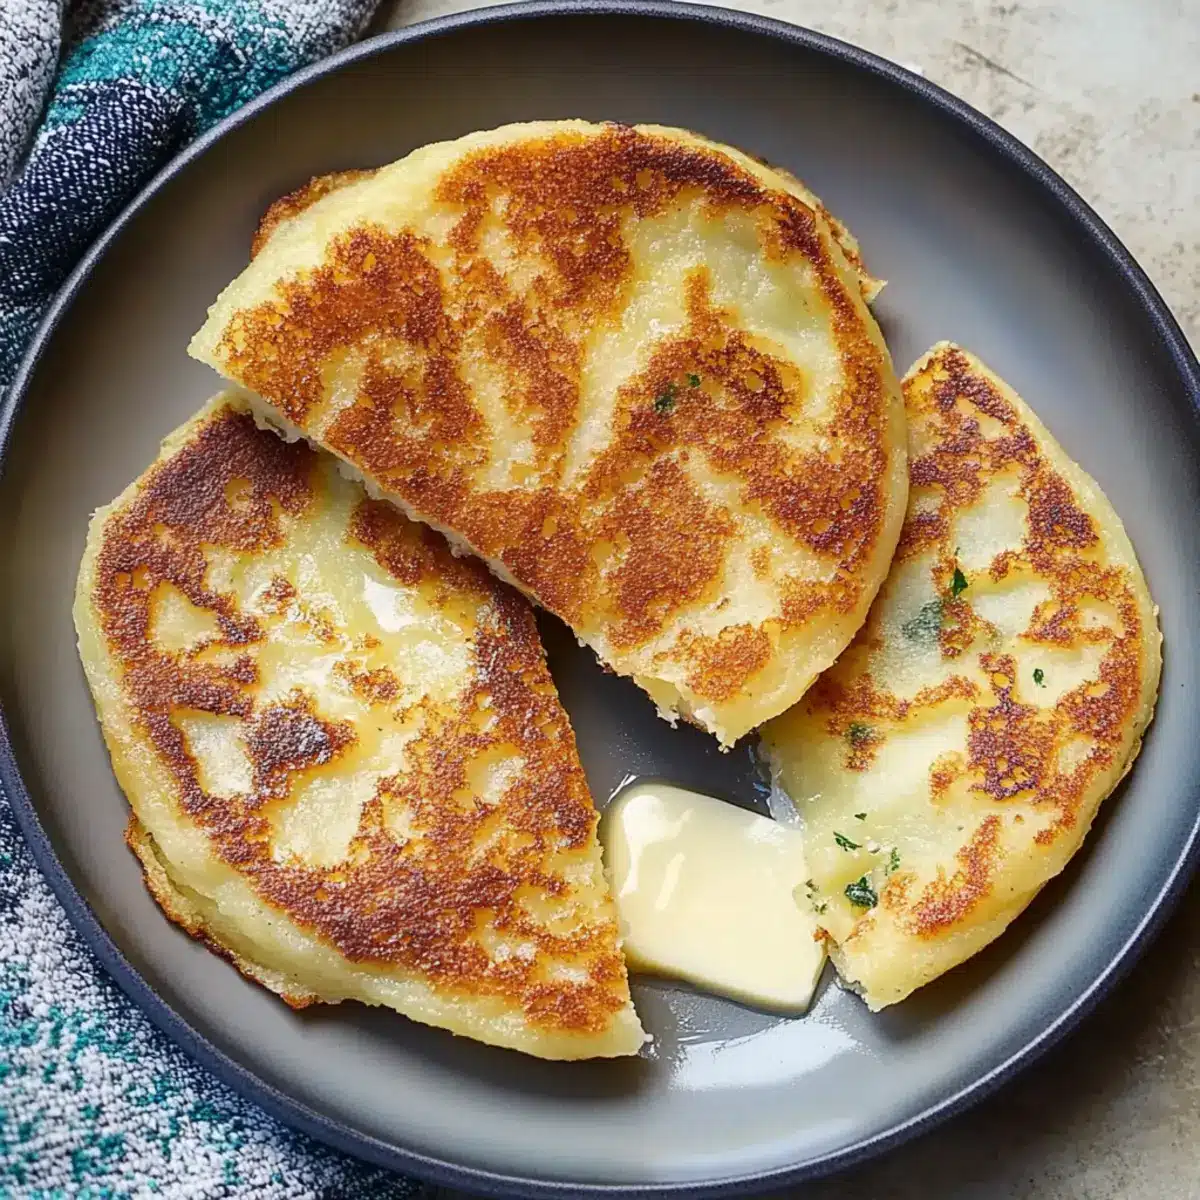
Once rolled out, utilize a sharp knife or pizza cutter to slice the dough circle into four equal wedges, creating your farls. Each wedge should be approximately the size of a slice of pie. This will ensure even cooking and give you that traditional shape, ready for the skillet.
Step 5: Preheat the Skillet
Preheat a non-stick skillet or griddle over medium heat for about 2–3 minutes. There’s no need to add oil as the melted butter from the dough will provide enough richness during cooking. You’ll know it’s ready when a sprinkle of flour sizzles upon contact with the surface.
Step 6: Cook the Farls
Carefully place each farl in the heated skillet and cook for 3–4 minutes on each side. Look for a golden-brown exterior and a slightly crisp texture as visual cues to determine doneness. Flip them gently using a spatula, taking care not to press down too hard, to let them rise beautifully.
Step 7: Serve Warm
Once cooked, remove the Irish Potato Farls from the skillet and serve them warm. They’re best paired with a dollop of butter, or alongside your favorite breakfast items such as eggs or grilled tomatoes. Enjoy the delightful contrast of crispy outsides and fluffy interiors in every bite!
Tips for the Best Irish Potato Farls
-
Cool the Potatoes First: Ensure your mashed potatoes are completely cooled before mixing; this helps achieve the perfect dough consistency.
-
Be Gentle with Kneading: Avoid over-kneading to maintain a tender texture; just a minute or two will ensure your Irish Potato Farls are light and fluffy.
-
Taste Test the Dough: Always taste the dough before cooking to check the saltiness, adjusting as needed for optimal flavor.
-
Great with Add-Ins: Consider adding chopped chives or shredded cheese for an extra flavor boost; it’s a lovely twist on the traditional recipe.
-
Monitor Cooking Time: Keep an eye on the cooking time—golden brown and slightly crisp is your target; don’t rush this step!
-
Serve Immediately: For the best experience, serve your Irish Potato Farls warm right after cooking for maximum flavor and enjoyment.
Make Ahead Options
These Irish Potato Farls are fantastic for meal prep, allowing you to enjoy a comforting breakfast with minimal effort on busy mornings! You can prepare the dough up to 24 hours in advance. Simply mix your cooled mashed potatoes, flour, salt, and melted butter as directed, then wrap the formed dough in plastic wrap and refrigerate. To maintain their quality, avoid cutting into wedges until you’re ready to cook, as this helps retain moisture. When you’re prepped to serve, simply roll out, cut into quarters, and cook them in a heated skillet for 3-4 minutes on each side until golden brown. This way, you can savor those delightful, crispy Irish Potato Farls just when you need them!
What to Serve with Easy Irish Potato Farls?
Imagine a warm kitchen filled with the enticing aroma of crispy potatoes, creating the perfect backdrop for a cozy meal that brings loved ones together.
-
Creamy Scrambled Eggs: The silky richness of scrambled eggs pairs beautifully with the crispy farls, enhancing their delightful textures. This combination will elevate any breakfast.
-
Grilled Tomatoes: Juicy, charred tomatoes add a fresh burst of flavor, contrasting beautifully with the crispy outside of the farls. They provide a light, vibrant element to your plate.
-
Smoky Bacon: Crispy, savory bacon adds a wonderful depth, making every bite of farl even more satisfying. The salty crunch works wonders to balance the soft potato texture.
-
Herbed Avocado Toast: Top your farls with creamy avocado mixed with fresh herbs for a delightful twist. This clever pairing gives a nutritious lift and a colorful presentation.
-
Irish Sausage Links: The hearty heft of traditional Irish sausage complements the farls perfectly, creating an authentic, fulfilling breakfast experience that warms the soul.
-
Dark Coffee: Rich and bold coffee brings depth that balances the meal’s comforting flavors, inviting leisurely sipping and conversation around the breakfast table.
-
Strong Irish Tea: A robust cup of Irish tea enhances the experience, offering a gentle sweetness that pairs exceptionally well with the savory farls, perfect for brunch gatherings.
-
Fresh Fruit Salad: A light and refreshing fruit salad adds a sweet, juicy contrast to the farls. This adds a refreshing, seasonal touch that invites vibrant colors to your meal.
How to Store and Freeze Irish Potato Farls
Fridge: Store cooked Irish Potato Farls in an airtight container for up to 2 days. This keeps them fresh while preventing any moisture loss.
Freezer: For longer storage, freeze the farls in a single layer on a baking sheet, then transfer to a freezer bag. They’ll last for up to 3 months, retaining their delightful texture.
Reheating: To bring back their crispy exterior, reheat thawed farls in a skillet over medium heat for about 2-3 minutes per side until warmed through. Enjoy them just like when they were freshly made!
Irish Potato Farls: Customization Ideas
Feel free to explore and personalize your Irish Potato Farls, transforming this already delightful dish into something uniquely yours!
- Gluten-Free: Swap out all-purpose flour for rice or oat flour to maintain a gluten-free option while still enjoying that fluffy texture.
- Herb-Infused: Add freshly chopped chives or parsley into the dough for a delightful, aromatic touch that brightens each bite.
- Savory Cheddar: Incorporate shredded sharp cheddar cheese into the mix for added richness and a deliciously cheesy experience.
- Spicy Kick: Bring up the heat by mixing in a pinch of cayenne pepper or red pepper flakes for a zesty twist your taste buds will love!
- Bacon Crumbles: Fold in cooked, crumbled bacon for a savory flavor boost that complements the creamy potatoes perfectly.
- Sweet Potato Variation: Swap mashed potatoes for sweet potatoes to create a naturally sweeter version with a lovely orange hue.
- Vegetarian Delight: Top your farls with sautéed mushrooms and caramelized onions for a hearty vegetarian option that packs a flavor punch.
- Breakfast Sandwich Base: Use the farls as a base for a breakfast sandwich by layering your favorite ingredients, like avocado, scrambled eggs, and hot sauce for a delicious twist.
For more delicious potato recipes, check out Potatoes Gratin Comfort and Roasted Sweet Potato Rounds. Enjoy crafting your own variations!
Irish Potato Farls Recipe FAQs
What type of potatoes should I use for the best Irish Potato Farls?
Absolutely, I recommend using starchy potatoes like Russets or Yukon Golds for the perfect texture. They yield a creamy mash that blends seamlessly into the dough. Ensure your mashed potatoes are completely cooled to prevent the dough from becoming too sticky and unmanageable.
How should I store leftover Irish Potato Farls?
Cooked Irish Potato Farls can be stored in an airtight container in the fridge for up to 2 days. To maintain their deliciousness, it’s best to keep them separate to avoid sogginess. If you want to enjoy them later, consider freezing them (instructions below).
Can I freeze Irish Potato Farls?
Yes, you can! To freeze, first, let the farls cool completely. Then, place them in a single layer on a baking sheet and freeze until solid. Once frozen, transfer them to a resealable freezer bag. They will keep well for up to 3 months. This way, you can enjoy a taste of Ireland whenever the craving strikes!
How can I reheat frozen Irish Potato Farls?
Reheating is simple! Thaw the frozen farls in the fridge overnight. When you’re ready to enjoy them, heat a non-stick skillet over medium heat and cook the farls for about 2-3 minutes on each side until they’re warmed through and regain their crispy exterior.
What can I do if my dough is too sticky?
No worries! If your dough feels too sticky while kneading, sprinkle a bit more flour on your work surface and on your hands. Just remember to use flour sparingly, as you don’t want to alter the dough’s intended texture. If over-added, it can result in tougher farls.
Can I make Irish Potato Farls dairy-free?
Very much so! To make this recipe dairy-free, simply substitute the melted butter with a neutral oil like canola or sunflower oil. This will still provide the necessary fat for cooking without compromising on flavor. Enjoy your farls with confidence, knowing they cater to your dietary needs.
Perfectly Crispy Irish Potato Farls You’ll Love Making
Ingredients
Equipment
Method
- In a large mixing bowl, combine cooled mashed potatoes, all-purpose flour, salt, and melted butter. Stir until a sticky dough forms, about 3–4 minutes.
- Lightly flour your work surface and turn out the sticky dough. Knead for about 1–2 minutes until smooth, being careful not to over-knead.
- Roll the dough into a flat circle about 1/4 inch thick, taking care not to tear it. Sprinkle flour if sticking occurs.
- Slice the rolled dough into four equal wedges using a sharp knife or pizza cutter.
- Preheat a non-stick skillet over medium heat for about 2–3 minutes.
- Cook each farl in the skillet for 3–4 minutes on each side until golden-brown.
- Remove from skillet and serve warm, optionally with butter or breakfast items.
Leave a Reply