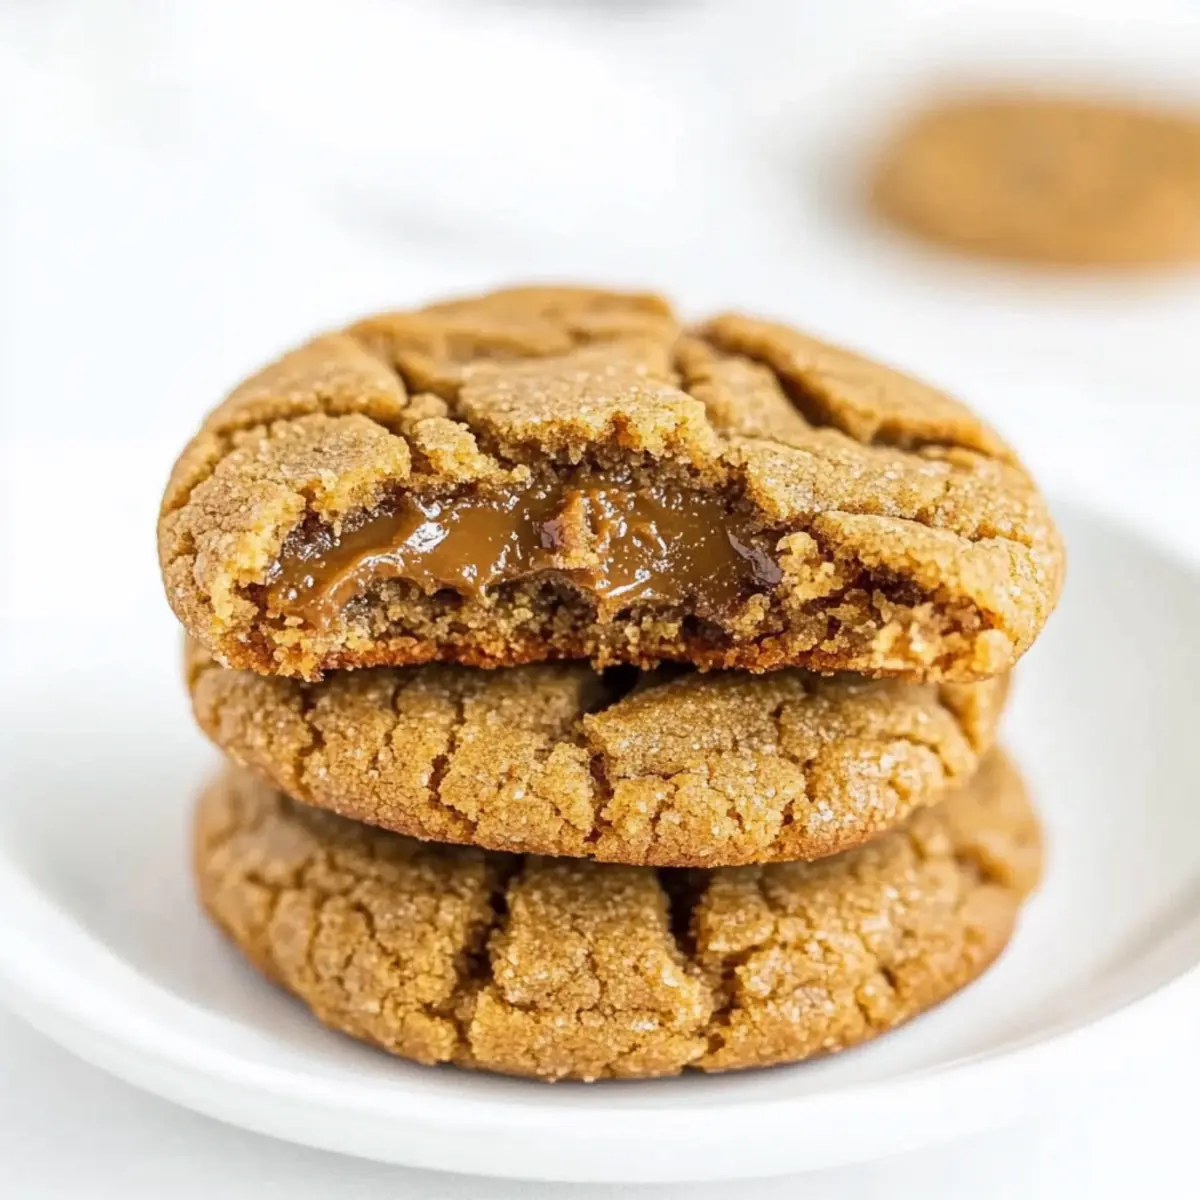
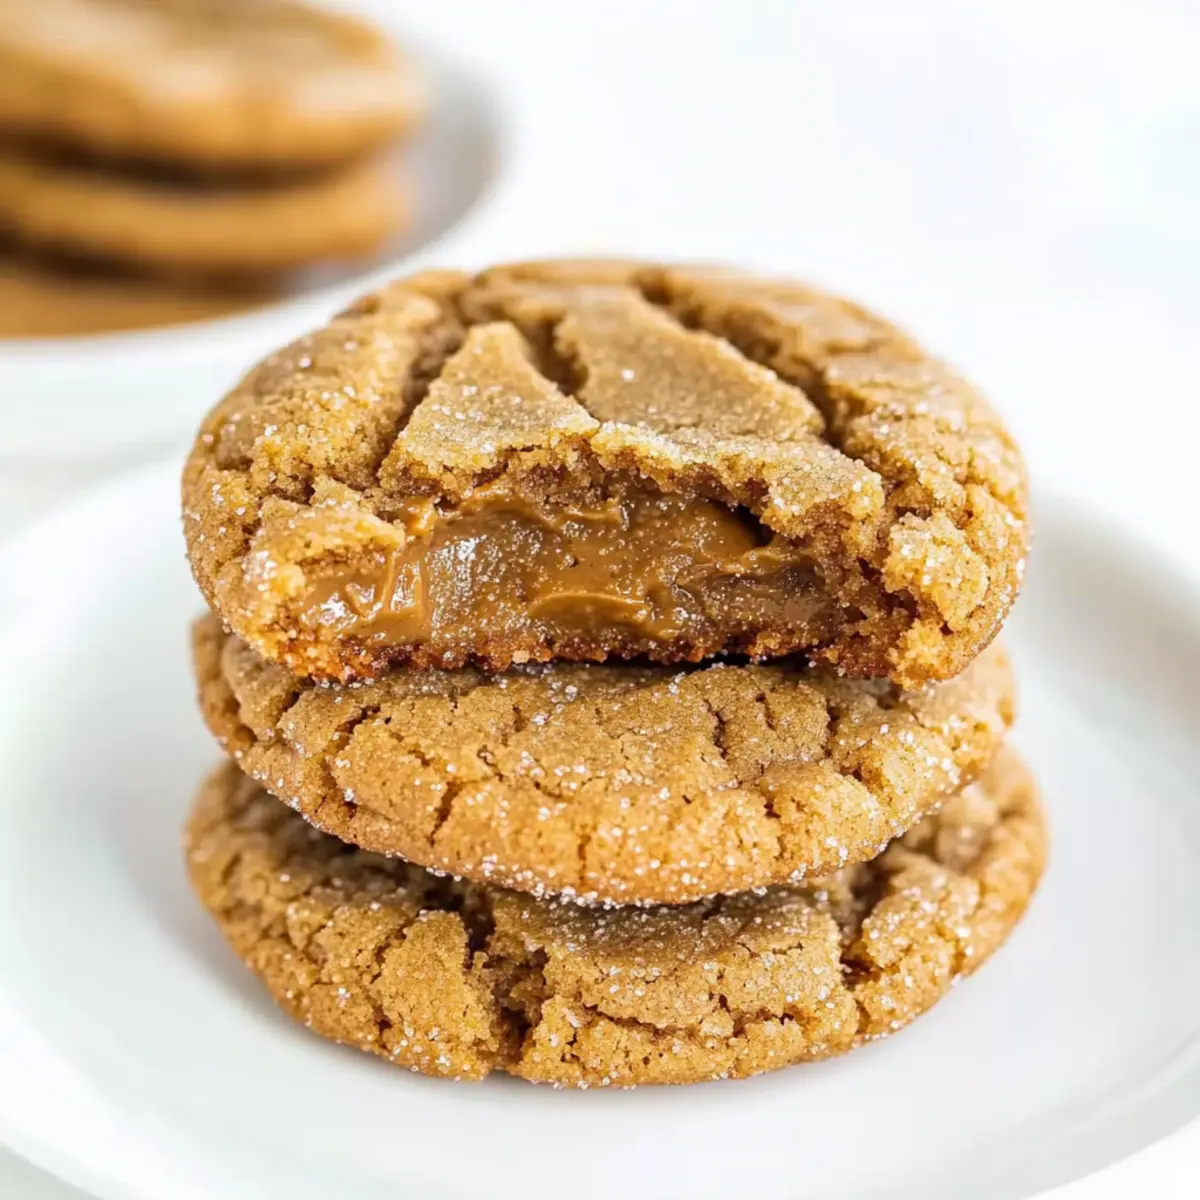
Baking can sometimes feel like a high-stakes balancing act, especially when you’re craving something sweet but want to keep it gluten-free. I’ve been there, sifting through recipes that promise the world only to leave me with bland, crumbly results. Enter my Flourless Peanut Butter Cookies—a treat so simple, you’ll wonder why you didn’t try it sooner! With just one bowl and no mixer required, these cookies come together effortlessly and deliver that rich, peanut buttery goodness we all crave. Not only are they a quick prep option for busy days, but they also boast wholesome ingredients that make them a feel-good indulgence. Ready to impress friends and family? Let’s dive into this recipe that’s bound to become your new favorite cookie!
Why Are These Cookies a Must-Try?
Simplicity at Its Best: With just one bowl and no mixer needed, you’ll whip these cookies up in no time—perfect for busy weeknights or spontaneous cravings.
Flavor Explosion: The intense peanut butter flavor shines through, making each bite a delightful indulgence that peanut butter lovers won’t resist.
Gluten-Free Goodness: Enjoy all the taste of classic cookies without the gluten, making them suitable for celiac friends or anyone avoiding gluten.
Versatile Treats: Want extra oomph? Feel free to throw in chocolate chips or nuts for a delicious twist, as explored in my Christmas Pinwheel Cookies.
Crowd-Pleasing Appeal: Whether you’re sharing with family, friends, or just treating yourself, these cookies are bound to impress everyone.
Storable & Convenient: Made for immediate enjoyment or can be stored for up to a week; they’re an easy, go-to sweet whenever the craving hits!
Flourless Peanut Butter Cookies Ingredients
For the Cookie Base
• Large Egg – Binds the ingredients together, providing necessary structure for the cookies.
• Creamy Classic-Style Peanut Butter – The star flavor; opt for brands like Jif or Skippy for the best creamy texture.
• Light Brown Sugar – Adds moisture and a deeper sweetness; be sure to pack it tightly for optimal results.
• Granulated Sugar – Enhances overall sweetness and contributes to the cookie’s delightful chewiness.
• Vanilla Extract – Infuses a warm, aromatic depth to every bite.
• Baking Soda – Provides lift, helping your Flourless Peanut Butter Cookies rise just enough.
• Salt – Balances out the sweetness and accentuates the rich peanut butter flavor.
Step‑by‑Step Instructions for Flourless Peanut Butter Cookies
Step 1: Combine the Ingredients
In a large mixing bowl, crack open one large egg and add creamy classic-style peanut butter, packed light brown sugar, granulated sugar, vanilla extract, baking soda, and a pinch of salt. Stir with a spatula or wooden spoon until all ingredients are well blended into a slightly granular mixture that’s cohesive and smooth. This is the base for your Flourless Peanut Butter Cookies.
Step 2: Chill the Dough
Using a 2-inch cookie scoop, form generous mounds of dough and place them onto a plate. Cover with plastic wrap and refrigerate for at least 3 hours, or up to 5 days. Chilling the dough is crucial as it prevents the cookies from spreading too much during baking, ensuring that delightful chewy texture we all adore.
Step 3: Preheat the Oven
Once the dough has chilled, preheat your oven to 350°F (175°C). As the oven heats, prepare a baking sheet by lining it with parchment paper or a Silpat mat. This will ensure your Flourless Peanut Butter Cookies bake evenly and come off the baking sheet easily without sticking.
Step 4: Arrange the Cookies
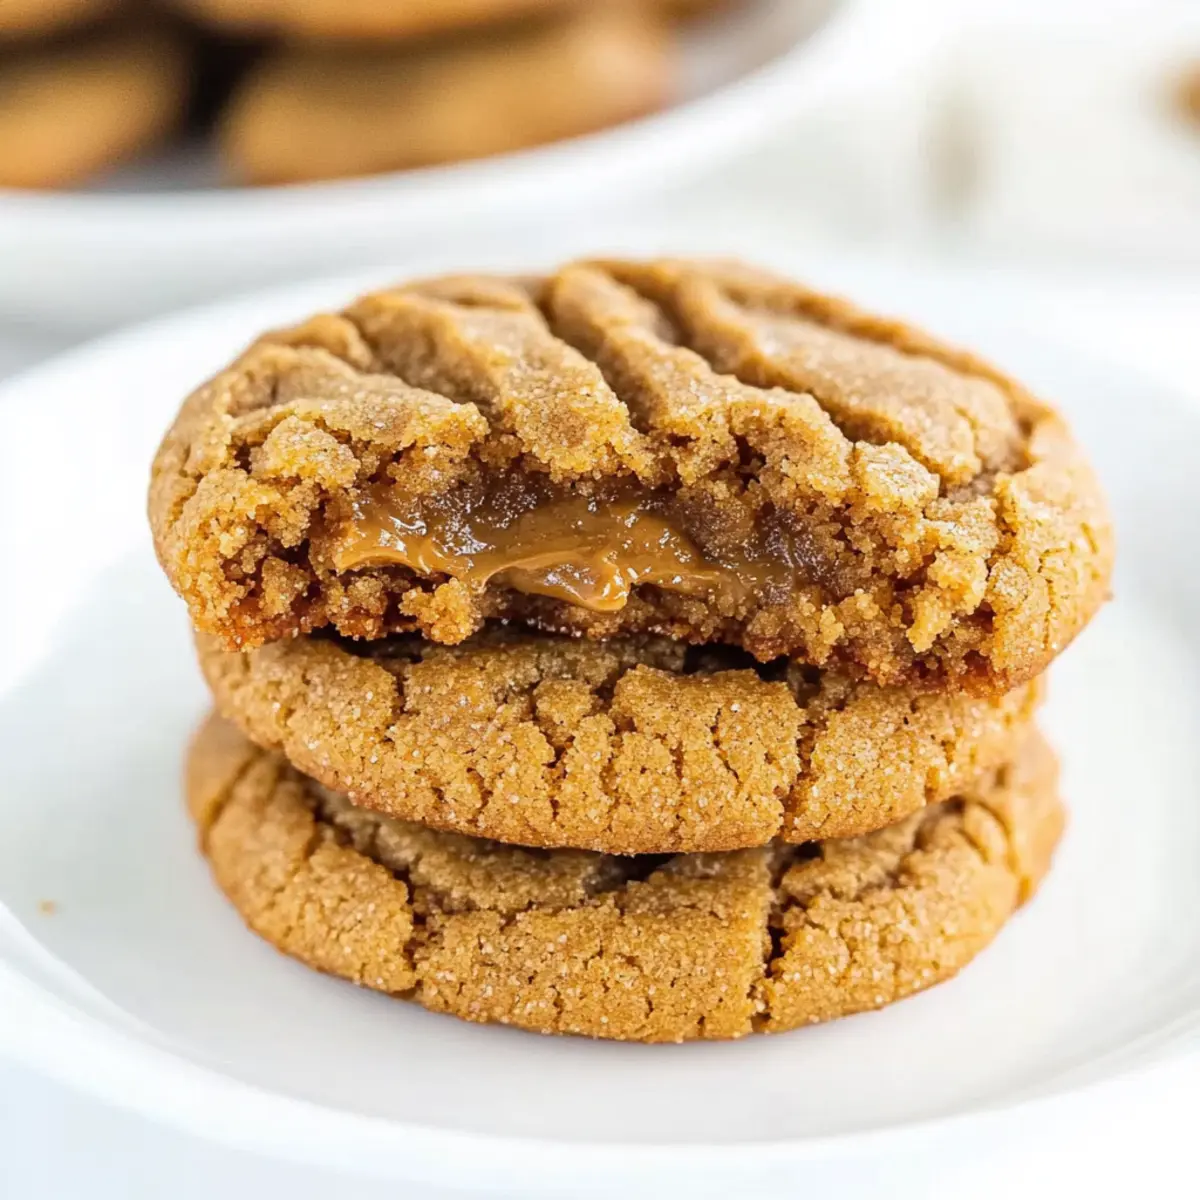
Retrieve your chilled dough and arrange the mounds on the prepared baking sheet, leaving about two inches between each mound to allow for some spreading. For a classic look, lightly flatten the tops with a fork to create a criss-cross pattern. This step adds a beautiful texture to your Flourless Peanut Butter Cookies.
Step 5: Bake the Cookies
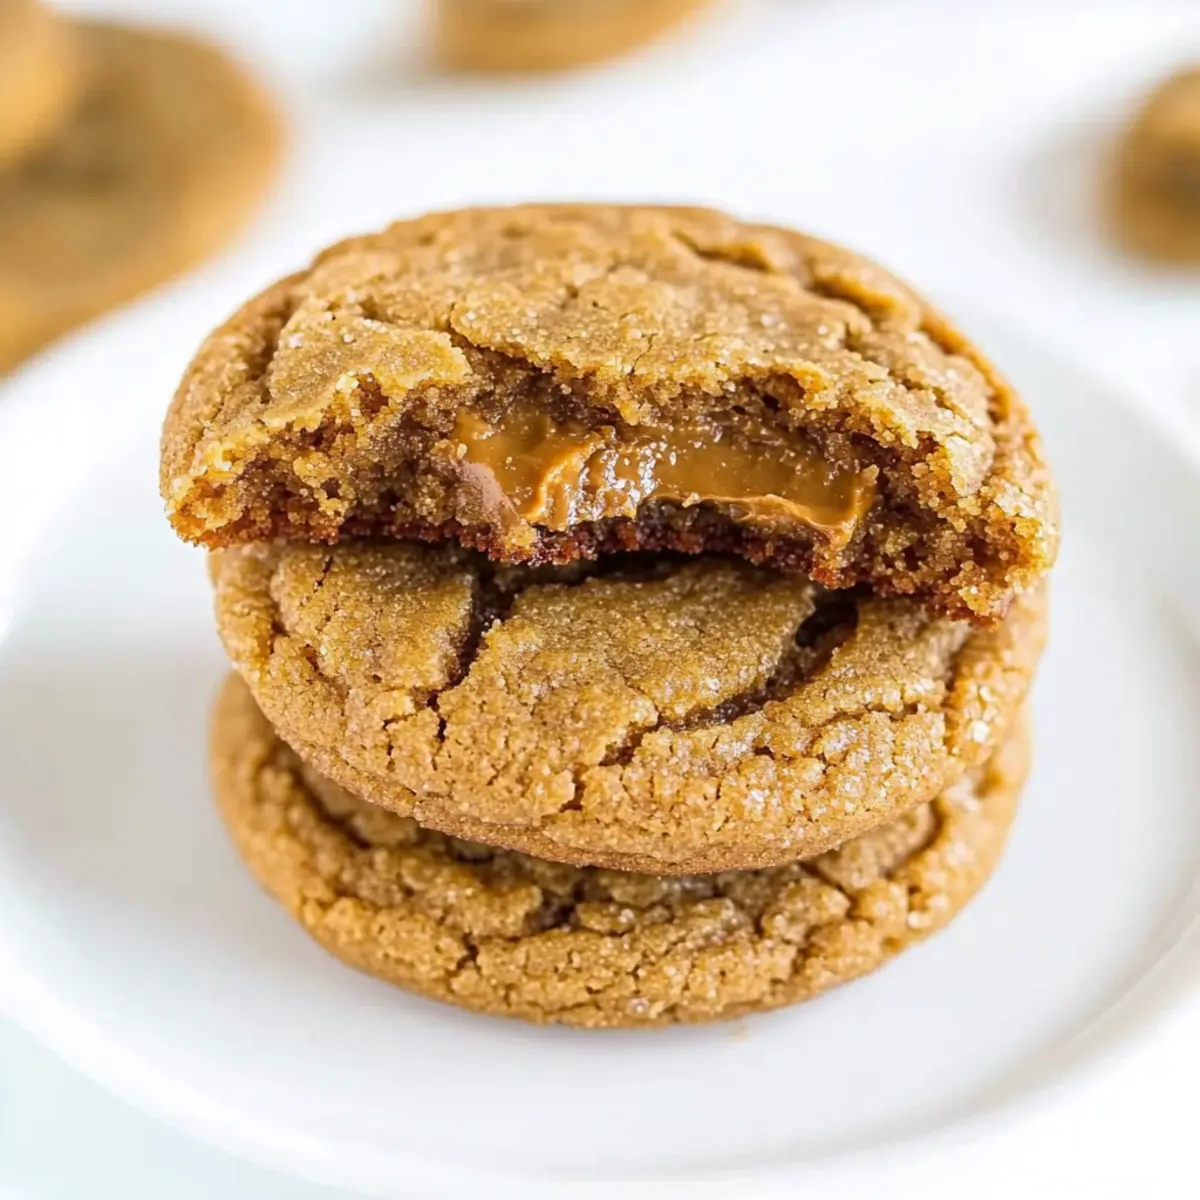
Place the baking sheet in the preheated oven and bake for about 8 minutes. Keep an eye on them; they’re ready when the edges are set and the centers have a slightly underbaked appearance. This is key to achieving that soft, chewy consistency that makes these Flourless Peanut Butter Cookies irresistibly delicious.
Step 6: Cool Before Serving
After baking, let the cookies cool on the baking sheet for about 10 minutes. This extra time allows them to firm up a bit as they finish baking. Once cooled, carefully transfer them to a wire rack to cool completely. Now they’re ready to be enjoyed or stored for later—a scrumptious treat for any occasion!
Flourless Peanut Butter Cookies Variations
Feel free to put your own spin on these delectable cookies for a personalized touch that excites your taste buds!
- Crunchy Twist: Swap creamy peanut butter for crunchy for a delightful texture contrast. The added crunch makes every bite an adventure!
- Almond Butter Alternative: Replace peanut butter with almond butter for a twist in flavor and a nutty richness. Remember that the texture may differ, but the taste will still impress!
- Flavor Boost: Toss in chocolate chips or chopped nuts to elevate the taste experience. Dark chocolate complements the peanut butter beautifully, while nuts add a satisfying crunch.
- Sweet Spices: Add a pinch of cinnamon or even a dash of nutmeg for warm, cozy undertones in every cookie. It’s a great way to enhance that comforting peanut butter flavor!
- Reduced Sugar: For a lighter version, cut back slightly on the granulated sugar; the cookies will still be fantastic, just a touch less sweet. Balance is key for those watching their sugar intake!
- Nut-Free Option: Use SunButter or tahini for a nut-free alternative that everyone can enjoy. These replacements bring their unique flavors yet maintain that delightful chewiness.
- Make It Dark: Go bold by mixing in cocoa powder for a chocolatey version of these cookies. A chocolatey twist offers a decadent treat reminiscent of brownie bites—yum!
- Heat It Up: For a spicy kick, add a pinch of cayenne pepper or a few dashes of chili powder to the dough. This unexpected flavor will surprise and delight adventurous eaters!
Explore these creative variations and consider pairing your cookies with some dreamy ice cream, like Toasted Black Sesame Ice Cream for a perfect dessert duo!
Expert Tips for Flourless Peanut Butter Cookies
• **Chill the Dough: ** Make sure to chill your cookie dough for at least 3 hours to prevent spreading during baking. This key step maintains the chewy texture.
• Monitor Baking Time: Keep an eye on the cookies while baking; they only need about 8 minutes. Overbaking can lead to dryness, so their centers should look slightly underbaked when finished.
• Use Classic Peanut Butter: Stick to classic-style peanut butter, like Jif or Skippy, for the best flavor and texture. Natural or homemade peanut butter can yield different results.
• Space Them Out: Arrange your dough mounds at least two inches apart on the baking sheet to allow for proper spreading during baking.
• Experiment Wisely: For variations, try adding chocolate or peanut butter chips, but remember to balance the flavors to keep the cookies true to their delicious roots.
How to Store and Freeze Flourless Peanut Butter Cookies
Room Temperature: Store cookies in an airtight container at room temperature for up to one week to maintain their soft and chewy texture.
Fridge: Keep cookies in the refrigerator for an extended freshness of up to two weeks; ensure they’re sealed well to prevent drying out.
Freezer: Freeze unbaked cookie dough mounds on a baking sheet until solid, then transfer to a freezer-safe bag for up to 2 months. Bake from frozen without thawing, adding an additional minute to the baking time.
Reheating: To enjoy leftovers warm, pop cookies in the microwave for 10-15 seconds or enjoy them straight from the fridge for a chilled treat!
Make Ahead Options
These Flourless Peanut Butter Cookies are perfect for meal prep enthusiasts! You can prepare the cookie dough up to 5 days in advance by forming mounds and refrigerating them, covered, to prevent spreading during baking. If you need to save time, make the dough a day ahead and allow it to chill overnight. When you’re ready to enjoy these treats, simply preheat your oven to 350°F (175°C) and bake the cookies for about 8 minutes until the edges are set, ensuring they remain soft and chewy. With this make-ahead option, you’ll have delicious, homemade cookies on hand, saving precious time on busy days!
What to Serve with The Best Flourless Peanut Butter Cookies
Indulging in Flourless Peanut Butter Cookies invites a delightful experience of gooey goodness, so why not complement them with perfect pairings?
-
Ice Cream: The creamy coldness of vanilla or chocolate ice cream offers a delicious contrast to the warm, chewy cookies.
-
Milk: A classic combination; enjoy a glass of cold milk to balance the rich peanut butter flavor and soothe your palate.
-
Fresh Berries: Juicy strawberries or raspberries add a pop of freshness that cuts through the sweetness, creating a well-rounded treat.
-
Chocolate Dipping Sauce: For extra decadence, drizzle warm chocolate sauce over cookies before serving to elevate their deliciousness.
-
Coffee or Espresso: Pair the cookies with a smooth cup of coffee for a delightful pick-me-up that enhances their nutty flavor.
-
Nutty Trail Mix: Serve a side of trail mix to enjoy some crunch and natural sweetness alongside your cookies, enhancing the peanut flavor.
-
Whipped Cream: Fluffy whipped cream can be dolloped on top for a light, airy contrast to the dense cookie texture.
-
Dark Chocolate: Dark chocolate shavings or chunks add depth and richness that perfectly complement this gluten-free treat.
-
Caramel Sauce: Drizzle warm caramel sauce over the cookies for a sticky, sweet touch that creates a delectable flavor contrast.
Flourless Peanut Butter Cookies Recipe FAQs
What type of peanut butter should I use for these cookies?
I recommend using creamy classic-style peanut butter brands like Jif or Skippy. They provide the right texture and flavor for that perfect cookie. Avoid natural or homemade peanut butter as they can yield a different consistency, potentially leading to dry or crumbly cookies.
How should I store my Flourless Peanut Butter Cookies?
To keep your cookies fresh, store them in an airtight container at room temperature for up to one week. They can also be kept in the refrigerator for up to two weeks. Just make sure they are sealed properly to prevent them from drying out!
Can I freeze the cookie dough or baked cookies?
Absolutely! You can freeze unbaked cookie dough mounds on a baking sheet until solid, then transfer them into a freezer-safe bag for up to 2 months. There’s no need to thaw before baking—just add an extra minute to the baking time. If you choose to freeze baked cookies, simply store them in an airtight container for up to 3 months.
What should I do if my dough is too sticky?
If you find your dough is too sticky to scoop, it might be due to the peanut butter viscosity or over-mixing. Chill the dough for an extra hour in the refrigerator to help it firm up. Alternatively, you can lightly dampen your hands or the cookie scoop with a bit of water to make shaping easier!
Are these cookies suitable for gluten-intolerant individuals?
Yes! These Flourless Peanut Butter Cookies are naturally gluten-free, making them a delightful choice for anyone avoiding gluten. Just ensure that all your ingredients, especially any add-ins like chocolate chips or oats, are certified gluten-free.
How can I add variations to the recipe?
I love experimenting! You can easily swap out creamy peanut butter for crunchy for an added texture twist, or mix in chocolate chips or nuts for extra flavor. Just remember to balance the ingredients to maintain that delicious peanut butter flavor we adore!
Flourless Peanut Butter Cookies: Soft, Chewy, and Gluten-Free
Ingredients
Equipment
Method
- In a large mixing bowl, crack open one large egg and add creamy classic-style peanut butter, packed light brown sugar, granulated sugar, vanilla extract, baking soda, and a pinch of salt. Stir until well blended into a smooth mixture.
- Using a 2-inch cookie scoop, form generous mounds of dough, place them on a plate and refrigerate for at least 3 hours, or up to 5 days.
- Preheat your oven to 350°F (175°C) and prepare a baking sheet lined with parchment paper.
- Retrieve the chilled dough and arrange the mounds on the prepared baking sheet, leaving about two inches between each mound.
- Bake for about 8 minutes, until the edges are set and the centers appear slightly underbaked.
- Let the cookies cool on the baking sheet for about 10 minutes before transferring them to a wire rack.
Leave a Reply