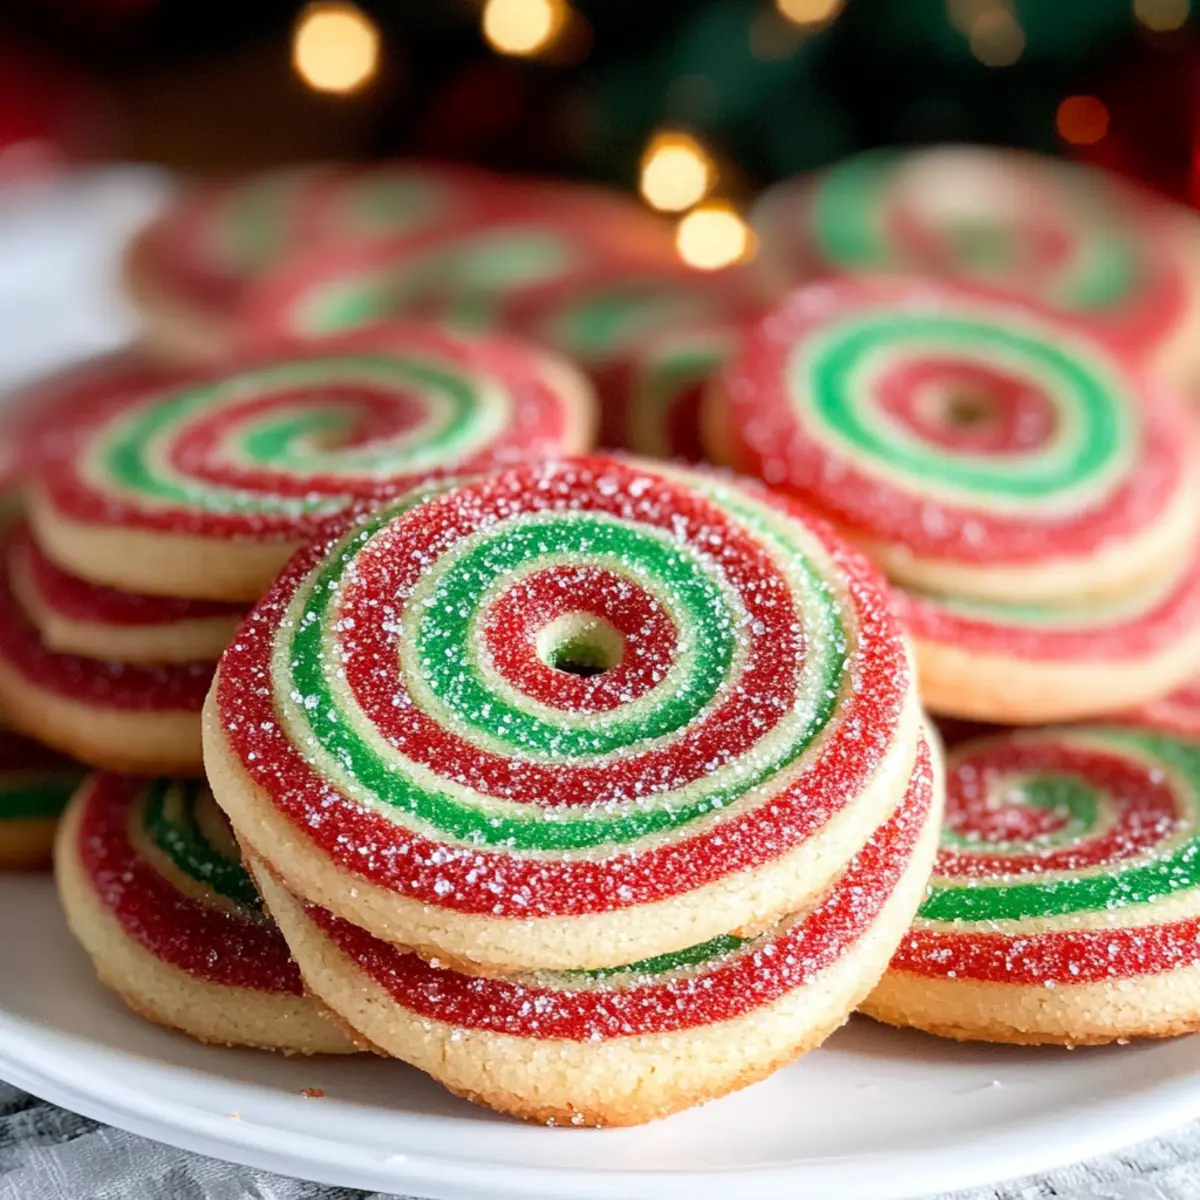
When the holiday season rolls around, nothing seems quite as cheerful as showcasing a vibrant platter of treats, especially these delightful Christmas Pinwheel Cookies. With stunning swirls of red and green, these cookies are not only a feast for the eyes; they boast a scrumptious buttery texture that melts in your mouth. This recipe makes holiday baking a breeze—perfect for anyone, whether you’re a seasoned pro or just starting your cookie-making adventure. Plus, they can be made ahead of time, freeing you up to focus on the more joyous aspects of the holidays. So, are you ready to impress your friends and family with these eye-catching delights? Let’s whip up a batch together!
Why are Christmas Pinwheel Cookies so special?
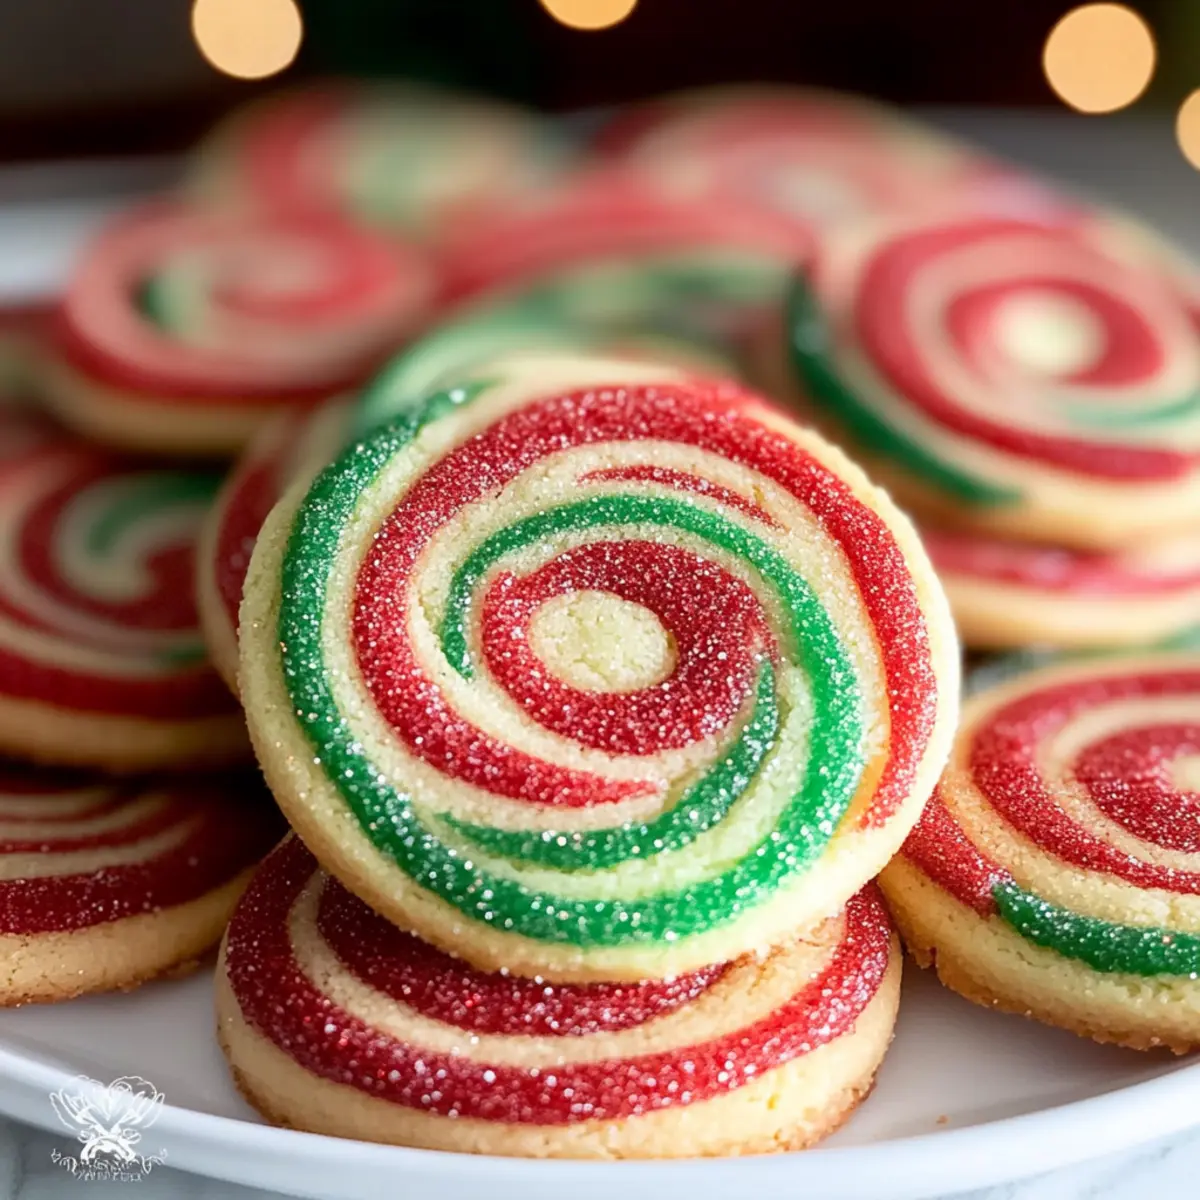
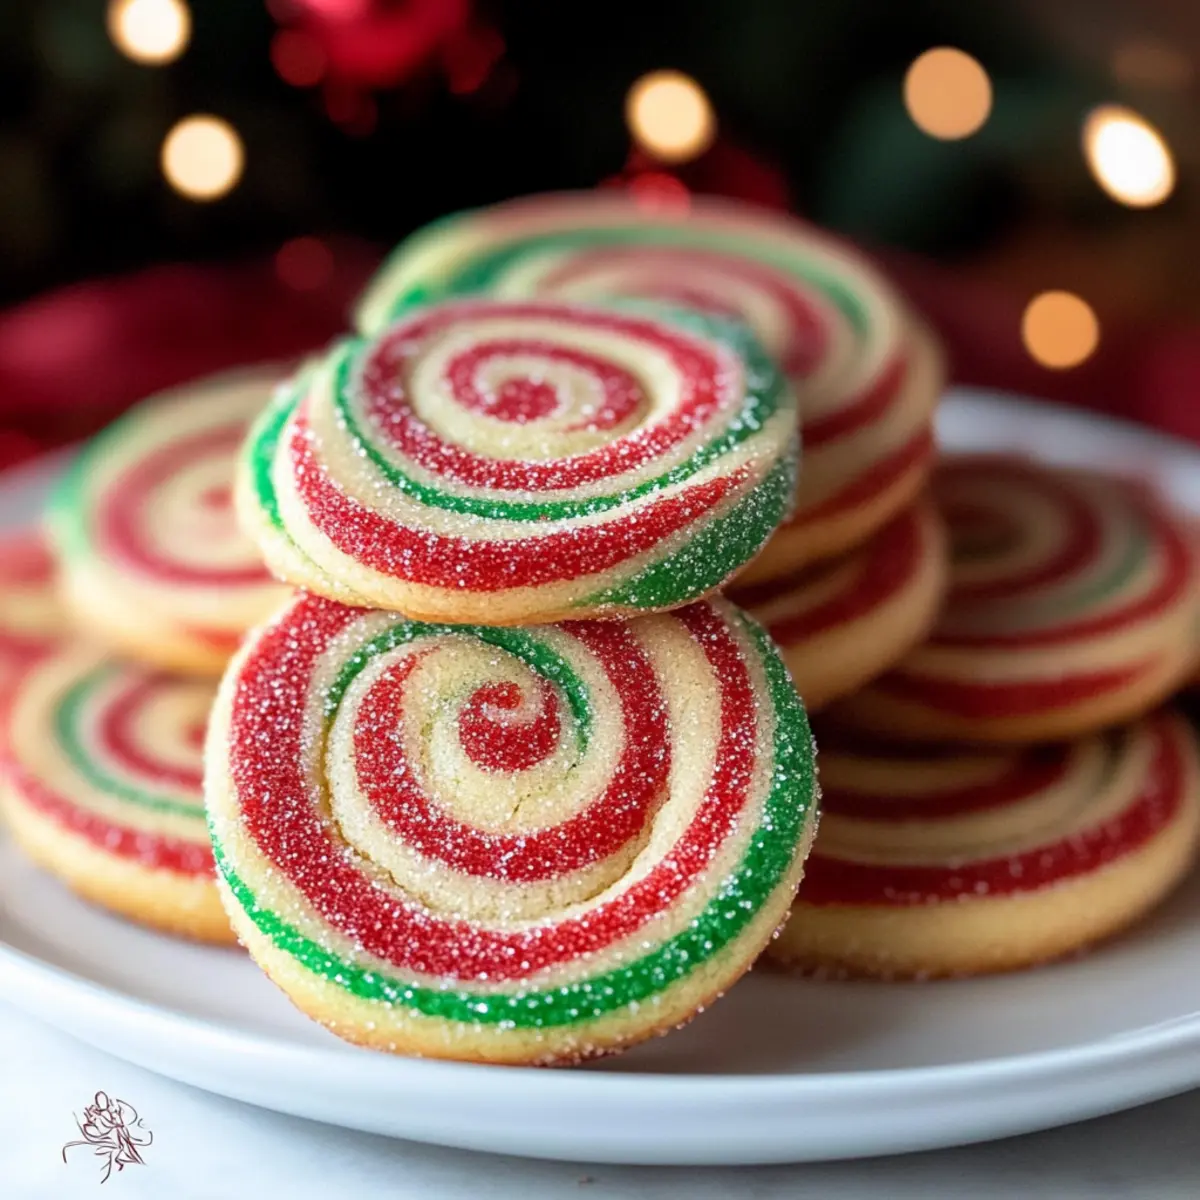
Colorful Delight: These cookies feature vibrant swirls of red and green, making them a stunning centerpiece for any holiday gathering.
Melt-in-Your-Mouth Goodness: The buttery texture offers a perfect balance of softness and sweetness that everyone will love.
Easy to Make: With straightforward instructions, they’re great for bakers of all skill levels—no fancy techniques needed!
Prep Ahead Convenience: Make these festive treats in advance, so you can spend more time enjoying the holiday festivities. If you’re looking for more holiday inspiration, try these Savory Rosemary Cookies for a delightful spin on traditional flavors!
Perfect for Gifting: Pack them in decorative boxes for heartwarming gifts that anyone would appreciate. These cookies are sure to become a seasonal favorite!
Christmas Pinwheel Cookies Ingredients
For the Cookies
• Unsalted Butter – Provides richness and moisture; margarine can be used if necessary.
• Sugar – Sweetens the cookies and aids in browning; replace with brown sugar for deeper flavor.
• Egg – Acts as a binder and supports the cookie’s structure.
• Vanilla Extract – Enhances flavor; switch to almond extract for a delightful twist.
• All-Purpose Flour – The main structural component; use a gluten-free flour blend for gluten-free cookies.
• Kosher Salt – Balances sweetness and enhances overall flavors.
• Baking Soda – Helps the cookies rise slightly for a soft texture.
For the Color
• Red Gel Food Coloring – Adds vibrant color for the festive swirls; liquid food coloring is a possible substitute.
• Green Gel Food Coloring – Provides the second color necessary for the swirls.
For Garnish
• Red Sanding Sugar – Perfect for decoration, giving the cookies a festive touch.
These Christmas Pinwheel Cookies are not just a treat but a celebration on your holiday table!
Step‑by‑Step Instructions for Christmas Pinwheel Cookies
Step 1: Cream Butter and Sugar
In a large mixing bowl, beat 1 cup of softened unsalted butter with 1 cup of sugar until the mixture becomes creamy and light, approximately 3-4 minutes. Once fluffy, add in 1 egg and 1 teaspoon of vanilla extract, mixing until well combined. The goal is to create a smooth, homogeneous mixture that will serve as the foundation of your Christmas Pinwheel Cookies.
Step 2: Combine Dry Ingredients
In a separate bowl, whisk together 2 cups of all-purpose flour, ½ teaspoon of kosher salt, and ½ teaspoon of baking soda until evenly blended. Gradually add this dry mixture to your butter mixture on low speed, mixing just until the flour disappears. This will produce a dough that is soft and slightly sticky, perfect for creating vibrant swirls.
Step 3: Color Dough
Divide the dough into three equal portions, placing each in separate bowls. Color one third with red gel food coloring, another with green, and keep the last portion plain. Use your hands to knead the food coloring into the dough, ensuring even distribution. Once colored, wrap each portion tightly in plastic wrap and refrigerate for at least 1 hour to firm up the dough.
Step 4: Roll Dough
After chilling, take each colored dough portion and roll it out between two sheets of parchment paper until you achieve roughly 7-inch squares. This method helps keep the dough from sticking. Once rolled, chill the squares again in the refrigerator for about 15 minutes. Chilling ensures the shapes maintain their integrity while you layer them.
Step 5: Layer and Roll
Carefully peel away the parchment paper from each layer of chilled dough. Stack the red, green, and plain squares on top of one another. Starting from one edge, tightly roll the stacked dough into a log shape. Wrap this log in parchment paper, pressing tightly to maintain its shape and freeze for 1 hour, which helps make slicing easier.
Step 6: Preheat and Slice
While the log chills, preheat your oven to 350°F (175°C). After an hour, remove the log from the freezer and slice it into 1/3-inch thick rounds using a sharp knife. For an added festive touch, roll the edges of each slice in red sanding sugar before placing them on a lined baking sheet.
Step 7: Bake
Bake the cookies in your preheated oven for 8-10 minutes or until they are set but not overly browned; they should still be soft. Once baked, allow the cookies to cool on the sheet for about 1 minute before transferring them to a wire rack. This cooling process helps maintain the soft texture that makes Christmas Pinwheel Cookies a festive favorite.
Expert Tips for Christmas Pinwheel Cookies
• Chill Well: Ensure to chill the dough sufficiently; this helps maintain the cookie’s beautiful shape during baking.
• Dough Texture: If your dough is sticky, refrigerate for another 30 minutes before rolling to prevent frustration while creating those festive swirls.
• Sharp Slicing: Use a serrated knife for cleaner cuts; this ensures your Christmas Pinwheel Cookies have a stunning presentation with perfect edges.
• Color Variations: Don’t hesitate to experiment with different color schemes! Pastels work wonderfully for springtime treats or even Halloween hues if you’re feeling creative.
Christmas Pinwheel Cookies Variations
Feel free to get creative with these delightful Christmas Pinwheel Cookies, making them even more personalized and exciting!
-
Dairy-Free: Swap out the unsalted butter for a plant-based alternative like coconut oil or vegan butter for a dairy-free treat.
-
Gluten-Free: Use a gluten-free flour blend instead of all-purpose flour. These cookies can be enjoyed by everyone!
-
Add Nuts: Incorporate chopped pecans or walnuts into the dough for a delightful crunch that contrasts the soft texture of the cookies. They add a lovely warmth too!
-
Chocolate Indulgence: Fold in chocolate chips or chunks into the dough. You can never go wrong with more chocolate during the holidays!
-
Different Color Schemes: Change the color palette for different celebrations—pastels for Easter or orange and black for Halloween can create festive versions year-round.
-
Flavor Twists: Add spices like cinnamon or nutmeg to the dough for warm, aromatic notes that beautifully complement the buttery flavor. Perhaps a hint of peppermint for a wintery touch?
-
Sanding Sugar Variations: Try different types of sanding sugar or edible glitter for a sparkling finish—this could make your cookies truly eye-catching!
For even more cookie delights, explore my Maple Cookies Melt recipe, which offers a completely different but equally satisfying flavor experience. Enjoy these variations and make them your own!
Make Ahead Options
These Christmas Pinwheel Cookies are perfect for busy home cooks looking to streamline their holiday baking! You can prepare the cookie dough up to 3 days in advance. Simply follow the steps to color and roll the dough into a log, wrap it tightly in plastic wrap, and refrigerate. This prevents any browning or drying out, keeping the dough just as fresh. When you’re ready to bake, slice the chilled log into rounds, roll in red sanding sugar, and bake as directed. By prepping ahead, you’ll save precious time, allowing you to focus on enjoying the holiday festivities with friends and family!
How to Store and Freeze Christmas Pinwheel Cookies
Room Temperature: Store baked cookies in an airtight container at room temperature for up to one week to maintain their delightful softness.
Fridge: If you find the cookies starting to lose their freshness, you can refrigerate them for up to two weeks. Just keep them well-wrapped to prevent drying out.
Freezer: For longer storage, freeze the cookies for up to 3 months. Make sure to wrap them tightly in plastic wrap or use a freezer-safe container to avoid freezer burn.
Reheating: To enjoy fresh-tasting cookies later, let frozen Christmas Pinwheel Cookies thaw at room temperature, or warm them in the oven at 300°F for about 5 minutes before serving.
What to Serve with Christmas Pinwheel Cookies
These delightful cookies are just the beginning of an enchanting holiday feast that brings joy to your table.
- Festive Hot Chocolate: This rich beverage pairs perfectly with the buttery sweetness of the cookies, making every bite feel like a warm hug.
- Creamy Eggnog: A classic holiday drink, its spiced flavors complement the cookies’ sweetness and enhance the festive mood.
- Crisp Green Salad: Refresh your palette with a nutritious salad that balances the cookies’ sweetness with crunchy textures and vibrant greens.
- Cheese Platter: Offer a selection of cheeses, like sharp cheddar and creamy brie, for a savory contrast against the cookies’ sugary delight.
- Chocolate Dipped Fruit: Strawberries or bananas dipped in chocolate add a decadent touch that harmonizes beautifully with the cookie’s buttery flavor.
- Gingerbread Men: Add a festive rival to your holiday platter! These spiced cookies will delight guests looking for a different texture and flavor profile.
- Buttery Popcorn: For a whimsical twist, serve a bowl of sweet and salty popcorn as a fun snack alongside these colorful cookies.
- Mulled Wine: Infused with spices like cinnamon and cloves, this warm beverage adds an elegant touch to your holiday spread.
- Vanilla Ice Cream: The creamy texture and sweet, subtle flavor of ice cream make it an irresistible pairing with the soft cookies.
- Sugar Cookies: Classic sugar cookies can add different shapes and decorations to your holiday display while complementing the pinwheel cookies wonderfully.

Christmas Pinwheel Cookies Recipe FAQs
How do I choose ripe ingredients?
Absolutely! For the best Christmas Pinwheel Cookies, select unsalted butter that’s softened but not melted—this helps achieve that perfect creamy texture. When choosing your eggs, look for ones that are clean and uncracked for the best quality.
How should I store my cookies?
Store your baked cookies in an airtight container at room temperature for up to one week to keep them soft and fresh. If you find they’re losing moisture, placing a slice of bread in the container can help maintain humidity.
Can I freeze my Christmas Pinwheel Cookies?
Definitely! To freeze, wrap the cookies individually in plastic wrap and place them in a freezer-safe container. They’ll stay fresh for up to 3 months. When you’re ready to enjoy, simply thaw them at room temperature. For a warm treat, pop them in the oven at 300°F for about 5 minutes.
What if my dough is too sticky?
Very common! If your dough feels sticky and hard to manage, simply refrigerate it for an additional 30 minutes. This helps firm it up and makes rolling and cutting much easier. Remember, having a cold dough is key to preventing them from spreading too much during baking.
Can I use alternative ingredients for dietary restrictions?
Of course! You can substitute gluten-free flour for all-purpose flour to make these cookies gluten-free. Additionally, if you’re avoiding eggs, try using a flaxseed meal (1 tablespoon of flaxseed mixed with 3 tablespoons of water, let it sit for 5 minutes) as a binder instead.
What can I do if my cookies are too dry?
If your cookies turn out drier than expected, consider adjusting the next batch by adding a tablespoon of milk or an extra tablespoon of butter to the dough. Also, make sure to not overbake them, as pulling them out of the oven just as they are set will maintain their softness.
Vibrant Christmas Pinwheel Cookies for a Festive Holiday Treat
Ingredients
Equipment
Method
- In a large mixing bowl, beat 1 cup of softened unsalted butter with 1 cup of sugar until creamy and light, about 3-4 minutes. Add in 1 egg and 1 teaspoon of vanilla extract, mixing until well combined.
- In a separate bowl, whisk together 2 cups of all-purpose flour, ½ teaspoon of kosher salt, and ½ teaspoon of baking soda. Gradually add this dry mixture to your butter mixture on low speed.
- Divide the dough into three equal portions. Color one third with red gel food coloring and another with green. Wrap tightly and refrigerate for at least 1 hour.
- Roll each colored dough portion out between two sheets of parchment paper into 7-inch squares. Chill again in the refrigerator for about 15 minutes.
- Peel parchment paper from each layer. Stack the red, green, and plain squares, then tightly roll into a log shape and freeze for 1 hour.
- Preheat the oven to 350°F (175°C). Remove the log and slice into 1/3-inch thick rounds. Roll edges in red sanding sugar.
- Bake cookies for 8-10 minutes until set but not browned. Allow cookies to cool for 1 minute on the sheet before transferring to a wire rack.
Leave a Reply