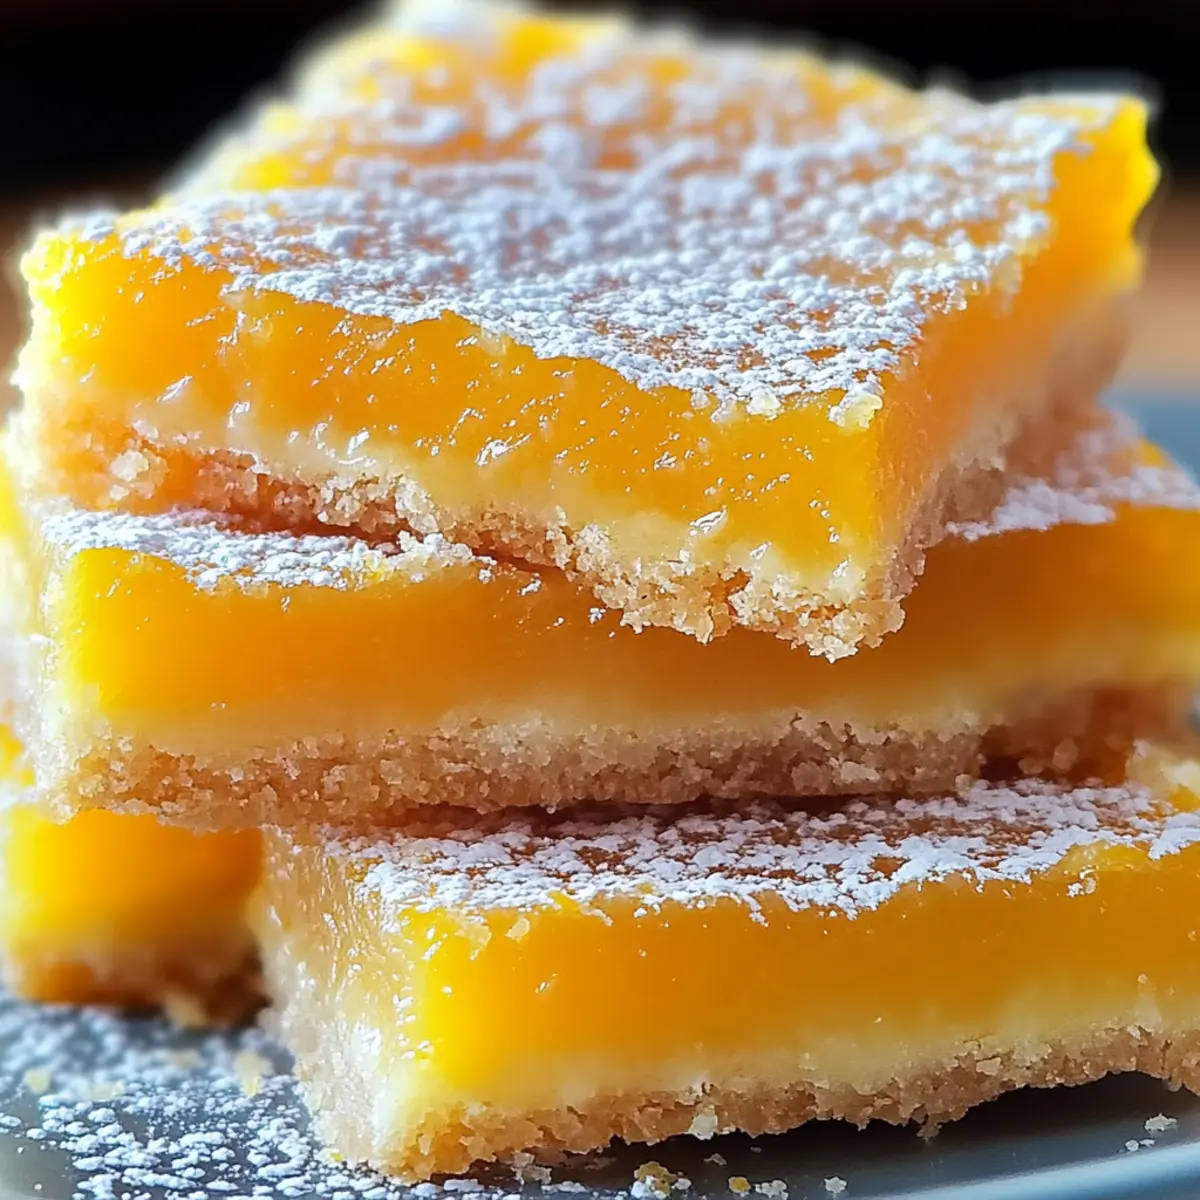
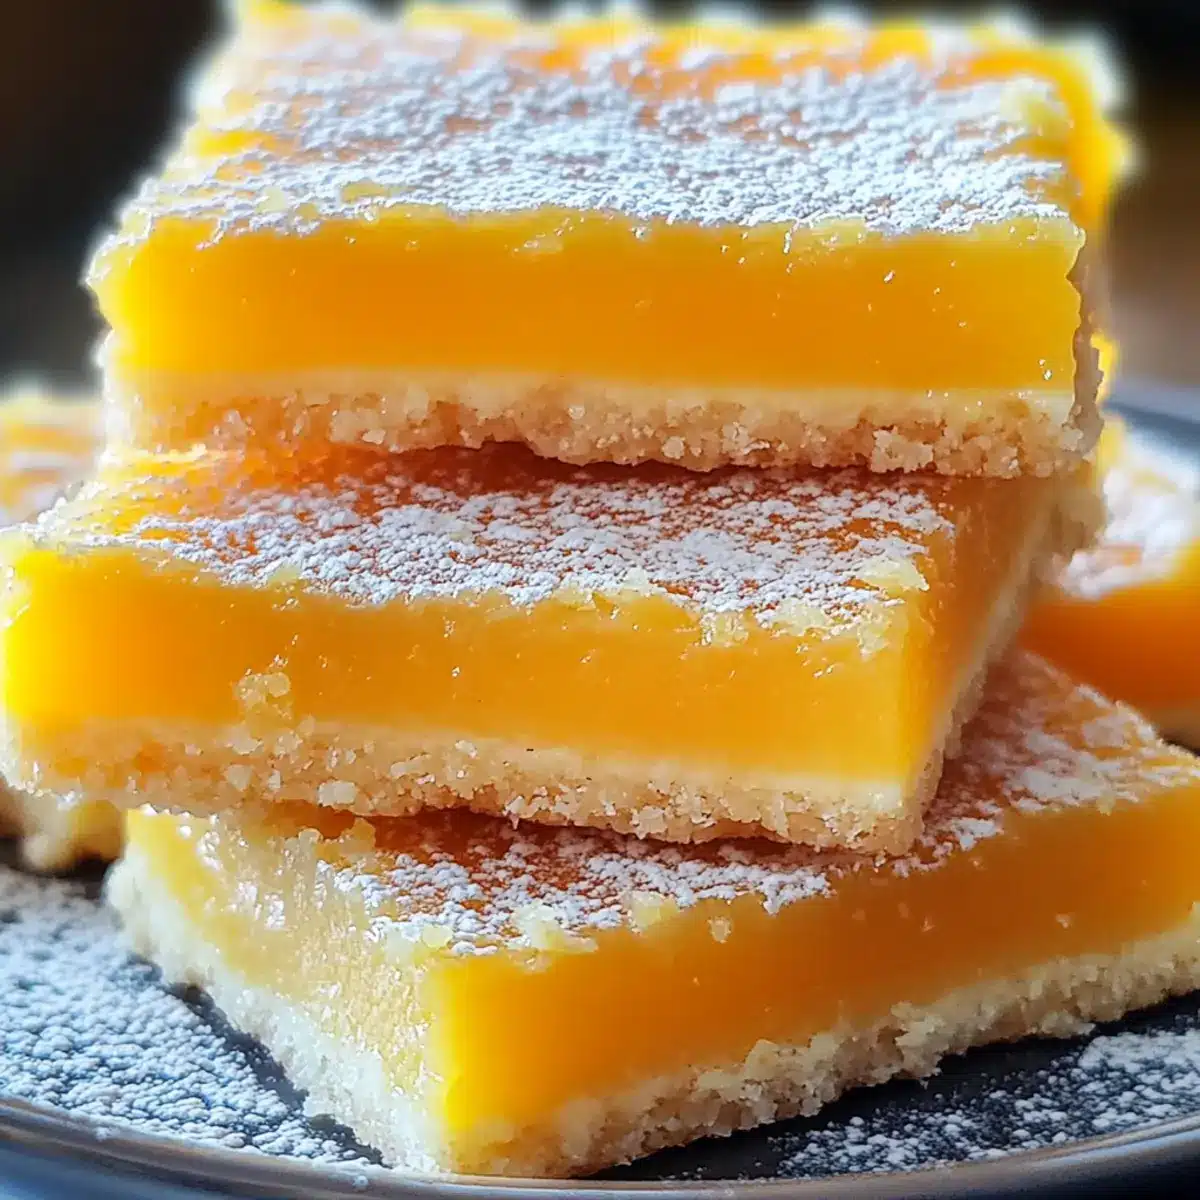
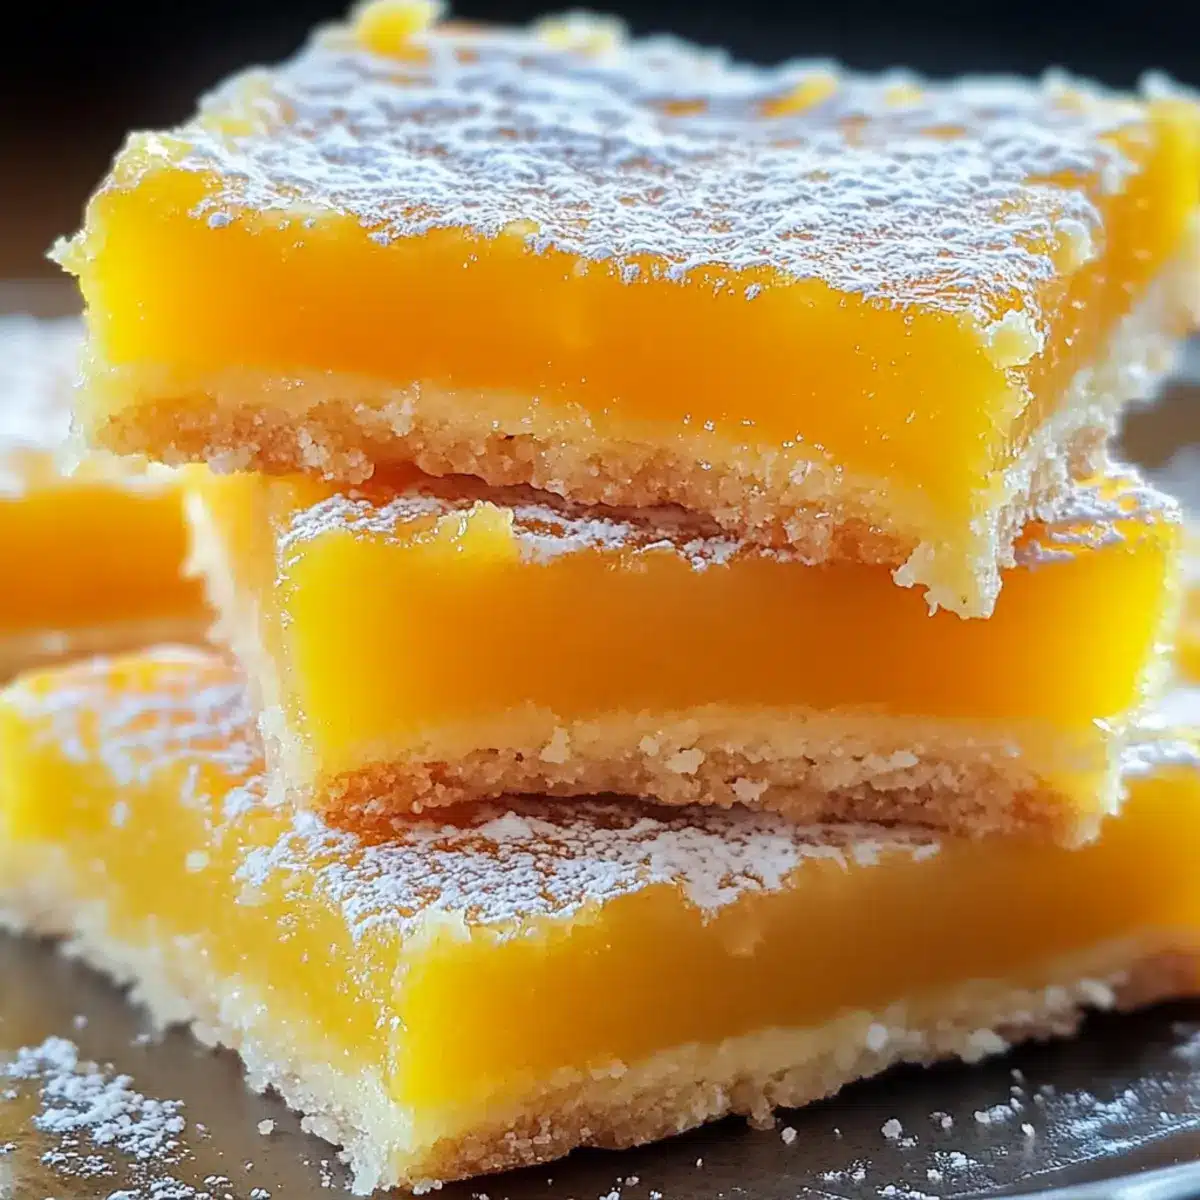
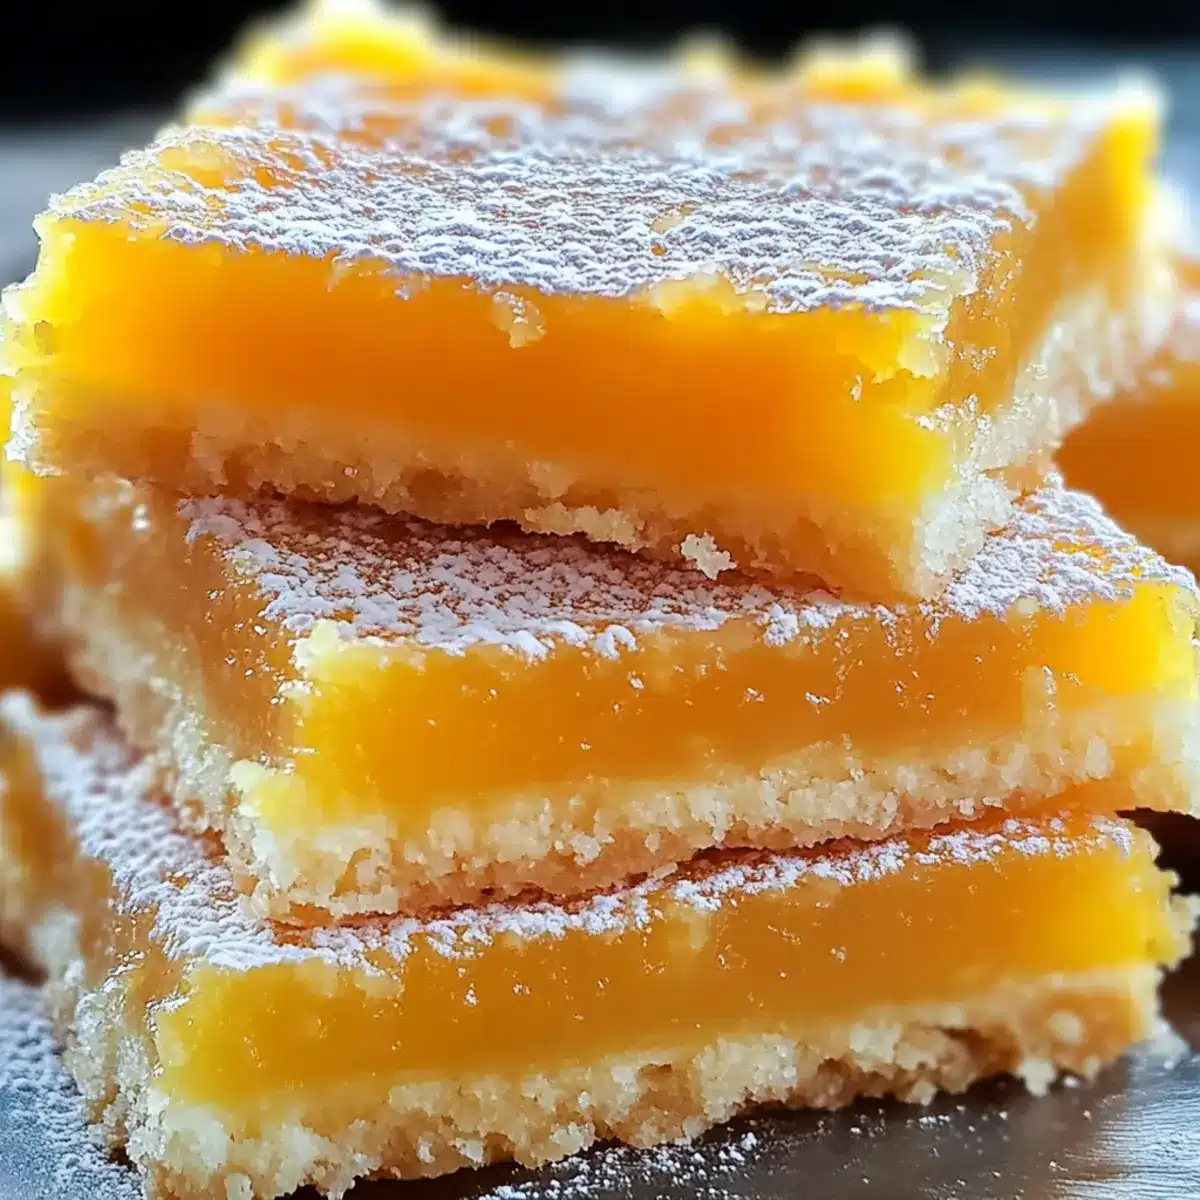
As the zesty scent of fresh oranges fills the air, I can’t help but feel a wave of cheer wash over me. These Sunshine Orange Bars are not just a treat; they’re a simple, bright mood lifter that you can whip up in no time. With their tender, cake-like base and a luscious custard filling, they’re perfect for serving at brunch or satisfying a sweet tooth after dinner. The best part? They’re quick to prepare and use budget-friendly ingredients, so you can enjoy homemade goodness without breaking the bank. Ready to brighten up your baking routine and impress your friends? Let’s dive into this delightful recipe!
Why are these orange bars irresistible?
Bright, Zesty Flavor: Every bite bursts with fresh orange juice and zest, uplifting your spirits instantly.
Quick & Easy: With straightforward instructions, even novice bakers will shine!
Versatile Serving Options: Perfect for breakfast, brunch, or dessert—these bars fit any occasion. Want a breakfast treat? Pair them with your morning coffee or serve them as a delightful dessert with a scoop of ice cream.
Budget-Friendly: Made with simple, affordable ingredients, these bars are a guilt-free indulgence!
Crowd Pleaser: Their vibrant color and tangy sweetness will impress your guests at any gathering! If you’re looking for more citrus inspiration, check out my Warm Cinnamon Orange or try these delicious Cranberry Bliss Bars for a festive twist.
Orange Bars Ingredients
For the Crust
• All-purpose flour – Provides structure to the bars; make sure to sift it for a fine texture.
• Granulated sugar – Adds the right amount of sweetness; feel free to use a low-calorie sweetener as a substitute.
• Unsalted butter – Ensures a rich, tender crumb; remember to soften it instead of melting.
• Large eggs – Binds the ingredients for a creamy filling; use room temperature eggs for best results.
For the Filling
• Fresh orange juice – The star of the filling! Freshly squeezed gives the best flavor; bottled can work in a pinch.
• Orange zest – Elevates the citrus taste with its aromatic notes; only zest the orange skin to avoid bitterness.
• Cornstarch – Helps to thicken the filling, providing a nice custard-like texture.
• Vanilla extract – Adds depth to the flavor; it’s optional but highly recommended for richness.
For the Glaze
• Powdered sugar – Sweetens the glaze perfectly; sift to eliminate lumps.
• Fresh orange juice – Enhances the glaze while tying back to the key theme of the Orange Bars; use the freshest you can find.
• Orange zest – Adds a lovely touch to the glaze and an extra burst of citrus aroma.
Now that you have all the ingredients ready, you’re one step closer to creating these irresistibly delicious Orange Bars! Let’s continue this baking journey together!
Step‑by‑Step Instructions for Orange Bars
Step 1: Preheat and Prepare the Oven
Preheat your oven to 350°F (175°C) while you prepare your baking pan. Grease a 9×9-inch square baking pan and line it with parchment paper, leaving an overhang on two sides for easy removal later. This will ensure that your Sunshine Orange Bars come out effortlessly once baked, making cleanup a breeze!
Step 2: Mix the Dry Ingredients
In a mixing bowl, whisk together the all-purpose flour, granulated sugar, baking powder, and salt until they are well combined. This step is crucial to creating a fluffy texture in your Orange Bars. The mixture should appear light and airy, with no lumps detected. Set this bowl aside while you prepare the wet ingredients.
Step 3: Combine the Wet Ingredients
In a separate bowl, beat together the softened unsalted butter and large eggs until the mixture is smooth and well blended. This should take about 2 to 3 minutes of mixing. Add the dry ingredient mixture to the wet ingredients, stirring gently just until incorporated. Avoid overmixing to keep the Orange Bars tender and soft.
Step 4: Spread the Base Batter
Transfer the batter into the prepared baking pan, using a spatula to spread it evenly across the bottom. Aim for a smooth surface, as this will serve as the base for your luscious filling. Once evenly spread, gently tap the pan on the counter to remove any air bubbles that might be hiding in the batter.
Step 5: Prepare the Filling
In another bowl, whisk together the granulated sugar, cornstarch, fresh orange juice, orange zest, large eggs, and vanilla extract until the mixture achieves a smooth consistency. This filling is the star of your Orange Bars! Pour this vibrant, zesty filling over the prepared crust, ensuring it is evenly distributed to form a beautiful layer.
Step 6: Bake Until Set
Place the pan in the preheated oven and bake for 25 to 35 minutes. Check for doneness when the edges are set and a toothpick inserted into the center comes out mostly clean. The vibrant color will give you a hint of the delicious Sunshine Orange Bars waiting to be enjoyed!
Step 7: Cool and Prepare the Glaze
Once baked, remove the pan from the oven and let the bars cool completely in the pan on a wire rack. This cooling time is essential for set structure. Meanwhile, you can prepare the glaze by mixing powdered sugar with fresh orange juice and zest in a bowl until smooth.
Step 8: Drizzle and Serve
Once cooled, lift the bars out of the pan using the parchment overhang. Drizzle the orange glaze over the top, allowing it to flow beautifully to the edges. Cut into squares, serving them at room temperature for the best experience of flavor. Your Sunshine Orange Bars are now ready to brighten anyone’s day!
Storage Tips for Orange Bars
Room Temperature: Store cooled Orange Bars in an airtight container for up to 3 days. They’ll maintain their flavor and tenderness, making them perfect for snacking.
Fridge: For longer freshness, keep them refrigerated for up to a week. Simply place them in an airtight container to avoid any drying out.
Freezer: If you want to enjoy these treats later, freeze Orange Bars before glazing. They last for up to 3 months; just thaw them completely before serving!
Reheating: For a fresh taste, consider warming leftover bars in the microwave for a few seconds. This will bring back their lovely softness and flavors.
Make Ahead Options
These Sunshine Orange Bars are perfect for meal prep, saving you precious time during busy weeknights or special gatherings! You can prepare the crust up to 24 hours in advance. Simply make it, press it into the pan, and refrigerate until you’re ready to bake. The filling can also be whisked together a day ahead; just store it in an airtight container in the fridge to keep it fresh. When you’re ready to enjoy the bars, simply bake them as directed and glaze them once they’ve cooled—this way, they will be just as delicious and vibrant as when freshly made!
What to Serve with Sunshine Orange Bars
Indulging in flavorful treats is always better when paired with delightful accompaniments that elevate your meal experience.
-
Fresh Berries: The tartness of strawberries or raspberries contrasts beautifully with the sweet, citrusy bars, balancing the flavors.
-
Vanilla Ice Cream: A scoop of creamy ice cream adds a luxurious touch, melting perfectly over the warm bars for a comforting dessert.
-
Herbal Tea: A soothing cup of mint or chamomile tea complements the zesty flavors, creating a refreshing finish to your meal.
-
Mimosas: Bright and bubbly, these brunch favorites are a perfect pairing, enhancing the bars’ cheerful citrus notes.
-
Whipped Cream: Light and airy, a dollop of whipped cream on top adds a luscious element, making each bite even more delightful.
-
Yogurt Parfait: Layer some yogurt with granola and fresh fruit for a balanced breakfast that complements the sunny flavors of the bars.
-
Lemonade: An ice-cold glass of lemonade echoes the zingy profile, refreshing your palate and making a perfect warm-weather treat.
-
Chocolate Drizzle: A light drizzle of dark chocolate adds a sweet contrast, enriching the taste experience while adding a touch of indulgence.
Expert Tips for Orange Bars
- Butter Temperature: Ensure butter is softened but not melted. Melted butter can lead to greasy, dense Orange Bars.
- Mixing Technique: Mix batter until just combined to maintain tenderness; small lumps are perfectly fine and will smooth out during baking.
- Cooling Time: Allow the bars to cool completely before glazing; cutting them too soon can result in a messy presentation.
- Even Filling: Use a toothpick to swirl the filling over the base for a marbled look, but be careful not to overmix the layers for lovely Orange Bars.
- Serving Temperature: Serve at room temperature for the best flavor experience; cold bars may lose some of their delightful zestiness.
Orange Bars Variations & Substitutions
Feel free to get creative with these Orange Bars, adding your personal touch to each delightful bite!
-
Lemon Twist: Swap lemon juice and zest for orange to give a refreshing citrus spin.
The combination brings a bright, tangy flavor that’s irresistible! -
Citrus Medley: Use lime or grapefruit juice and zest to create a unique flavor profile.
This twist adds complexity and a delightful zing to the traditional recipe. -
Creamy Glaze: Blend in a bit of cream cheese to your orange glaze for a richer, tangy frosting.
This creamy addition pairs perfectly with the sweet and tangy bars! -
Almond Infusion: Add a drop of almond extract to the filling for a nutty undertone.
This subtle flavor enhances the overall taste, creating a beautiful depth. -
Spice it Up: Incorporate a dash of ginger or cardamom into the batter for a warm spice element.
The spices will add an unexpected warmth that complements the citrus beautifully. -
Gluten-Free: Substitute all-purpose flour with a 1:1 gluten-free blend.
This way, everyone can enjoy these sunny bars without worry! -
Nutty Crunch: Fold in chopped walnuts or pecans for added texture and flavor.
The nuts bring a delightful crunch, enhancing each bite with a nutty surprise. -
Decreased Sweetness: Use a lower-calorie sweetener in place of granulated sugar for a lighter option.
This will allow you to enjoy the flavor without the guilt, perfect for those watching their sugar intake.
These variations give you the freedom to make these Orange Bars your own. Whether you’re feeling adventurous or simply want to accommodate dietary preferences, have fun experimenting! If you’re looking for more delicious citrus creations, consider trying my Warm Cinnamon Orange or these zesty Cranberry Bliss Bars.
Sunshine Orange Bars Recipe FAQs
How do I select ripe oranges for the best flavor?
Absolutely! Look for oranges that are firm, heavy for their size, and have smooth, unblemished skin. If you can smell their sweet aroma when you bring them close, that’s a good sign they are ripe and flavorful. Avoid oranges with dark spots or a dry feel, as they might be past their prime.
What is the best way to store leftover Orange Bars?
To keep your Sunshine Orange Bars fresh, store them in an airtight container at room temperature for 2-3 days. If you’d like to extend their shelf life, refrigerate them where they will stay good for up to a week. Just make sure they’re sealed tight to avoid drying out!
Can I freeze these Orange Bars, and if so, how?
Yes, you can freeze them! Before glazing, wrap the cooled bars tightly in plastic wrap or aluminum foil and place them in an airtight container. They’ll stay delicious for up to 3 months. When you’re ready to enjoy, simply thaw them in the refrigerator overnight and glaze before serving for that fresh taste!
What should I do if my filling separates during baking?
Very! If your filling separates, it can be due to overmixing the filling or the oven temperature being too high. To troubleshoot, ensure that you gently mix the filling ingredients just until combined. Bake at a consistent 350°F (175°C) and avoid opening the oven door while baking to maintain an even temperature throughout.
Are there any dietary considerations for these bars?
If you’re concerned about allergies, these Orange Bars contain gluten and eggs. For gluten-free options, you can substitute all-purpose flour with a gluten-free flour blend. Just make sure to check that your cornstarch and other ingredients are also gluten-free. Also, if there are children or pets around, be mindful that both the orange filling and glaze can be overly sweet.
How can I modify the recipe for a different citrus flavor?
Want to mix things up? You can easily switch orange juice and zest with lemon or lime for a flavorful twist. Just replace the same measurements with your chosen citrus, and you’ll have a delightful new variation! Adding a drop of almond extract can also enhance the flavor profile for an exciting change.
Sunshine Orange Bars: A Citrus Delight to Brighten Your Day
Ingredients
Equipment
Method
- Preheat your oven to 350°F (175°C) and prepare a 9x9-inch baking pan by greasing it and lining it with parchment paper.
- In a mixing bowl, whisk together the all-purpose flour, granulated sugar, baking powder, and salt until well combined.
- In a separate bowl, beat the softened unsalted butter and large eggs until smooth, then combine with the dry ingredients until just incorporated.
- Spread the batter evenly in the prepared baking pan and gently tap to remove air bubbles.
- In another bowl, whisk together the granulated sugar, cornstarch, fresh orange juice, orange zest, large eggs, and vanilla extract until smooth, then pour over the crust.
- Bake for 25 to 35 minutes until the edges are set and a toothpick comes out mostly clean.
- Let the bars cool completely in the pan on a wire rack before preparing the glaze.
- Mix powdered sugar with fresh orange juice and zest until smooth, then drizzle over the cooled bars and cut into squares.
Leave a Reply