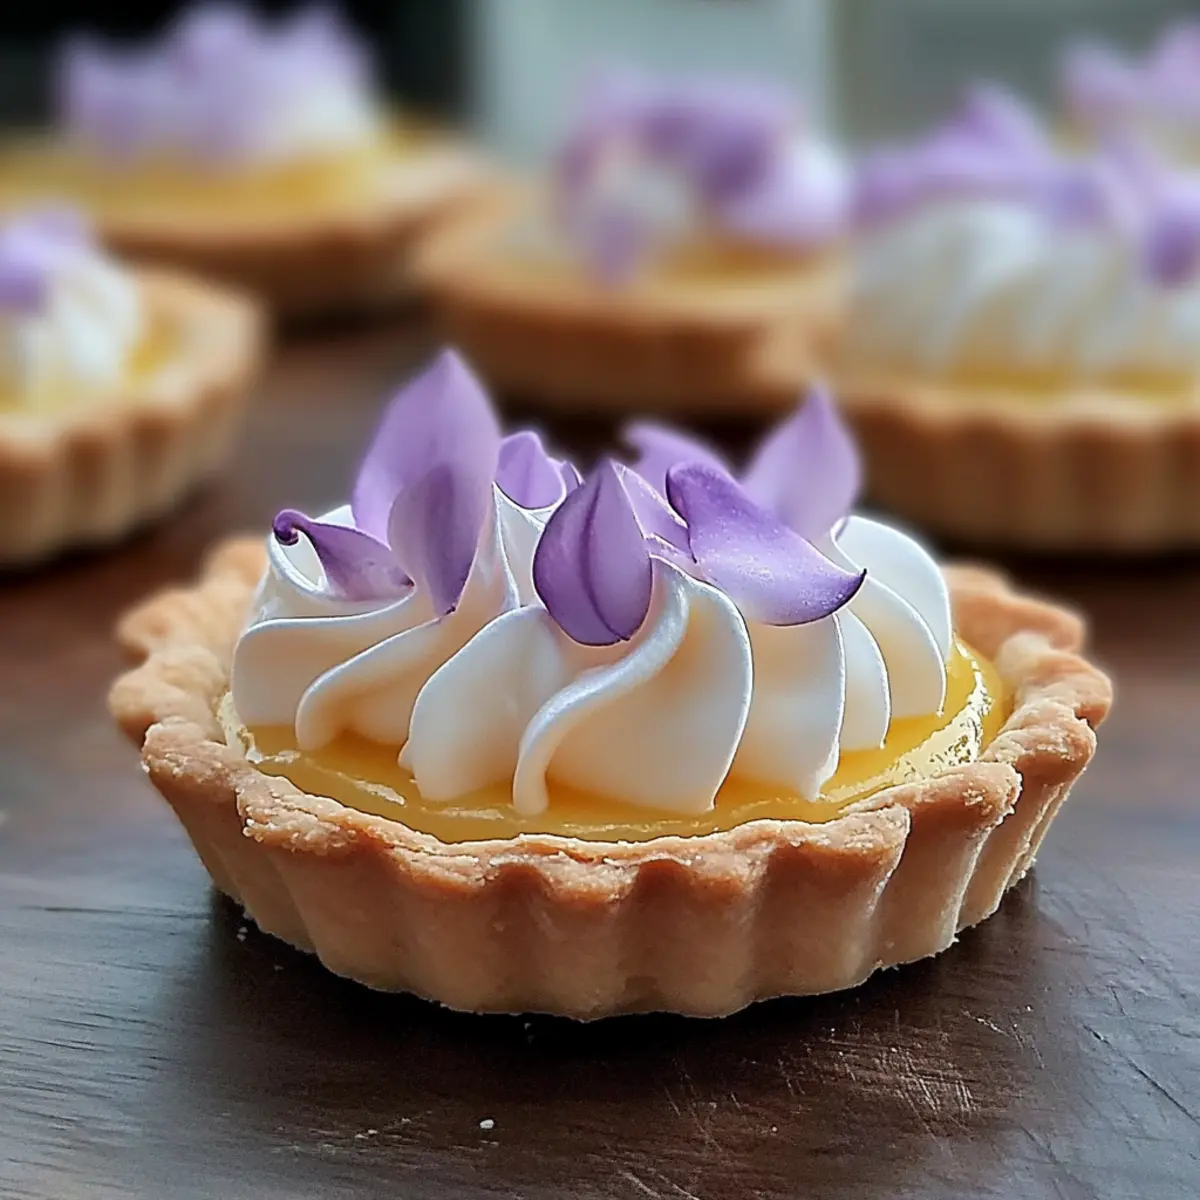
As the sun starts to shine a little brighter and flowers begin to bloom, my mind drifts to sweet indulgences like Mini Lemon Tart with Lilac Meringue. These charming little tarts balance a zesty lemon curd with a dreamy lilac meringue that’s as delightful to look at as it is to taste. Not only are they perfect for spring gatherings and tea parties, but they also offer the added bonus of being gluten-free if needed. Whipping up these elegant treats will impress your guests and create cherished memories around the table. Curious about how to make them shine at your next gathering? Let’s dive into this beautiful spring dessert!
Why Are Mini Lemon Tarts So Irresistible?
Perfectly Balanced Flavors: The tartness of lemon curd beautifully complements the sweetness of lilac meringue, creating a taste sensation that will leave your guests wanting more.
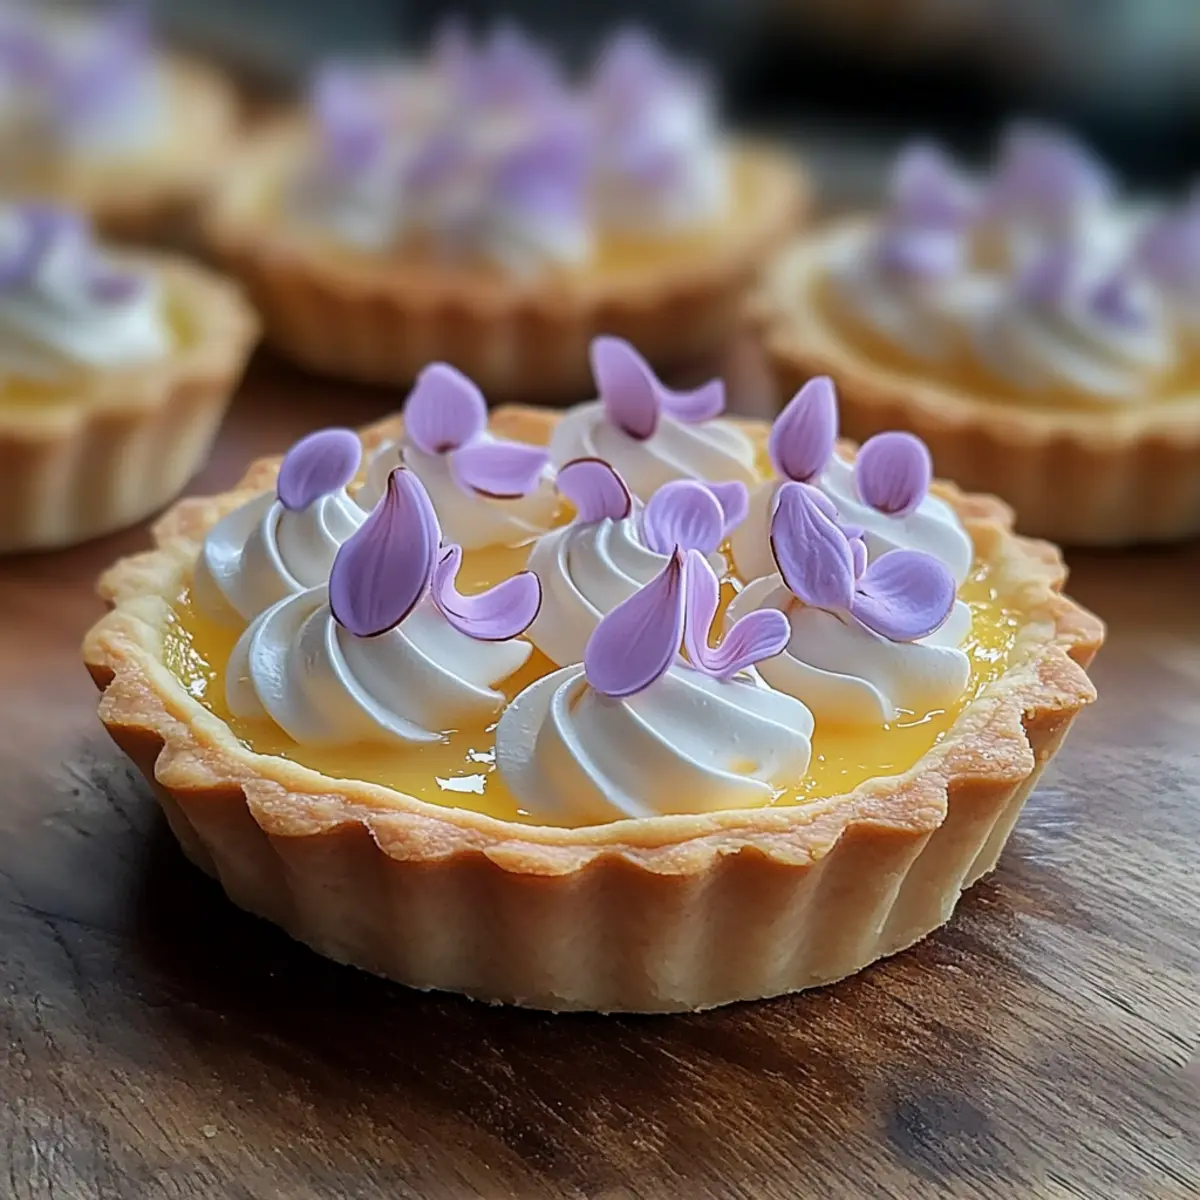
Visually Stunning: These mini tarts are not only delicious but also a feast for the eyes, adding a touch of elegance to any table setting.
Springtime Freshness: With vibrant colors and flavors, they’re an ideal dessert to celebrate the arrival of spring, perfect for brunches or afternoon teas.
Gluten-Free Option: You can easily adapt the tart shell for a gluten-free version, making these delightful treats accessible to everyone.
Crowd-Pleasing Appeal: Their charming size makes them an easy addition to any dessert platter, ensuring they’ll be a hit at gatherings! For more delightful spring flavors, try pairing these with a refreshing Herby Barley Salad or serving alongside a fragrant Coconut Curry Soup.
Mini Lemon Tart Ingredients
For the Tart Shell
- Flour – Provides structure for the tart shell; substitute with gluten-free flour for a gluten-free option.
- Powdered Sugar – Adds sweetness and creates a smooth texture in the shell.
- Butter – Key for flavor and texture; use cold butter for optimal flakiness.
- Egg Yolk – Binds ingredients together, contributing richness to the shell.
- Water – Helps bring the tart dough together effectively.
For the Lemon Curd
- Lemon Juice – The key flavor component; freshly squeezed is recommended for the best zing.
- Lemon Zest – Enhances the lemon flavor in the curd; using organic lemons is ideal to avoid pesticides.
- Granulated Sugar – Sweetens the lemon curd to balance out the tartness.
- Eggs – Provides structure to the lemon curd, so always use the freshest eggs.
- Unsalted Butter – Adds a rich mouthfeel to the curd.
For the Lilac Meringue
- Egg Whites – The main ingredient for achieving a light, fluffy meringue.
- Cream of Tartar – Stabilizes the egg whites while beating, helping them achieve stiff peaks.
- Granulated Sugar – Essential for sweetening the meringue; helps create its texture.
- Vanilla Extract – Enhances the flavor profile of the meringue.
- Violet Food Coloring – Used to create the beautiful lilac hue; natural alternatives like butterfly pea flower extract are also great!
Make sure to gather these ingredients for your Mini Lemon Tart with Lilac Meringue and get ready to create a stunning dessert!
Step‑by‑Step Instructions for Mini Lemon Tart with Lilac Meringue
Step 1: Make the Tart Shells
Start by pulsing together flour and powdered sugar in a food processor until combined. Add cold butter and blend until the mixture resembles coarse crumbs. Next, mix in the egg yolk and water until a dough forms. Chill the dough for 30 minutes in the refrigerator. Preheat your oven to 350°F (175°C) while the dough chills.
Step 2: Bake the Tart Shells
Once chilled, roll out the dough on a floured surface and press it into mini tart pans, trimming excess. Prick the bases with a fork to prevent bubbling. Line with parchment paper and fill with pie weights or dried beans. Bake in the preheated oven for 10-12 minutes until lightly golden. Let the tart shells cool completely before filling.
Step 3: Prepare the Lemon Curd
In a medium saucepan, whisk together lemon juice, lemon zest, granulated sugar, and eggs. Place over medium heat, constantly stirring for about 8-10 minutes, until the mixture thickens and coats the back of a spoon. Remove from heat and whisk in unsalted butter until melted and smooth. Let it cool slightly before pouring it into the cooled tart shells.
Step 4: Chill the Lemon Curd
Once filled, cover the mini tarts with plastic wrap and refrigerate for at least 1 hour. This will allow the lemon curd to set firmly in the tart shells, giving a delightful texture to your Mini Lemon Tart with Lilac Meringue.
Step 5: Make the Lilac Meringue
For the meringue, set a heatproof bowl over a pot of simmering water and combine egg whites, granulated sugar, and cream of tartar. Whisk constantly until the mixture is warm to touch and sugar has dissolved, about 4-5 minutes. Remove from heat and beat with an electric mixer until stiff peaks form, which should take another 5-7 minutes.
Step 6: Color the Meringue
Once the meringue has reached stiff peaks, gently fold in vanilla extract and a few drops of violet food coloring until evenly mixed for that lovely lilac hue. This will give your meringue not only a beautiful appearance but also enhance the overall aesthetic of your Mini Lemon Tart with Lilac Meringue.
Step 7: Pipe the Meringue
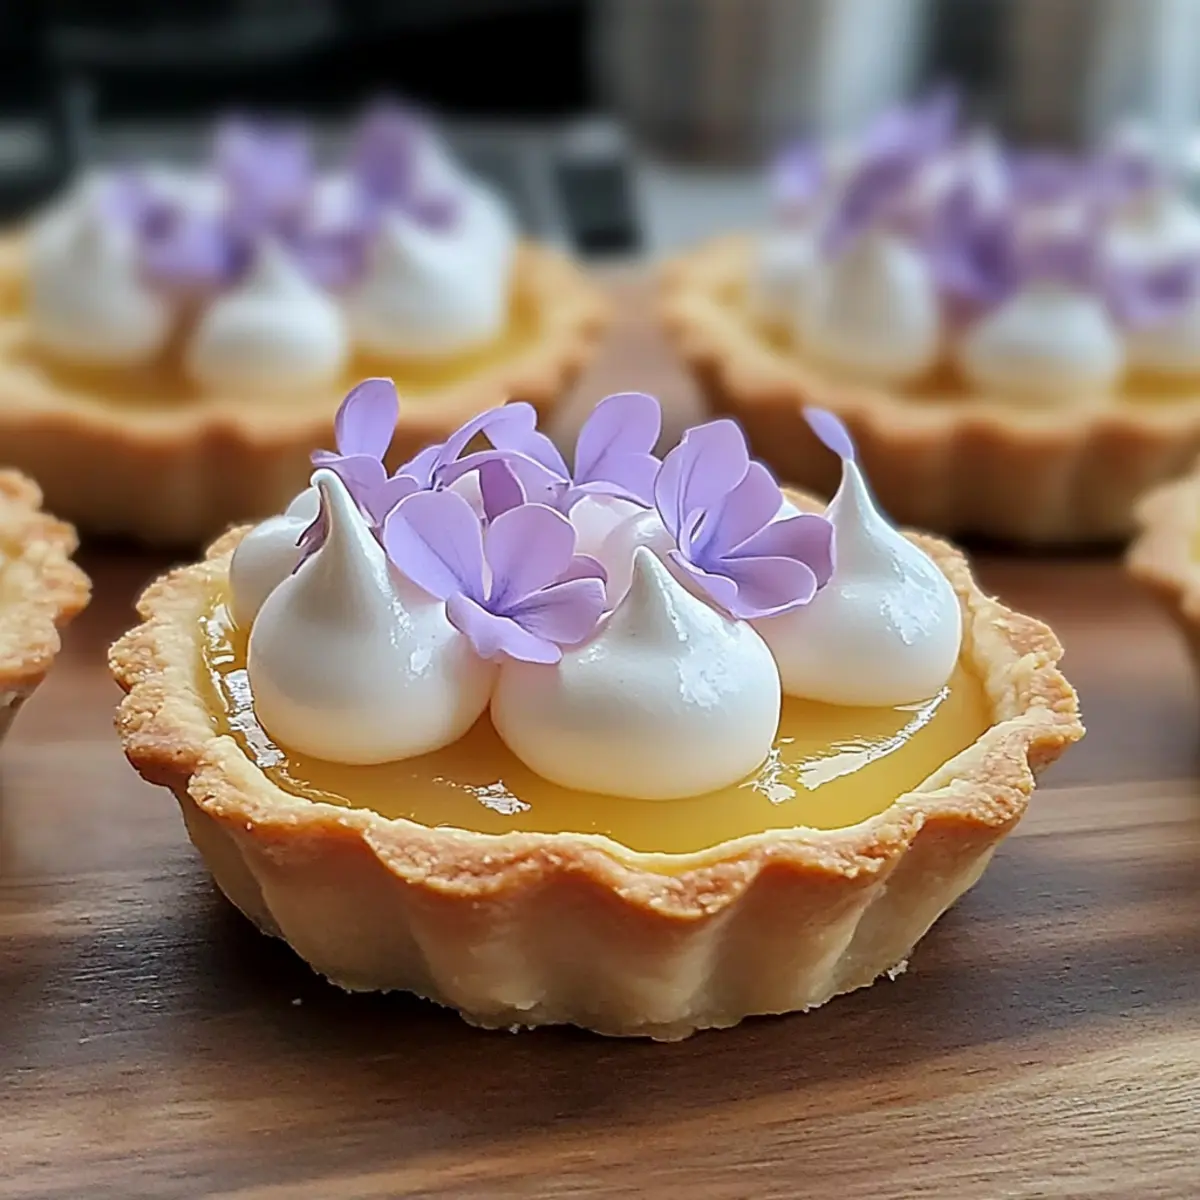
Using a piping bag fitted with your favorite tip, carefully pipe the lilac meringue onto each lemon tart. Create swirls or peaks for an elegant presentation that captures the essence of spring. Make sure to cover the lemon curd entirely, ensuring a picturesque layer.
Step 8: Toast the Meringue
To add a touch of warmth and flavor, use a kitchen torch to gently toast the tips of the meringue until golden brown. Keep the torch moving to prevent burning. This toasting process will give your Mini Lemon Tarts a beautiful, toasted finish that contrasts deliciously with the tangy lemon curd.
Step 9: Garnish and Serve
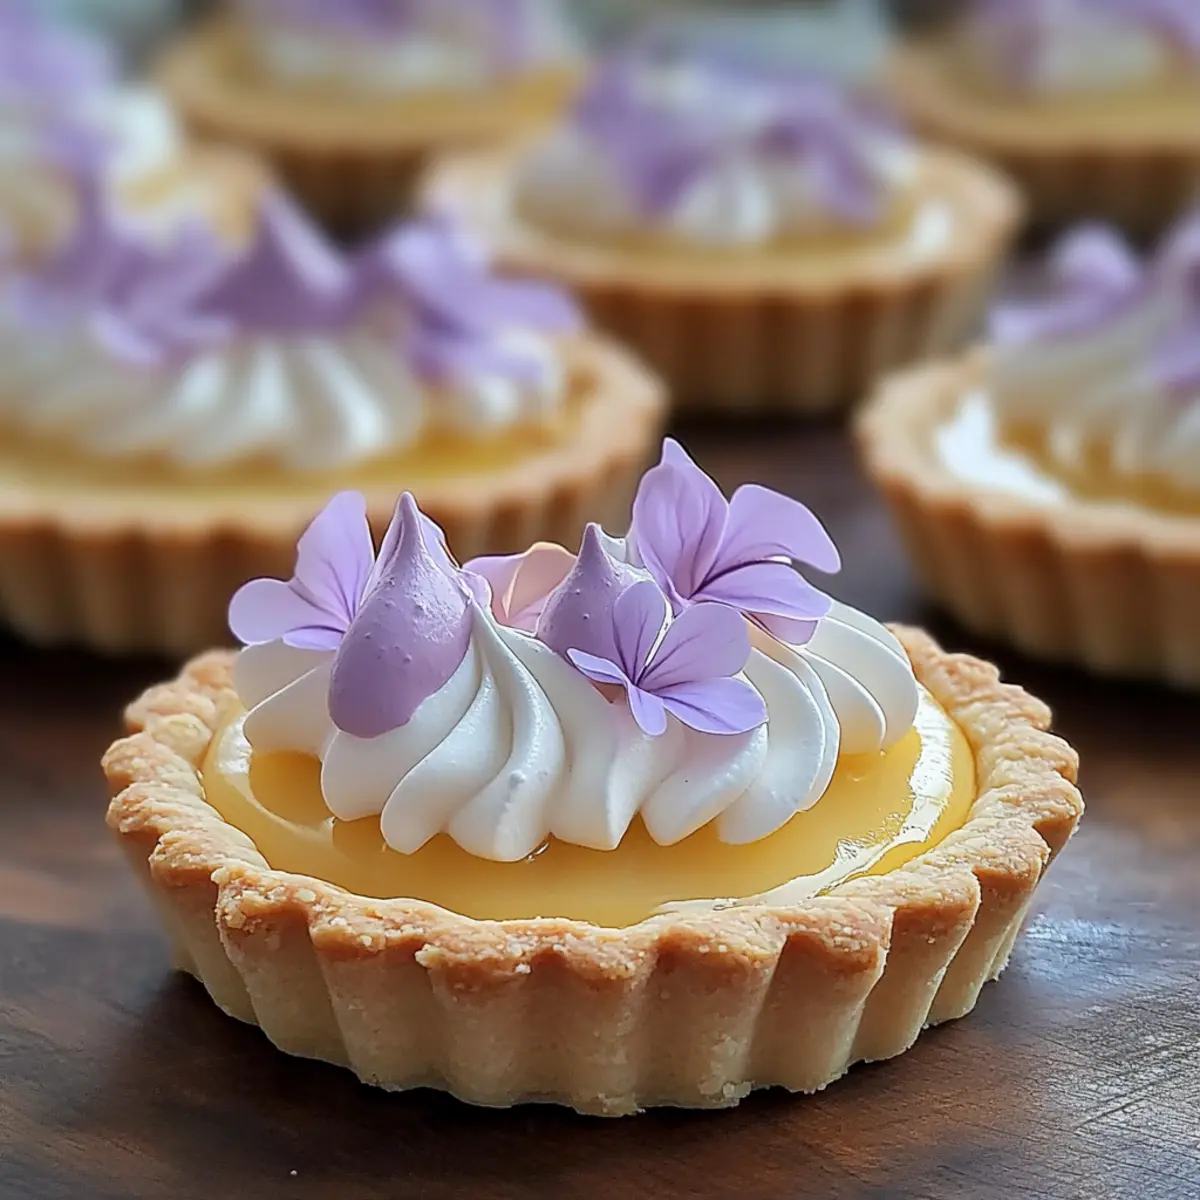
For a final touch, garnish your mini tarts with edible lilac petals or a sprinkle of dried lavender for an aromatic finish. Serve these delightful Mini Lemon Tarts with Lilac Meringue chilled, allowing the flavors to shine during your spring gatherings!
Make Ahead Options
These Mini Lemon Tarts with Lilac Meringue are perfect for meal prep, making them a time-saving treat for busy cooks! You can prepare the tart shells and the lemon curd up to 24 hours in advance. Simply bake the tart shells and let them cool completely, then fill them with the lemon curd and refrigerate to set. For the best quality, cover the tarts with plastic wrap to prevent drying out. Assemble with the lilac meringue just before serving to preserve the meringue’s airy texture. That way, you’ll enjoy delicious, restaurant-quality results without the last-minute rush!
Mini Lemon Tart with Lilac Meringue Variations
Feel free to get creative and make this delightful dessert even more your own with these fun variations!
-
Rose Meringue: Substitute vanilla extract with rose water for a fragrant twist and add a soft pink tint to the meringue. This delicate flavor adds an enchanting layer to every bite, sure to impress your guests.
-
Lime-Lavender Curd: Swap lemon juice for tart lime juice and infuse culinary lavender into the curd. This floral twist complements the tanginess beautifully, offering a fresh and sophisticated flavor profile.
-
Gluten-Free Shell: Replace regular flour with a mixture of almond flour and a gluten-free baking blend to make these tarts friendly for those avoiding gluten. The nutty flavor enhances the overall taste while maintaining that delightful texture.
-
Almond Meringue: Use almond extract instead of vanilla for a nutty undertone that pairs delightfully with lemon. This change will introduce a warm richness that makes every bite feel extra special.
-
Berry Compote Topping: Top your tarts with a homemade berry compote for an added fruity kick. The tartness of the berries complements the lemon and meringue brilliantly – a vibrant burst of flavor!
-
Chocolate Drizzle: For a decadent touch, drizzle melted white or dark chocolate over the meringue. This extra layer adds richness and a lovely contrast to the zesty tartness below.
-
Coconut Whipped Cream: Instead of meringue, use whipped coconut cream for a tropical twist! It adds creaminess and softness while keeping with the spring theme, inviting a taste of paradise to your dessert spread.
-
Meringue Variations: Experiment with different natural colorings or flavor extracts in your meringue. Try incorporating matcha for a green hue or save some of that berry compote juice for a pretty swirl effect.
For more delicious spring recipes to accompany your tarts, how about adding a refreshing Herby Barley Salad or some lovely Roasted Carrots Mint? These variations will brighten your table and delight your guests!
Expert Tips for Mini Lemon Tart with Lilac Meringue
-
Use Cold Butter: Ensure your butter is cold when making the tart shell; this helps achieve that flaky texture we all love.
-
Don’t Overfill: When pouring lemon curd into your tart shells, be careful not to overfill; leave enough space for the lilac meringue.
-
Monitor Meringue Toasting: When toasting the meringue, keep your kitchen torch moving to prevent any parts from burning.
-
Pipe Just Before Serving: For the best texture and visual impact, pipe the lilac meringue onto the tarts just before serving.
-
Chill Properly: Make sure to chill your assorted tarts adequately; letting them set for at least an hour ensures a delightful texture in your Mini Lemon Tart with Lilac Meringue.
What to Serve with Mini Lemon Tart with Lilac Meringue
Create a memorable meal by pairing your delightful dessert with these perfect accompaniments.
-
Creamy Mashed Potatoes: Their rich and buttery texture complements the tarts, providing a delightful contrast to the tartness of lemon curd.
-
Refreshing Cucumber Salad: A light and crisp salad infused with dill and yogurt. It balances the sweetness of the meringue beautifully.
-
Herby Barley Salad: With vibrant greens, this salad offers freshness and heartiness, making it an excellent match for your tarts. Plus, it brings a wholesome rustic charm to the table.
-
Floral-Infused Green Tea: An aromatic tea that echoes the lilac meringue’s floral notes, enhancing the experience with each sip.
-
Vanilla Bean Ice Cream: The creamy and sweet ice cream creates a luscious pairing with the tarts, softening the tangy lemon flavor.
-
Light Lemonade Spritzer: A fizzy drink with a hint of lemon that ties all these delightful flavors together while keeping things refreshingly light.
-
Lavender Shortbread Cookies: These delicate cookies add another layer of whimsical flavor and are a charming way to extend the dessert theme.
-
Fresh Fruit Platter: Seasonal fruits add a burst of color and freshness, providing a lovely palate cleanser between bites of tarts.
-
Sparkling Wine: Pop a bottle of sparkling wine to elevate the occasion; its crispness pairs wonderfully with both the lemon and lilac elements in the dessert.
How to Store and Freeze Mini Lemon Tart with Lilac Meringue
Room Temperature: Tarts should not be left out for more than 2 hours to maintain freshness and prevent spoilage.
Fridge: Store any leftover Mini Lemon Tarts in an airtight container in the refrigerator for up to 2 days. This will keep the tart shell crisp while preserving the creamy lemon curd and meringue.
Freezer: For longer storage, you can freeze the tart shells only. Wrap them tightly in plastic wrap and place in a freezer-safe bag for up to 1 month. Prepare the lemon curd and meringue fresh when you’re ready to enjoy!
Reheating: To refresh any cold tarts, allow them to sit at room temperature for about 10 minutes before serving. Avoid reheating in the microwave, as this can make the meringue soggy. Enjoy your delightful Mini Lemon Tart with Lilac Meringue!
Mini Lemon Tart with Lilac Meringue Recipe FAQs
How do I choose ripe lemons for the lemon curd?
Absolutely! To pick the best lemons, look for fruit that feels heavy for its size and has a vibrant yellow color. Avoid lemons with dark spots or wrinkles, as these may be overripe. Fresh lemons should have a slightly glossy surface, indicating juiciness.
What’s the best way to store leftover Mini Lemon Tarts?
Very! Store any leftovers in an airtight container in the refrigerator for up to 2 days. This will keep your tart shells crisp and preserve the creamy texture of the lemon curd and lilac meringue. Just remember to keep them covered to avoid absorbing any fridge odors.
Can I freeze the Mini Lemon Tarts?
Absolutely! While the fully assembled tarts don’t freeze well due to meringue’s texture, you can freeze the tart shells. Wrap them tightly in plastic wrap or foil and place them in a labeled freezer bag for up to 1 month. When you’re ready, just whip up fresh lemon curd and meringue to fill them!
What if my meringue doesn’t form stiff peaks?
Oh no! If your meringue lacks volume or isn’t forming stiff peaks, check that your egg whites are free from any yolk, as fat can hinder the whipping process. Ensure your mixing bowl and utensils are clean and completely dry. If that’s all in order, you might need to beat a bit longer or add a touch of cream of tartar to stabilize the mixture.
Are these Mini Lemon Tarts suitable for those with allergies?
Good question! The classic recipe contains gluten and dairy, but you can easily adjust it for dietary restrictions. Use gluten-free flour for the tart shell and substitute with dairy-free margarine for a completely vegan version. Always check ingredient labels to ensure they meet any specific allergy needs!
Can I make the lemon curd in advance?
Yes! You can absolutely prepare the lemon curd a day ahead and store it in the refrigerator. Allow it to cool completely and cover it tightly with plastic wrap or transfer it to an airtight container. Just be sure to assemble the tarts with meringue just before serving to keep that delightful texture.
Mini Lemon Tart with Lilac Meringue for a Spring Delight
Ingredients
Equipment
Method
- Pulse together flour and powdered sugar in a food processor until combined. Add cold butter and blend until the mixture resembles coarse crumbs. Mix in the egg yolk and water until a dough forms. Chill the dough for 30 minutes.
- Preheat your oven to 350°F (175°C). Roll out the dough and press it into mini tart pans. Prick the bases, line with parchment paper, and fill with weights. Bake for 10-12 minutes until lightly golden. Cool the shells.
- In a medium saucepan, whisk together lemon juice, zest, sugar, and eggs. Heat over medium while stirring until thickened, about 8-10 minutes. Remove from heat and whisk in unsalted butter. Cool slightly and pour into tart shells.
- Cover with plastic wrap and refrigerate for at least 1 hour to allow the lemon curd to set.
- Set a heatproof bowl over simmering water. Combine egg whites, sugar, and cream of tartar. Whisk until warm and sugar dissolves, about 4-5 minutes. Beat with mixer until stiff peaks form.
- Fold in vanilla extract and violet food coloring until evenly mixed.
- Pipe the lilac meringue onto each tart, ensuring coverage of the lemon curd.
- Toast the meringue tips with a kitchen torch until golden brown, moving the torch to prevent burning.
- Garnish with edible lilac petals or dried lavender. Serve chilled.
Leave a Reply