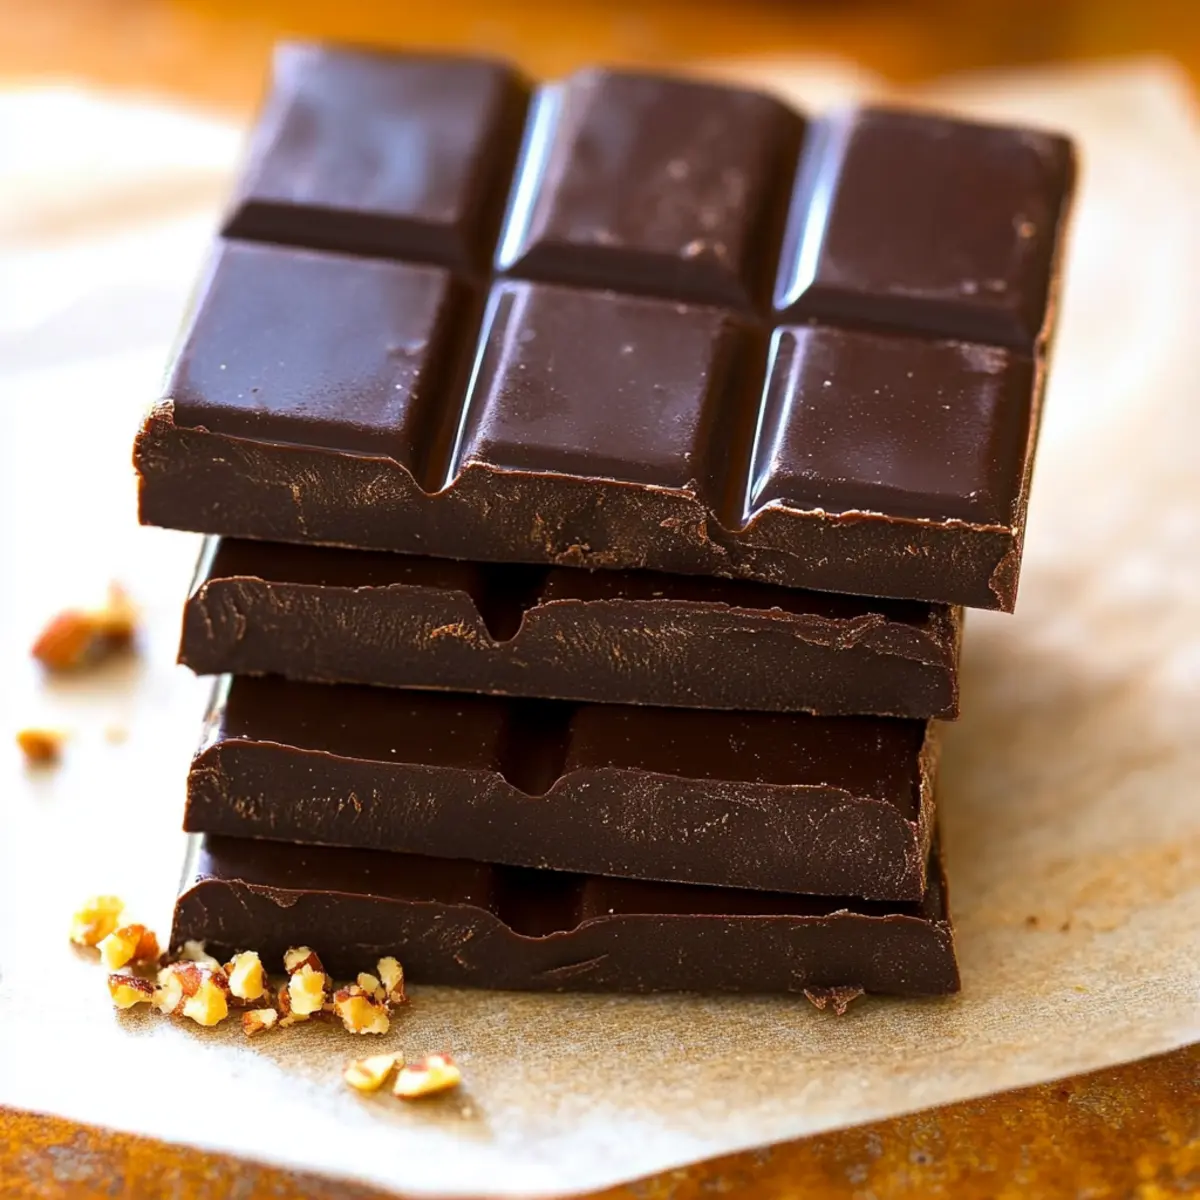
In a world where quick snacks often come from a drive-thru, it feels amazing to create something indulgent right in your kitchen. These 3-Ingredient Homemade Chocolate Bars are not only a treat but also an expression of your culinary creativity. Whipping them up takes just 5 minutes, and they’re fully customizable to suit your taste—think Chocolate Mint or even a decadent Dark Chocolate Almond variation! Plus, these guilt-free bars fit seamlessly into gluten-free and keto diets, making them the perfect choice for healthier snacking without sacrificing flavor. Curious how you can make these mouthwatering delights? Let’s dive into the simple steps!
Why Choose Homemade Chocolate Bars?
Quick and Easy: With only three ingredients, you can whip these bars up in just 5 minutes, making them a fantastic choice for busy days.
Customizable Flavors: Feel free to get creative! Experiment with different flavors like Chocolate Mint or Rocky Road to satisfy every craving.
Healthy Indulgence: These bars are gluten-free, keto-friendly, and sugar-free, so you can enjoy a delicious treat without the guilt.
Smooth Texture: Each bite melts in your mouth, offering a rich, creamy experience that rivals store-bought chocolates. Perfect for pairing with your favorite snacks, just like my Cranberry Bliss Bars or enjoy after a hearty meal!
Crowd-Pleaser: Whether you’re serving guests or treating yourself, these bars are sure to impress with their decadent taste and elegant presentation.
Homemade Chocolate Bars Ingredients
Elevate your snacking with these simple yet luxurious bars!
For the Basic Chocolate Bar
- Cacao or Cocoa Powder – Provides chocolate richness; substitute with carob powder for a unique flavor.
- Coconut Oil – Acts as a binding agent; use cocoa butter for a firmer texture.
- Maple Syrup, Honey, or Agave – Adds natural sweetness; swap with stevia for a sugar-free option.
Optional Add-ins
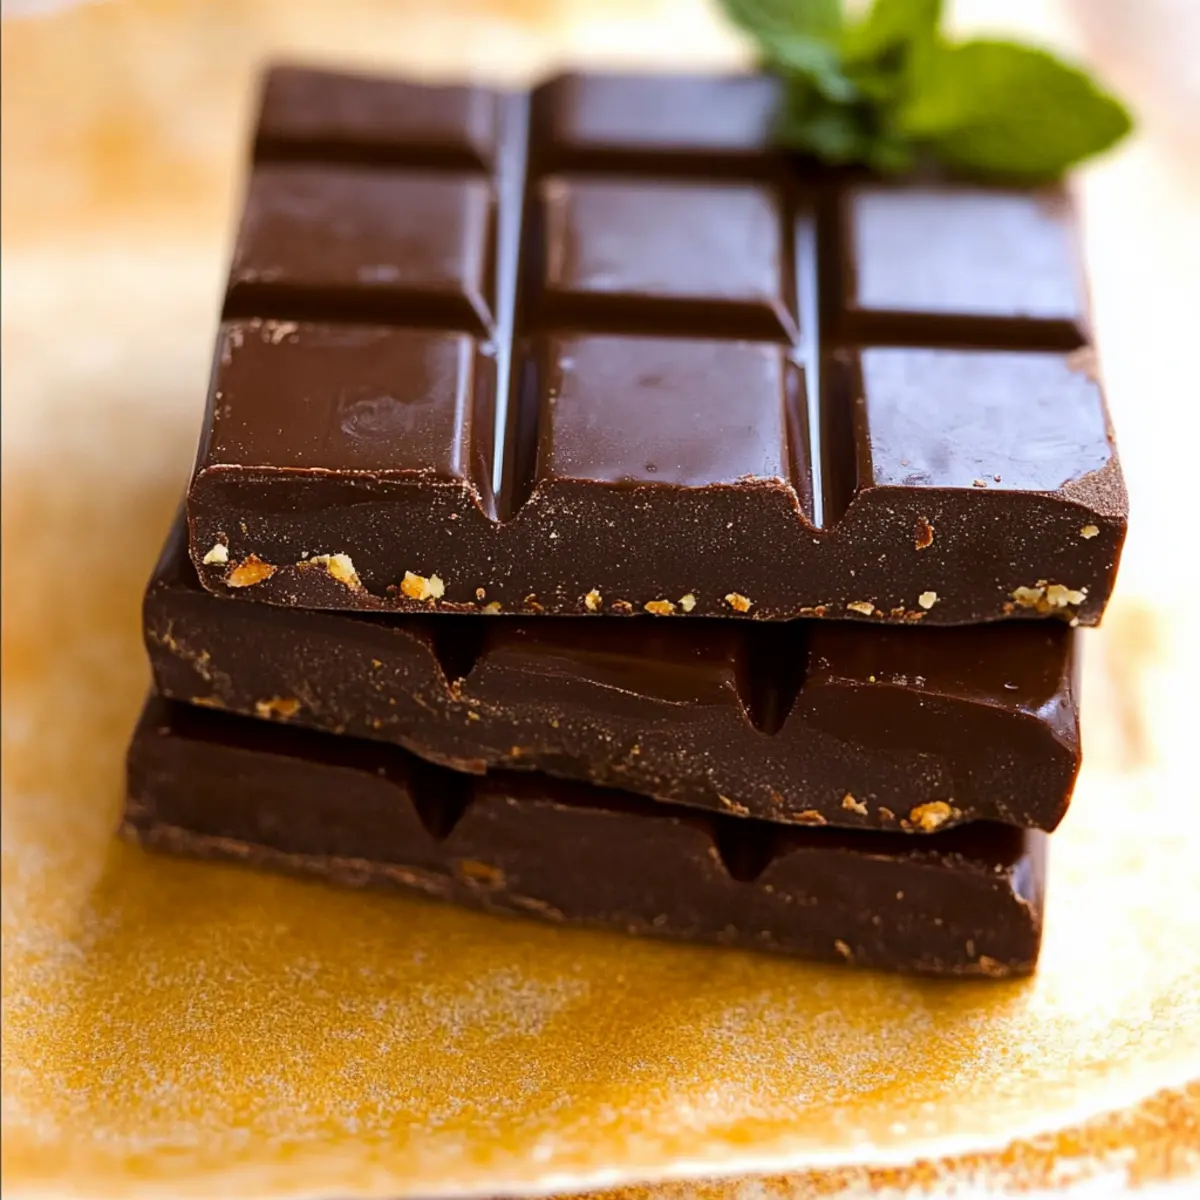
- Mint Extract – Perfect for a Chocolate Mint variation; experiment for a refreshing twist.
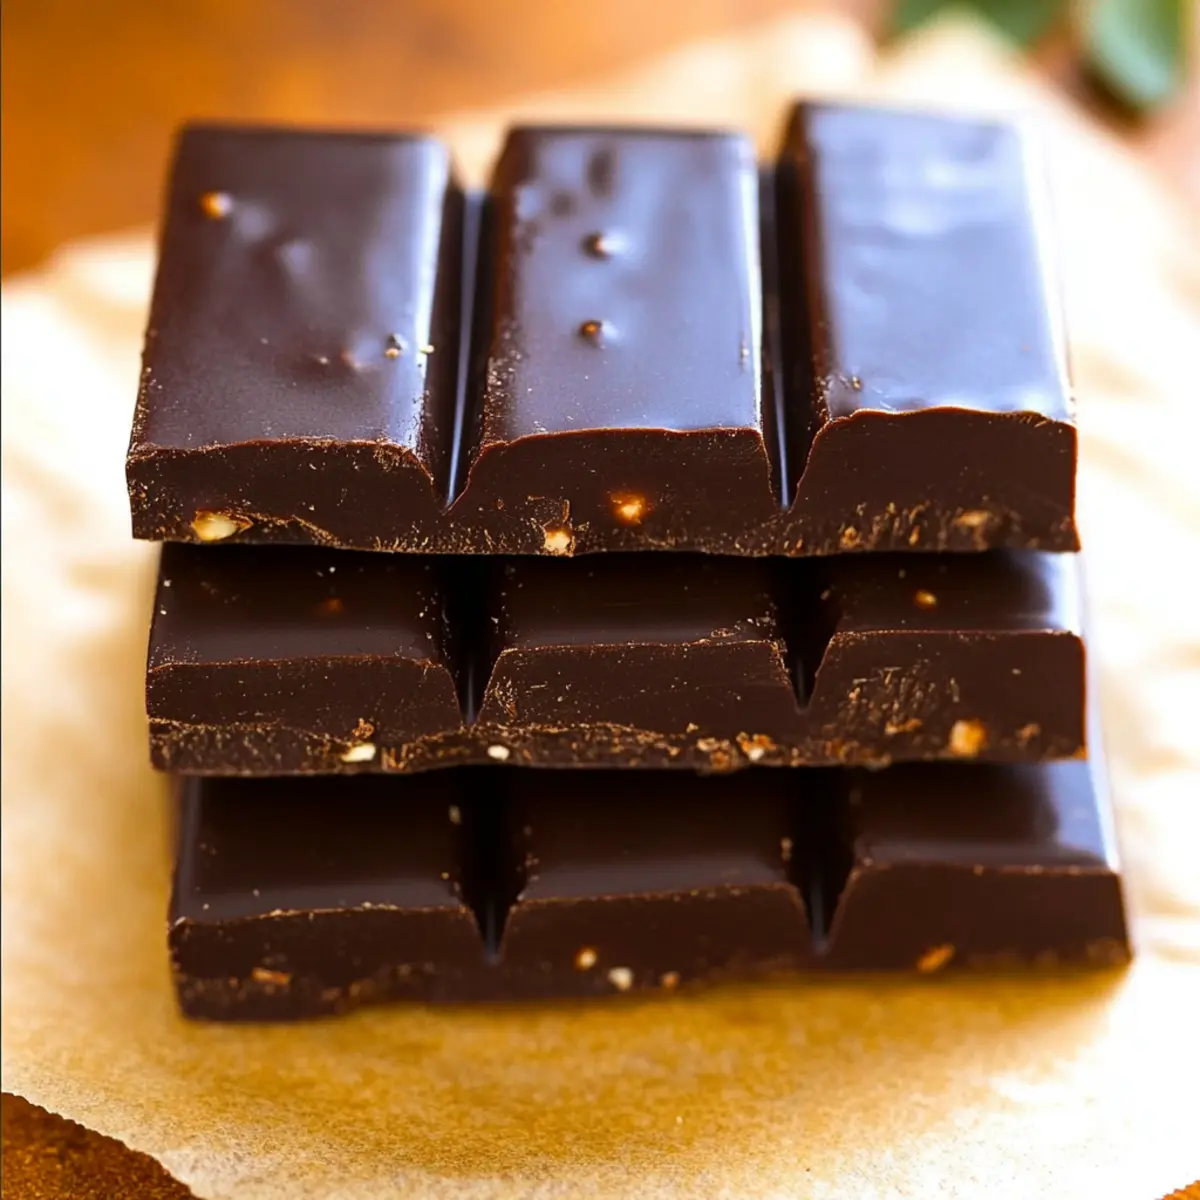
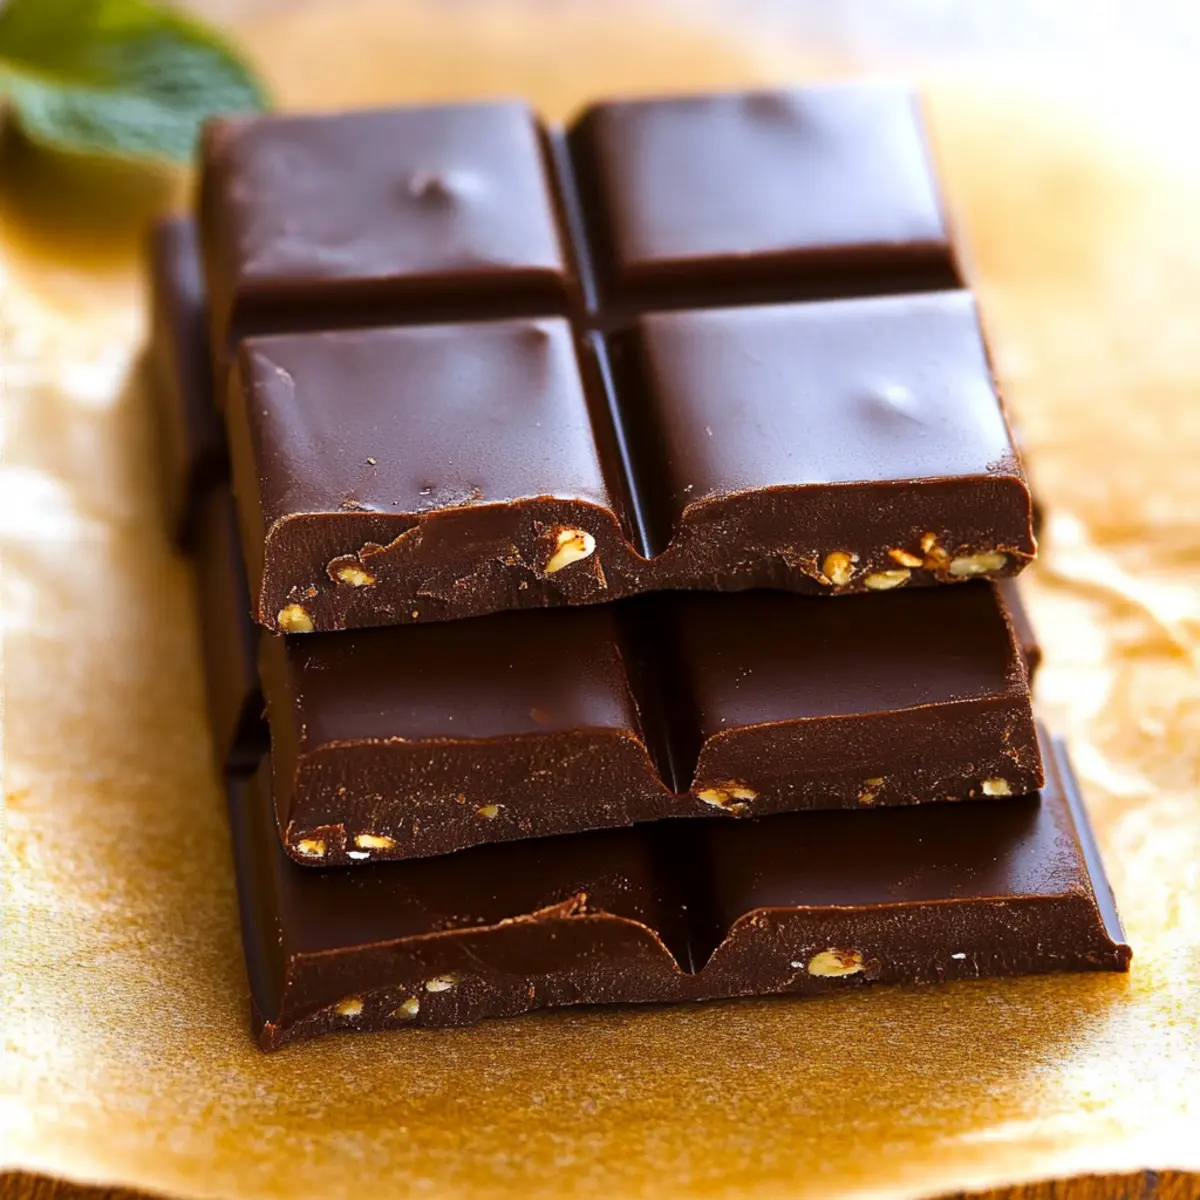
- Nuts (like almonds or walnuts) – Add crunch and extra nutrients; great for texture in Dark Chocolate Almond bars.
- Mini Marshmallows – Ideal for a Rocky Road variation; these offer a fun, chewy surprise.
- Rice Cereal – Introduces delightful crunchiness; perfect for adding some fun and texture to your bars.
Step‑by‑Step Instructions for Homemade Chocolate Bars
Step 1: Melt the Coconut Oil
Begin by gently warming 1/2 cup of coconut oil in a small saucepan over low heat. Stir it frequently until it’s completely melted and smooth, which should take about 2-3 minutes. Avoid boiling; you want a warm oil that will blend easily with other ingredients. Once melted, remove it from the heat and let it cool slightly before proceeding to the next step.
Step 2: Mix the Ingredients
In a mixing bowl, combine 1 cup of cacao or cocoa powder with the melted coconut oil. Add your choice of sweetener, such as 1/4 cup of maple syrup or honey, to achieve the perfect balance of sweetness. Stir the mixture well using a whisk or spatula until it becomes thick and fully combined, forming a rich chocolate batter that looks glossy and smooth.
Step 3: Customize Your Flavor
This is where you can make your homemade chocolate bars truly unique! Fold in any optional add-ins like 1/2 teaspoon of mint extract for a refreshing Chocolate Mint variation or a handful of chopped almonds for a Dark Chocolate Almond twist. Ensure everything is well incorporated, giving your bars an extra burst of flavor and texture that suits your taste.
Step 4: Pour Into Molds
Prepare a flat container or silicon molds by lightly greasing them with coconut oil to prevent sticking. Carefully pour the chocolate mixture into your chosen container, spreading it evenly with a spatula. If using molds, ensure they are filled to about 1/4 inch thick. Tap the container gently on the counter to release any air bubbles, creating a smooth surface for your homemade chocolate bars.
Step 5: Chill to Set
Place the filled container or molds in the refrigerator for about 30 minutes, or until the chocolate bars are solid to the touch. If you’re in a hurry, you can pop them in the freezer for about 15 minutes instead. Keep an eye on them; they should be firm and hold their shape when ready.
Step 6: Cut and Store
Once the chocolate has fully set, remove it from the refrigerator and carefully take it out of the molds or container. If using a flat container, cut the chocolate into bars or squares with a sharp knife. Store your homemade chocolate bars in an airtight container in the fridge for up to two weeks, or freeze them for longer storage, ready for you to enjoy whenever the craving strikes!
Make Ahead Options
These delicious Homemade Chocolate Bars are perfect for meal prep, allowing you to savor guilt-free treats whenever you want! You can prepare the chocolate mixture up to 24 hours in advance by melting the coconut oil and mixing in the cacao powder and sweetener—just store the mixture in an airtight container in the refrigerator. Additionally, you can add any flavorings or mix-ins, like mint extract or nuts, ahead of time; however, fold in delicate components like mini marshmallows just before pouring the mixture into molds. When you’re ready to serve, simply chill the bars until firm (about 30 minutes in the fridge) and cut them into pieces for a quick and satisfying snack that’s just as delicious as when freshly made!
Expert Tips for Homemade Chocolate Bars
• Melt Coconut Oil: Ensure the coconut oil is thoroughly melted and warm—avoid boiling to keep the mixture smooth.
• Mixing Technique: Stir the cacao powder and sweetener until the batter is glossy; lumps can lead to uneven texture in your homemade chocolate bars.
• Flavor Customization: Experiment freely with optional add-ins, but avoid overloading the mixture, as it may compromise the bar’s structural integrity.
• Setting Time: Chill them long enough until solid. If they are too soft when cut, return them to the fridge for a firmer result.
• Storage Strategies: Use an airtight container to keep your bars fresh longer; they can last up to two weeks in the fridge or longer in the freezer!
Homemade Chocolate Bars Variations
Feel free to let your creativity shine as you customize these delightful bars to match your taste buds!
-
Chocolate Mint: Add peppermint extract for a refreshing touch, topped with crushed mint candies for a delightful crunch. This flavor is perfect for anyone craving something cool and invigorating!
-
Dark Chocolate Almond: Stir in chopped almonds for a delightful crunch and luxurious nutty flavor that’s irresistible. The bold chocolate pairs beautifully with the almonds for a snack that’s oh-so-satisfying.
-
Rocky Road: Fold in mini marshmallows and chopped nuts before chilling to create a fun and chewy texture explosion. It’s like your favorite childhood treat, giving you all the nostalgia with every bite!
-
Peanut Butter Swirl: Swirl in melted peanut butter right before pouring into molds for a rich and satisfying nutty flavor. Peanut butter lovers will adore how it complements the chocolate!
-
Espresso Chocolate: Incorporate instant coffee granules into your mixture to boost the chocolate flavor with a coffee kick. This combination is perfect for those who enjoy their sweets with a caffeinated twist.
-
Chocolate Coconut: Mix in shredded coconut to create a tropical delight that’ll remind you of sun-soaked beaches. This flavor brings sweetness and a chewy texture, perfect for beach vibes at home!
-
Cherry Chocolate: Toss in dried cherries for a sweet-tart boost that balances the rich chocolate nicely. Each bite becomes a perfect harmony of flavors, making it a unique treat!
-
Spicy Chocolate: Add a pinch of cayenne or chili powder to your mixture for an unexpected spicy twist that excites the palate. The heat from the spice elevates the sweetness, creating an intriguing chocolate experience.
These variations offer something for everyone! If you’re curious about what else you can whip up at home, try my delightful Burger Bowls for a savory bite or indulge in some sweet Cranberry Bliss Bars. Enjoy the journey of flavor exploration!
What to Serve with 3-Ingredient Homemade Chocolate Bars
Now that you’ve made these indulgent homemade chocolate bars, let’s explore delightful pairings that will elevate your snacking experience.
- Fresh Berries: The juicy tartness of strawberries or raspberries contrasts beautifully with the rich chocolate, adding a refreshing burst of flavor.
- Coconut Yogurt: Creamy and slightly tangy, this yogurt complements the chocolate’s richness while keeping things light and refreshing. Consider a sprinkle of cocoa nibs on top for added texture.
- Nutty Oatmeal: Warm oatmeal topped with chopped nuts and a drizzle of honey creates a wholesome breakfast or snack alongside your chocolate bars. The heartiness of the oatmeal satisfies and rounds out your meal beautifully.
- Green Smoothie: A vibrant green smoothie with spinach and banana provides a healthy and energizing contrast. It’s a perfect way to balance the richness of the chocolate bars!
- Herbal Tea: A warm cup of chamomile or mint tea can cleanse the palate and enhance the chocolate’s flavors, making for a relaxing snack moment.
- Dark Roast Coffee: A bold coffee pairs perfectly with chocolate, emphasizing its deep flavors. The warmth and complexity of the coffee make it an ideal companion for an afternoon treat.
- Crunchy Rice Cakes: Light and crispy rice cakes offer a delightful crunch that contrasts with the smooth texture of the bars. They make for a fun, satisfying snack combo!
- Salted Nuts: A small handful of salted almonds or pistachios provides a savory balance to the sweetness of your chocolate bars, making every bite an adventure.
- Ice Cream: Indulge your sweet tooth by serving your bars alongside a scoop of vanilla or coconut ice cream. The cold, creamy dessert acts as a perfect foil to the warmth of homemade flavors.
Storage Tips for Homemade Chocolate Bars
Fridge: Store your homemade chocolate bars in an airtight container in the fridge for up to 2 weeks. This helps maintain their texture and flavor.
Freezer: For longer storage, freeze the bars in a single layer until solid, then transfer to a freezer-safe bag or container. They can last up to 3 months in the freezer.
Reheating: If you prefer warm chocolate bars, heat gently in the microwave in short intervals, being careful not to melt them completely to maintain their structure.
Thawing: When ready to enjoy frozen bars, thaw them in the fridge for a few hours before serving for the best texture and taste.
Homemade Chocolate Bars Recipe FAQs
How do I choose ripe ingredients for my homemade chocolate bars?
Absolutely! When selecting cacao or cocoa powder, look for a fresh, rich color without any clumps, which indicates freshness. For coconut oil, choose unrefined versions for a natural coconut flavor; if you see any signs of dark spots or an off smell, it may be too old. If you’re using sweeteners, opt for pure maple syrup or honey that is organically sourced for the best taste.
What is the best way to store homemade chocolate bars?
To keep your homemade chocolate bars fresh, store them in an airtight container in the fridge for up to 2 weeks. Simply place a piece of parchment paper between layers to prevent sticking. For longer shelf life, freeze them in a single layer until solid, then shift them to a freezer-safe bag, where they can last up to 3 months. This way, you’re always just a moment away from a sweet treat!
Can I freeze homemade chocolate bars, and how?
Very! To freeze your homemade chocolate bars, first, ensure they’re completely cooled and set. Lay them flat on a baking sheet lined with parchment paper and freeze until solid. After a couple of hours, transfer them to a freezer-safe bag or container, removing as much air as possible to prevent freezer burn. When you want to enjoy some, just thaw them in the fridge for a few hours, and they’ll be ready to satisfy your cravings.
What should I do if my chocolate bars are too soft after setting?
The more the merrier! If your bars turned out too soft, don’t worry. Simply return the chocolate mixture to the fridge for an additional 15-30 minutes to firm up. Be sure to check occasionally, and when they feel set, remove them and cut into bars. For future attempts, ensure your blending ratio of ingredients is balanced; if the mixture feels too gooey, a bit more cocoa powder can help bring it to the right consistency.
Are there any dietary considerations I should be aware of for my homemade chocolate bars?
Indeed! For those with dietary restrictions, substituting maple syrup or honey with stevia makes the bars sugar-free. Always check for allergies with nuts or other add-ins, especially if you plan to serve to guests. If you have pets at home, keep these bars out of reach as chocolate can be toxic to dogs and cats.
Can I use other oils instead of coconut oil?
You bet! While coconut oil provides a lovely flavor and the right consistency for these homemade chocolate bars, you can opt for cocoa butter or even a neutral oil like sunflower or canola if that’s what you have on hand. Cocoa butter will give a firmer bar, while neutral oils may alter the final taste slightly. Just remember, whichever oil you choose should be melted before mixing!
Irresistible Homemade Chocolate Bars: 3 Ingredients, Endless Flavors
Ingredients
Equipment
Method
- Melt the coconut oil over low heat in a small saucepan for 2-3 minutes until completely melted.
- In a mixing bowl, combine cacao powder and melted coconut oil, then add sweetener and mix until thick and smooth.
- Fold in optional add-ins such as mint extract or chopped nuts for extra flavor.
- Pour the mixture into greased molds or a flat container, spreading evenly and tapping to release air bubbles.
- Chill in the refrigerator for about 30 minutes, or in the freezer for 15 minutes until solid.
- Once set, remove from molds or cut into bars, storing in an airtight container.
Leave a Reply