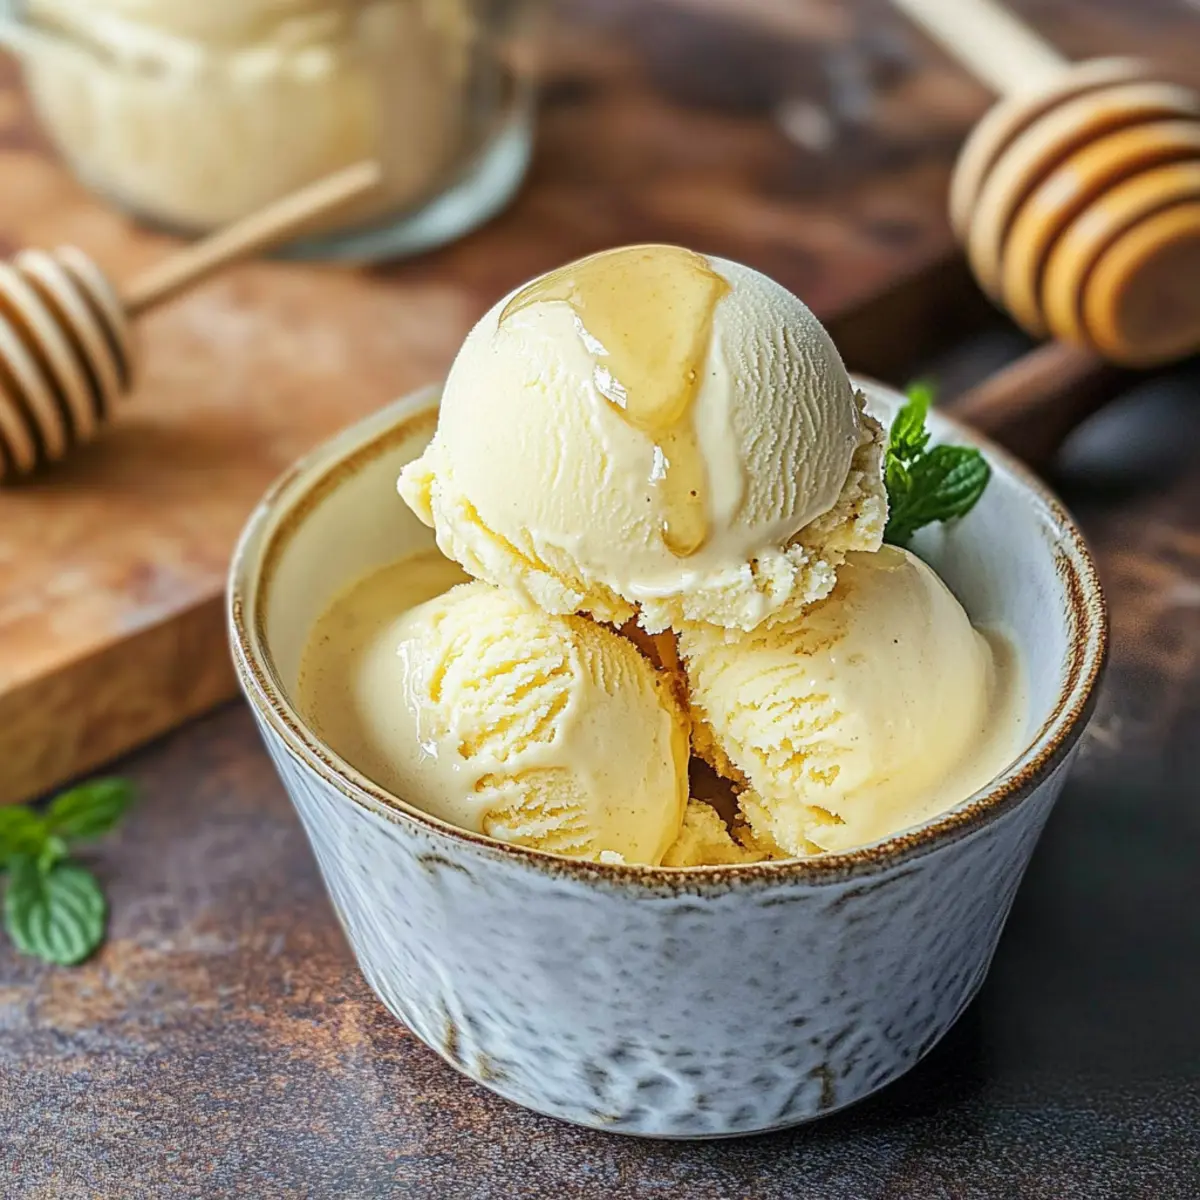
As I stood in my kitchen, the warm, nutty aroma of caramelizing orange blossom honey wafted through the air, instantly transporting me to sun-soaked Mediterranean markets. This moment marked the beginning of something special: Burnt Honey Ice Cream. This rich and decadent frozen dessert is a delightful surprise, effortlessly combining simple ingredients and elevated techniques to create a treat that feels like an indulgence but is surprisingly easy to make. Plus, it’s a fantastic crowd-pleaser and perfect for impressing friends at your next gathering. Whether served alongside warm apple pie or with a drizzle of extra honey, this ice cream is bound to elevate your dessert repertoire. Ready to dive into a creamy, sweet experience that melds sophistication with simplicity?
Why Is Burnt Honey Ice Cream Special?
Indulgent Delight: Each scoop of this Burnt Honey Ice Cream offers a satisfying contrast of creamy smoothness and rich, caramelized flavor.
Simple Yet Sophisticated: With just a few pantry staples, you can create gourmet-level ice cream that impresses.
Versatile Pairings: Enjoy it alone, or elevate desserts like warm apple pie or Cranberry Cream Cheese for a delicious twist.
Crowd-Pleaser: Its unique flavors resonate with both kids and adults alike—perfect for gatherings or family nights!
Quick Prep Time: Although it showcases refined techniques, most of your effort is hands-off, letting you enjoy the process.
Burnt Honey Ice Cream Ingredients
Here’s everything you’ll need to create this creamy delight at home.
For the Custard
- Egg Yolks – These provide richness and a creamy texture; be sure to use large eggs for best results.
- Granulated Sugar – This adds sweetness and assists in thickening the custard beautifully.
- Orange Blossom Honey – The star ingredient; its caramelization brings a deep, complex flavor to the ice cream. A great substitution would be other floral honeys if you can’t find this one.
- Heavy Cream – Essential for creating a rich, velvety texture; avoid substitutes as they may alter the final outcome.
- Whole Milk – Balances the richness of the cream; low-fat milk can be used for a lighter version if desired.
- Crème Fraîche – Introduces a tangy flavor and smoothness; you can swap it with sour cream or Greek yogurt if needed.
- Kosher Salt – This is crucial for enhancing and balancing the sweetness of the ice cream.
Enjoy creating your own Burnt Honey Ice Cream! Each ingredient plays a vital role in crafting this luxurious dessert.
Step‑by‑Step Instructions for Burnt Honey Ice Cream
Step 1: Prepare the Ice Bath
Start by creating an ice bath to cool your custard quickly. Fill a large bowl with ice water, then place a medium bowl inside it, ensuring it’s secure and won’t float. Set a fine-mesh strainer over the inner bowl, ready to catch any solids later. This setup is crucial for achieving the perfect consistency in your Burnt Honey Ice Cream.
Step 2: Combine Egg Yolks and Sugar
In a medium bowl, vigorously whisk together the egg yolks and granulated sugar until the mixture becomes thick and pale, about 1 to 2 minutes. The sugar should dissolve, creating a smooth texture. This step not only adds sweetness but also enriches the base of your Burnt Honey Ice Cream. Set this mixture aside momentarily while you prepare the honey.
Step 3: Caramelize the Honey
In a medium saucepan over medium heat, pour in the orange blossom honey. Allow it to cook for about 5 minutes, stirring occasionally. Watch for it to darken in color and become aromatic, reaching a rich, caramel-like consistency. Be careful not to let it burn; the goal is to intensify the flavor, which will elevate your Burnt Honey Ice Cream.
Step 4: Warm the Cream and Milk
While your honey caramelizes, heat the heavy cream and whole milk in a separate saucepan over medium heat. Stir gently for about 3 to 4 minutes until the mixture is warm but not boiling. When heated, this creamy blend will create a luscious base for your ice cream. Ensure you’re monitoring it closely to prevent scalding.
Step 5: Whisk the Honey and Cream Mix
Once your honey is caramelized, remove it from heat and gradually whisk in the warm cream and milk mixture. This should take about 1-2 minutes, helping to incorporate the honey smoothly. You should see a lovely glossy texture forming—this is the foundation of your decadent Burnt Honey Ice Cream.
Step 6: Combine with Egg Mixture
Slowly pour the honey-cream mixture back into the bowl with the egg yolks, whisking continuously. This tempering process prevents the yolks from scrambling, ensuring a silky custard. Continue whisking until everything is fully combined, allowing all those beautiful flavors from the Burnt Honey Ice Cream to meld perfectly.
Step 7: Cook the Custard
Return the combined mixture to the saucepan and cook over medium-low heat. Stir constantly for about 2 minutes or until the custard thickens enough to coat the back of a spoon. This delightful step transforms your mixture into a luxurious custard for your Burnt Honey Ice Cream—look for a creamy texture and a slight viscosity.
Step 8: Strain and Cool the Mixture
Remove the custard from heat and pour it through the fine-mesh strainer into the bowl set over the ice bath. This will capture any solids and ensure a smooth texture. Stir occasionally until it cools to room temperature, which typically takes about 10 minutes, allowing the flavors to develop in your Burnt Honey Ice Cream.
Step 9: Add Crème Fraîche and Salt
Once cooled, mix in the crème fraîche and a pinch of kosher salt, stirring until fully incorporated. This step enhances your Burnt Honey Ice Cream’s flavor profile, imparting a subtle tangy note that balances the sweetness beautifully. It’s essential for achieving that luscious mouthfeel that everyone loves!
Step 10: Chill and Refrigerate
Cover the custard and refrigerate for at least 2 hours or overnight; this chilling allows the flavors to deepen and gives you a better consistency when churning. Ensure your mixture is well-chilled to yield a creamy and delightful Burnt Honey Ice Cream that everyone will rave about.
Step 11: Churn the Ice Cream
Pour the chilled custard base into an ice cream maker, following the manufacturer’s instructions. Typically, this should take about 20 to 25 minutes until it reaches a soft-serve consistency. Keep an eye on it, as well-churned Burnt Honey Ice Cream will have a smooth and creamy texture—perfect for scooping.
Step 12: Freeze for Firmness
Transfer your soft-serve-like Burnt Honey Ice Cream to an airtight container and freeze for an additional 3-4 hours for a firmer texture. This step is vital for creating the perfect scoopable ice cream that you and your guests will love. Once set, it’s ready to be served and enjoyed!
Expert Tips for Burnt Honey Ice Cream
-
Watch the Honey: Keep a close eye while caramelizing the honey to avoid burning. Stir frequently and remove it from heat as soon as it becomes dark and aromatic.
-
Tempering Technique: When adding the warm cream mixture to the egg yolks, do it slowly while whisking continuously. This prevents curdling and ensures a silky custard for your Burnt Honey Ice Cream.
-
Chill Thoroughly: Chilling the custard for a minimum of 2 hours before churning significantly enhances the final texture. A cold mixture churns better and achieves that luxurious creaminess.
-
Use a Fine Strainer: Straining the custard mixture is crucial for removing any solids and achieving a smooth texture. Don’t skip this step—it makes all the difference!
-
Storing Tips: Store your Burnt Honey Ice Cream in an airtight container. It remains delightful in the freezer for up to 2 weeks, though it’s best enjoyed fresh.
Make Ahead Options
Burnt Honey Ice Cream is ideal for meal prep, allowing you to enjoy this rich dessert with minimal last-minute effort! You can prepare the custard base and refrigerate it for up to 24 hours before churning. Simply follow the steps through to cooling the custard, then cover it and store it in the fridge. This allows the flavors to deepen, resulting in an even more indulgent ice cream. When ready to serve, churn the chilled custard in your ice cream maker according to the manufacturer’s instructions, then freeze for an additional 3-4 hours for a firmer texture. This preparation ensures you have a decadent dessert waiting for you, just as delicious as if made fresh!
Burnt Honey Ice Cream: Customizable Delights
Feel free to make this recipe your own with these tasty variations and substitutions!
-
Flavor Swaps: Try different floral honeys such as wildflower or clover for unique taste profiles. This simple change can elevate your Burnt Honey Ice Cream in delightful ways.
-
Nutty Crunch: Fold in chopped nuts like walnuts or pecans for a satisfying crunch. The added texture complements the creamy base beautifully and adds depth to each bite.
-
Tangy Twist: Substitute crème fraîche with Greek yogurt for a tangier flavor, resulting in a lighter texture. This twist can give your ice cream a refreshing kick!
-
Cookie Crumbles: Mix in crushed cookies, like Oreos or shortbread, during the churning process for a delightful crunch. You’ll transform your Burnt Honey Ice Cream into a fantastic treat!
-
Vegan Option: Use coconut milk and a plant-based cream to create a dairy-free version. This swap keeps your ice cream rich while making it suitable for vegan friends.
-
Spicy Heat: Add a touch of cinnamon or chili powder for a warm kick. This subtle heat can beautifully balance the sweetness of the Burnt Honey Ice Cream.
-
Fruit Infusion: Incorporate a swirl of fruit puree, like raspberry or mango, for a fruity twist. This extra flavor layer can be a bright and refreshing addition to your dessert.
-
Culinary Pairing: Serve with warm pastries like Beghrir or creating an unforgettable dessert experience. The contrast of textures and warmth will elevate your ice cream delightfully.
Feel free to explore and make this Burnt Honey Ice Cream your signature dessert!
How to Store and Freeze Burnt Honey Ice Cream
Fridge: Store any leftover Burnt Honey Ice Cream in an airtight container for up to 2 weeks. Ensure it’s well-sealed to prevent ice crystals from forming.
Freezer: For longer storage, freeze the ice cream in a sturdy, airtight container. It can maintain its optimal flavor and texture for up to 2 weeks.
Reheating: If the ice cream becomes too firm, let it sit at room temperature for about 5-10 minutes before scooping. This will soften it to the perfect serving consistency.
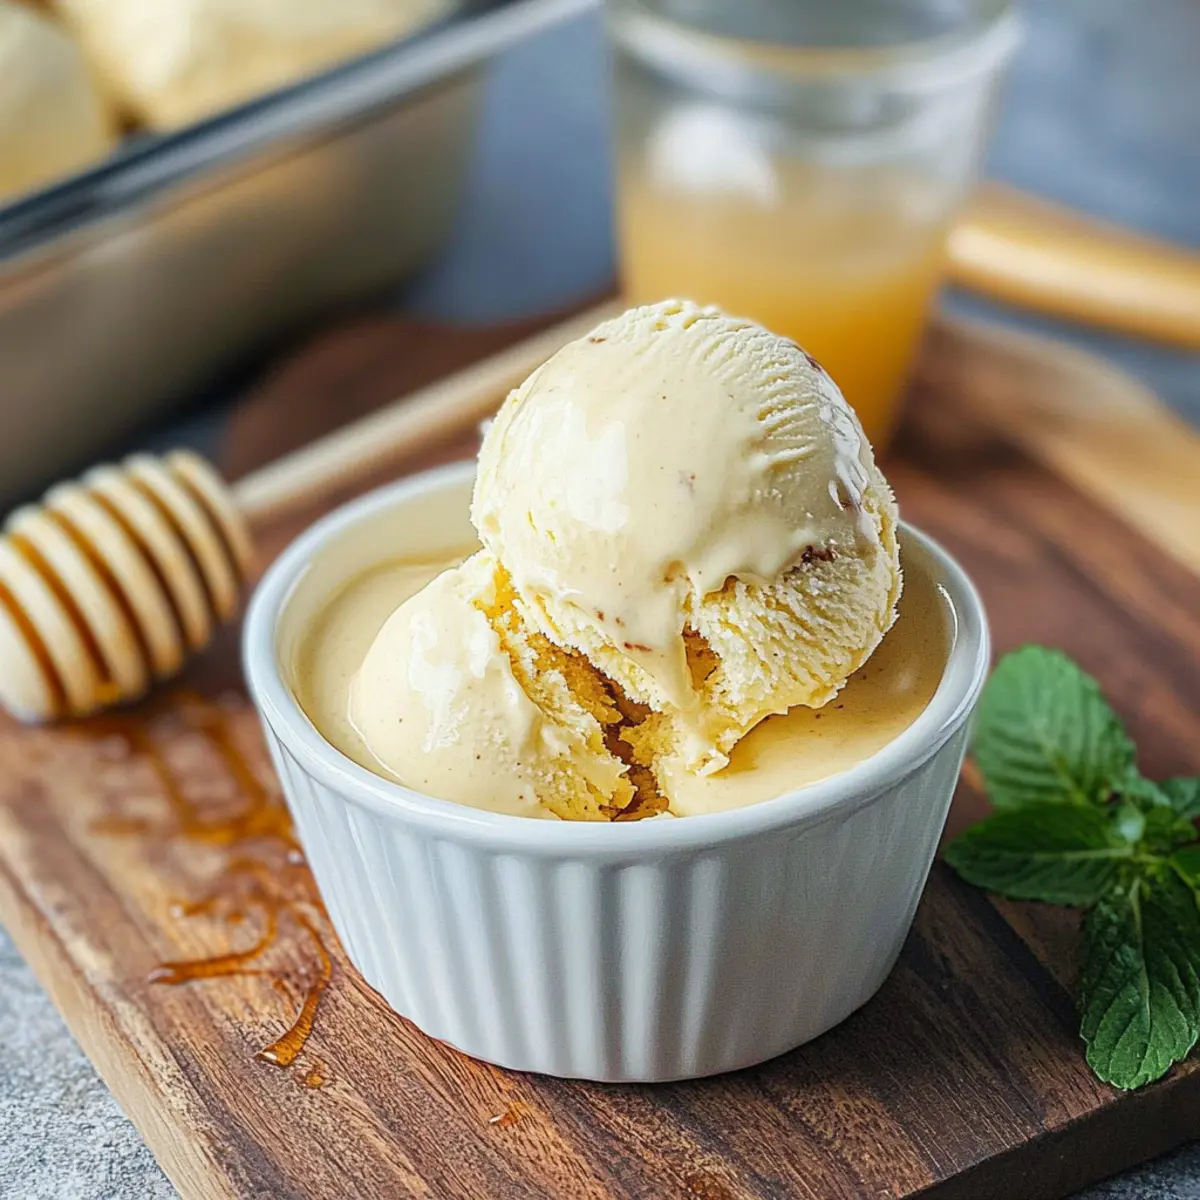
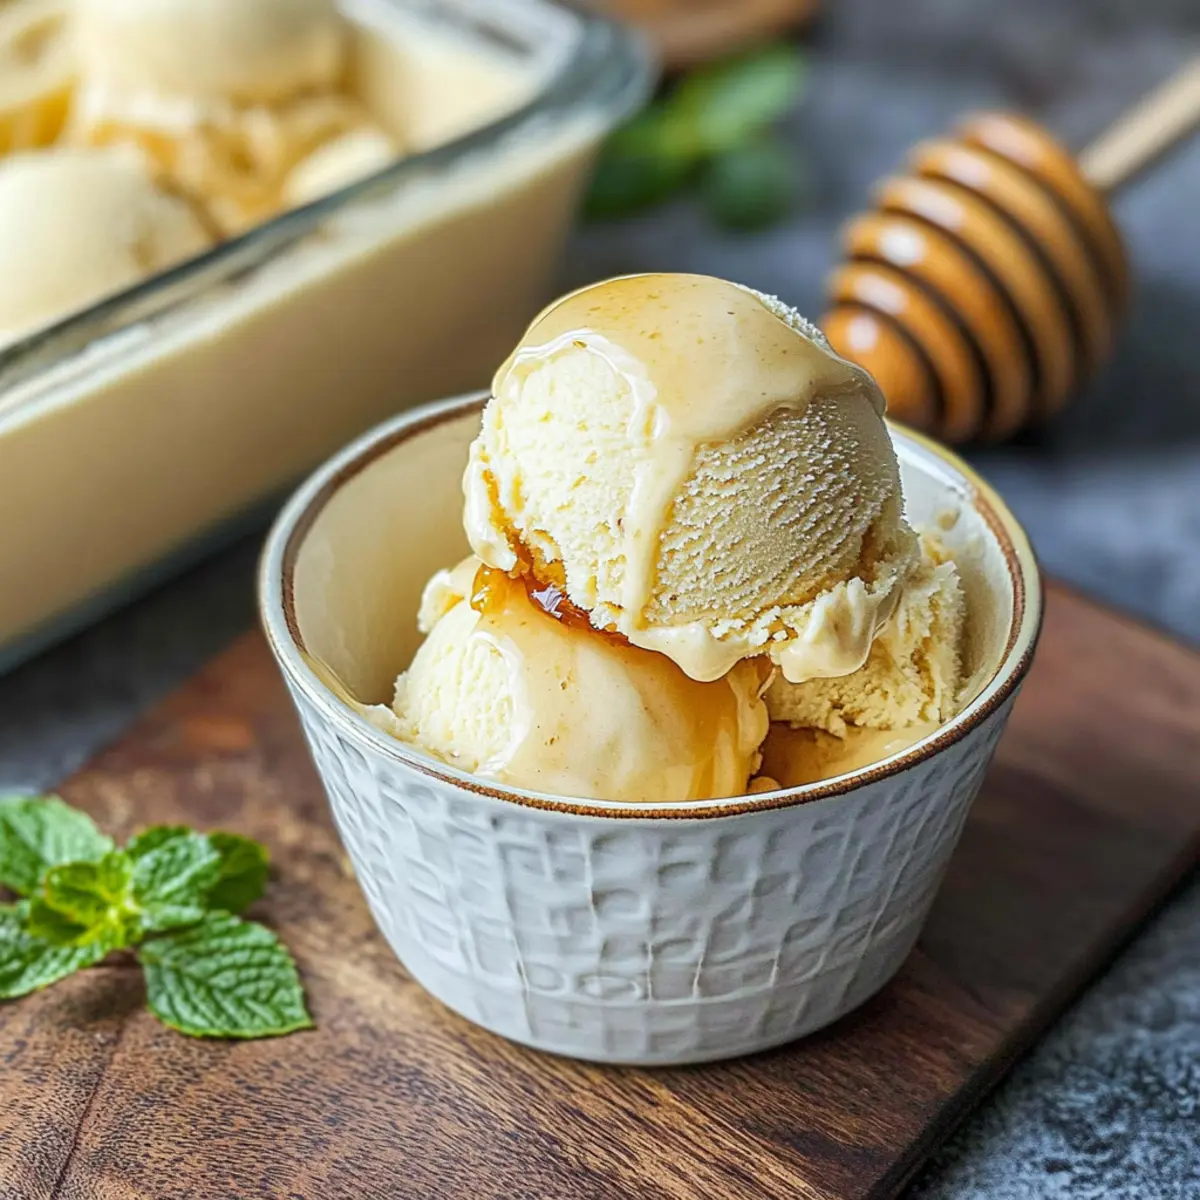
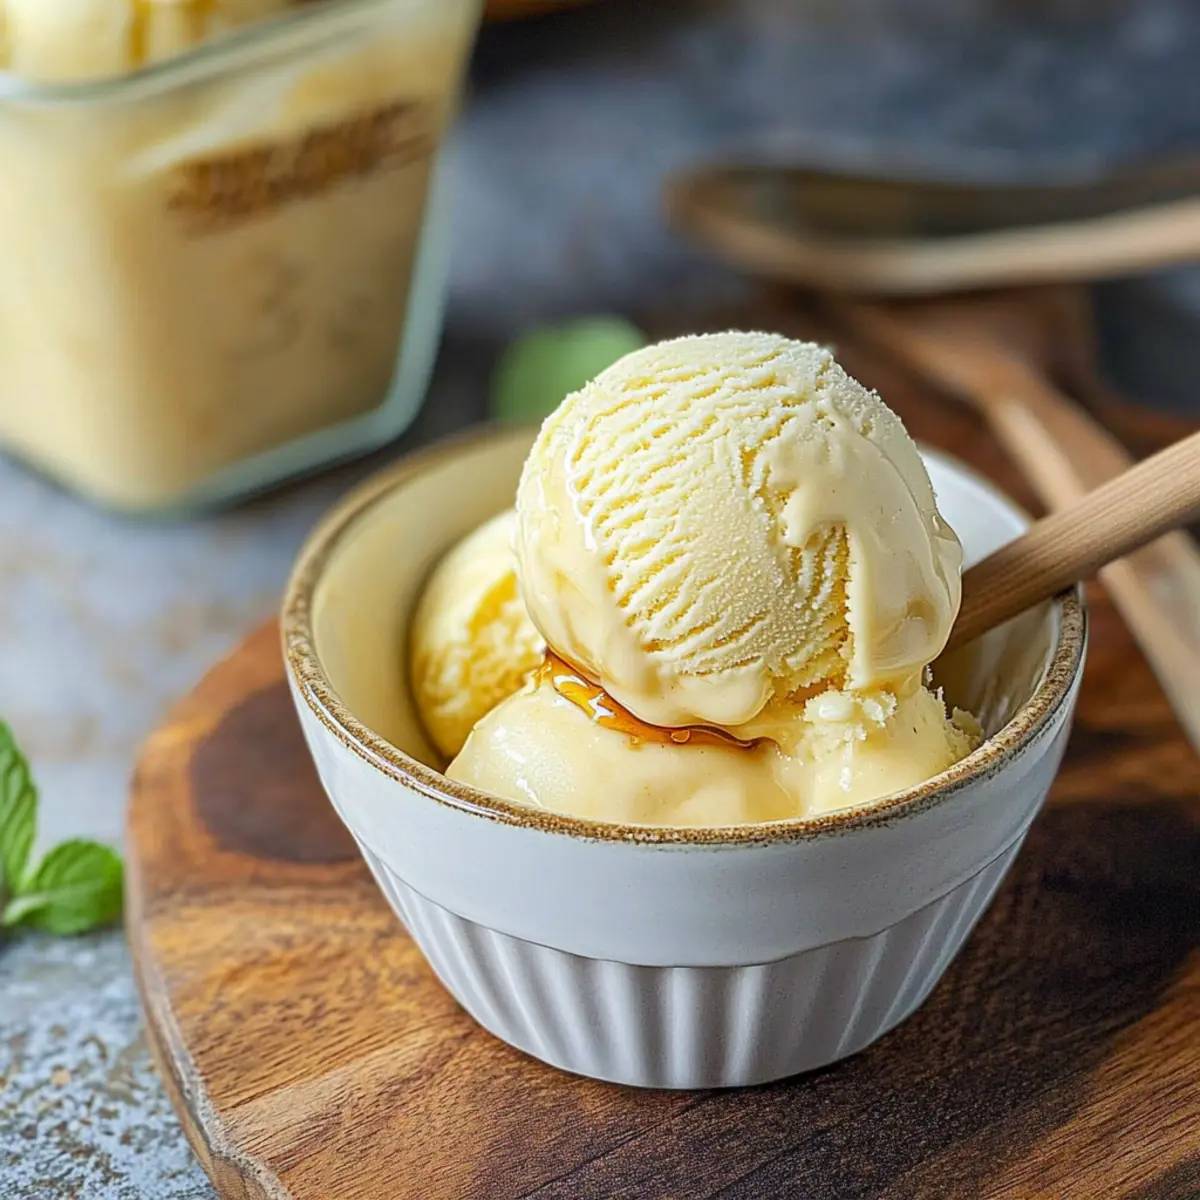
Serving Tip: To enhance the experience, serve with an extra drizzle of honey or alongside warm desserts like pie for a delightful contrast.
What to Serve with Burnt Honey Ice Cream
Indulge in the delightful experience of crafting a full meal around this luxurious frozen treat.
- Warm Apple Pie: The sweet, spiced notes of apple pie create a beautiful contrast with the nutty flavors of burnt honey.
- Chocolate Brownies: Pair with fudgy brownies for a rich texture and deep flavor combination that will satisfy any sweet tooth.
- Crushed Pistachios: A sprinkle of crushed pistachios adds a delightful crunch and a pop of color, complementing the creamy ice cream beautifully.
- Honey Drizzle: A light drizzle of honey on top amplifies the flavors, making each scoop even more indulgent and aromatic.
- Fruity Sorbet: Serve alongside a refreshing sorbet for a vibrant palate cleanser that brightens up your dessert plates.
- Fresh Berries: Juicy strawberries or blueberries offer a vibrant burst of freshness that balances the richness of the ice cream perfectly.
Imagine enjoying a scoop of burnt honey ice cream with warm apple pie and a drizzle of honey—it’s a slice of heaven!
Burnt Honey Ice Cream Recipe FAQs
What type of honey is best for Burnt Honey Ice Cream?
Using orange blossom honey is ideal for its unique floral notes and caramelization benefits, which deepen the flavor profile. However, if you don’t have it, other floral honeys like wildflower or clover work beautifully as substitutes, bringing their own unique sweetness to the mix.
How should I store my Burnt Honey Ice Cream?
To keep your Burnt Honey Ice Cream in top form, store it in an airtight container in the freezer. It can stay delicious for up to 2 weeks. Make sure the container is sealed tightly to avoid ice crystal formation, which can affect texture and flavor!
Can I freeze my Burnt Honey Ice Cream for a longer duration?
Certainly! While it’s best consumed within two weeks for optimum taste and quality, you can freeze it for longer. For extended storage, ensure it’s in an airtight container. It can remain in the freezer for up to 3 months, but know that the texture may slightly change over time.
What should I do if my custard curdles while making the ice cream?
If you see curdling, don’t fret! Simply transfer the mixture to a blender and blend until smooth. This will help restore that silky consistency we love in Burnt Honey Ice Cream. Remember to continuously whisk the mixture while slowly heating it in future batches to prevent this issue.
How can I make Burnt Honey Ice Cream pet-friendly or allergy-free?
If you’re considering a pet-friendly version, keep in mind that dogs should avoid honey due to sugar content, and this recipe is not suitable for them. For allergy alternatives, you can use dairy-free cream and milk alternatives like almond or oat milk, though this may slightly alter the taste and texture of your Burnt Honey Ice Cream.
Burnt Honey Ice Cream: A Scoop of Toasty Sweet Indulgence
Ingredients
Equipment
Method
- Prepare an ice bath by filling a large bowl with ice water and placing a medium bowl inside it.
- Whisk egg yolks and sugar in a medium bowl until thick and pale, about 1-2 minutes.
- Caramelize honey in a medium saucepan over medium heat for about 5 minutes, stirring occasionally.
- Warm heavy cream and whole milk in a separate saucepan, stirring until just warm, about 3-4 minutes.
- Whisk the caramelized honey into the warm cream and milk, incorporating until smooth.
- Slowly pour the honey-cream mixture into the egg yolk mixture while whisking continuously to prevent scrambling.
- Return the mixture to the saucepan and cook over medium-low heat, stirring until thickened, about 2 minutes.
- Strain the custard through a fine-mesh strainer into the ice bath bowl to capture solids and cool.
- Once cool, mix in crème fraîche and salt until fully incorporated.
- Cover the custard and refrigerate for at least 2 hours or overnight to enhance flavors.
- Churn the chilled custard in an ice cream maker until it reaches soft-serve consistency, about 20-25 minutes.
- Transfer to an airtight container and freeze for an additional 3-4 hours for a firmer texture.
Leave a Reply