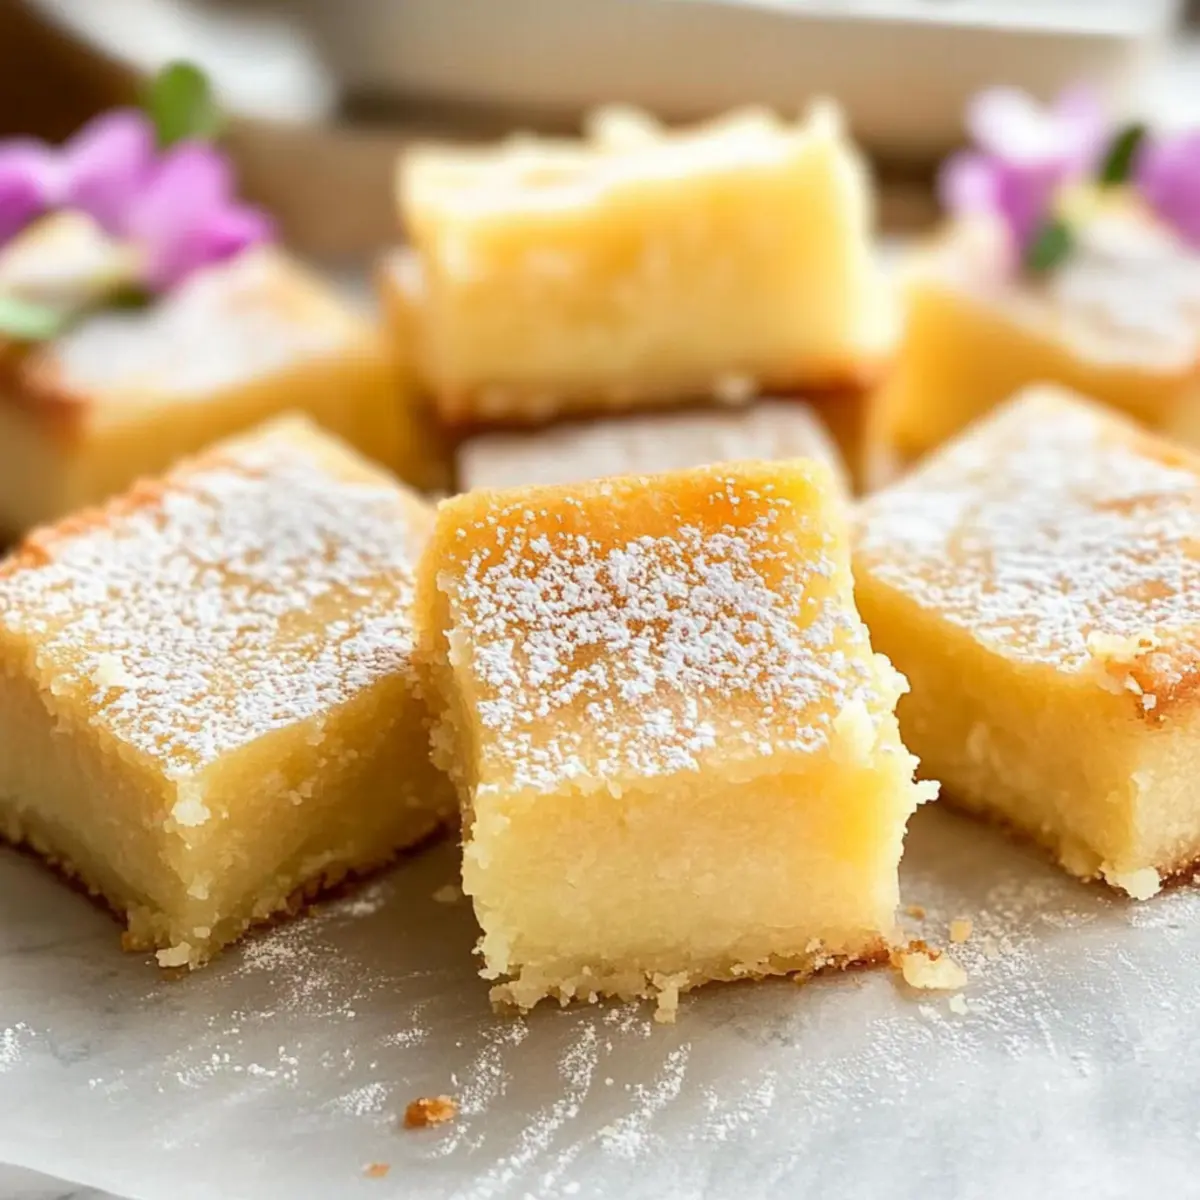
As I stood on the vibrant streets of Honolulu, the sweet scent of coconut wafted through the air, drawing me closer to a charming bakery. It was there that I first discovered the heavenly delight known as Butter Mochi. This easy gluten-free Butter Mochi recipe perfectly captures that tropical flavor and chewy texture, making it an absolute crowd-pleaser at any gathering. With just a handful of simple ingredients, you can whip up this luscious treat that evokes memories of sun-soaked luaus and warm island breezes. Not only is it a fantastic alternative to store-bought desserts, but it also stores beautifully, allowing you to savor it for days to come. Intrigued about how to bring a taste of Hawaii right into your kitchen? Let’s dive into this delightful recipe!
Why is Butter Mochi So Irresistible?
Tropical Vibes: Butter mochi transports you straight to Hawaii with its enticing coconut flavor, perfect for those craving island-inspired treats.
Easy Preparation: With minimal ingredients and simple steps, this gluten-free dessert is perfect for busy bakers or novice chefs alike.
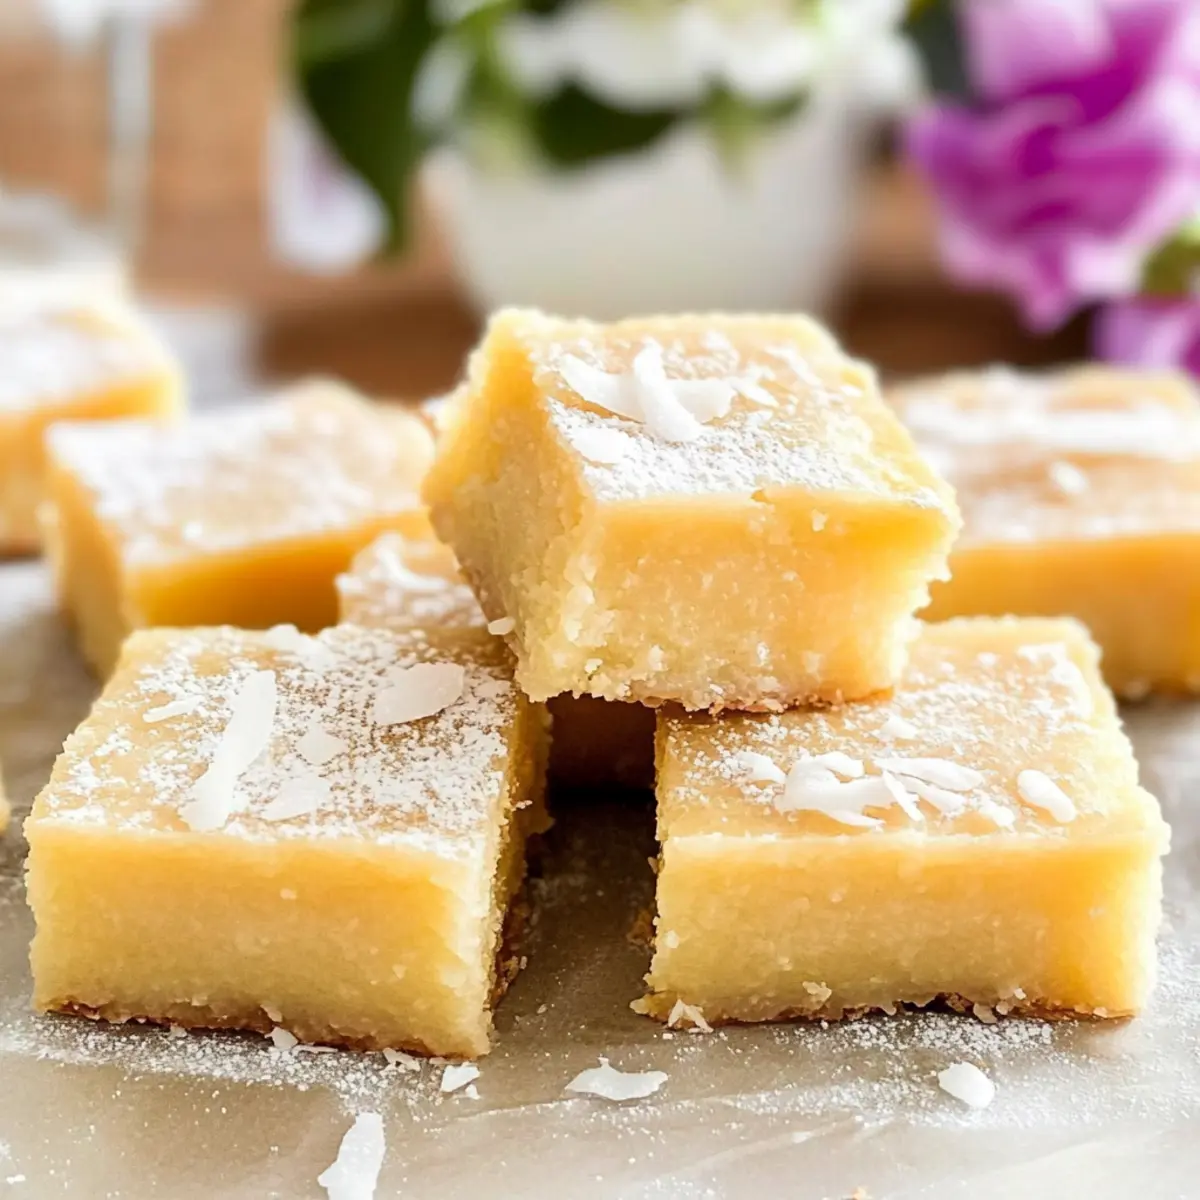
Chewy Goodness: The unique texture offers a delightful chew, reminiscent of soft rice cakes, making it a memorable addition to any dessert table.
Versatile Flavors: Whether you stick to the classic recipe or experiment with matcha or other flavorings, the options are endless, ensuring everyone finds a favorite.
Crowd-Pleasing Treat: Great for gatherings, this mochi captures hearts and taste buds alike; serve it warm for an unforgettable experience! And while you’re here, don’t forget to check out our delicious Roasted Butternut Squash for a savory contrast.
Butter Mochi Ingredients
• Get ready to create this tropical delight!
For the Base
- Unsalted Butter – Adds richness and moisture; substitute with coconut oil for a dairy-free version.
- Granulated White Sugar – Provides sweetness to balance the coconut flavor; feel free to reduce the sugar to taste if desired.
- Evaporated Milk – Contributes creaminess; light coconut milk is a great substitute for a lighter version.
- Coconut Milk or Coconut Cream – Delivers that characteristic coconut flavor; opt for unsweetened varieties to control sweetness.
- Vanilla – Elevates flavor complexity; using pure vanilla extract enhances the taste.
- Eggs – Provide structure and moisture; consider flax eggs for a vegan alternative if needed.
- Glutinous Rice Flour (Mochiko) – Essential for achieving the chewy texture; it must be sweet rice flour, as regular flour won’t do.
- Baking Powder – Ensures a lighter texture; always use fresh baking powder for best results.
Optional Flavors
- Matcha Powder – Incorporate 2-3 teaspoons for a green tea twist; a delightful complement to the tropical flavors of butter mochi.
- Chocolate or Fruit Purees – Swap out ingredients for endless flavor variations, catering to different cravings and dietary needs.
This Butter Mochi recipe simplifies the process while ensuring a rich taste experience that perfectly embodies the spirit of Hawaii. Enjoy the preparation!
Step‑by‑Step Instructions for Butter Mochi
Step 1: Preheat the Oven
Begin by preheating your oven to 350°F (175°C). While the oven warms up, grab a 9×13 inch baking pan, and grease it lightly with cooking spray or butter. For added safety, line the bottom and sides of the pan with parchment paper, allowing for easy removal of your butter mochi once baked.
Step 2: Mix Wet Ingredients
In a stand mixer or a large mixing bowl, combine 1 cup of melted unsalted butter with 2 cups of granulated sugar, blending until well incorporated. This should take about 2-3 minutes. Next, pour in 1 can of evaporated milk, 1 cup of coconut milk, and 1 tablespoon of vanilla extract. Add 3 large eggs and mix again until the mixture is smooth, scraping down the sides as needed.
Step 3: Combine the Dry Ingredients
In a separate bowl, whisk together 2 cups of glutinous rice flour (Mochiko) and 1 tablespoon of baking powder until evenly mixed. Gradually add the dry ingredient mixture into the wet batter while mixing on low speed. Continue until just combined, ensuring not to over-mix, which is crucial for achieving that delightful chewy texture characteristic of butter mochi.
Step 4: Bake the Butter Mochi
Pour the velvety butter mochi batter into the prepared baking pan, smoothing the top with a spatula. Place it in the preheated oven and let it bake for approximately 60 minutes. You’ll know it’s ready when the edges are golden brown and a toothpick inserted into the center comes out clean, indicating that the batter has set.
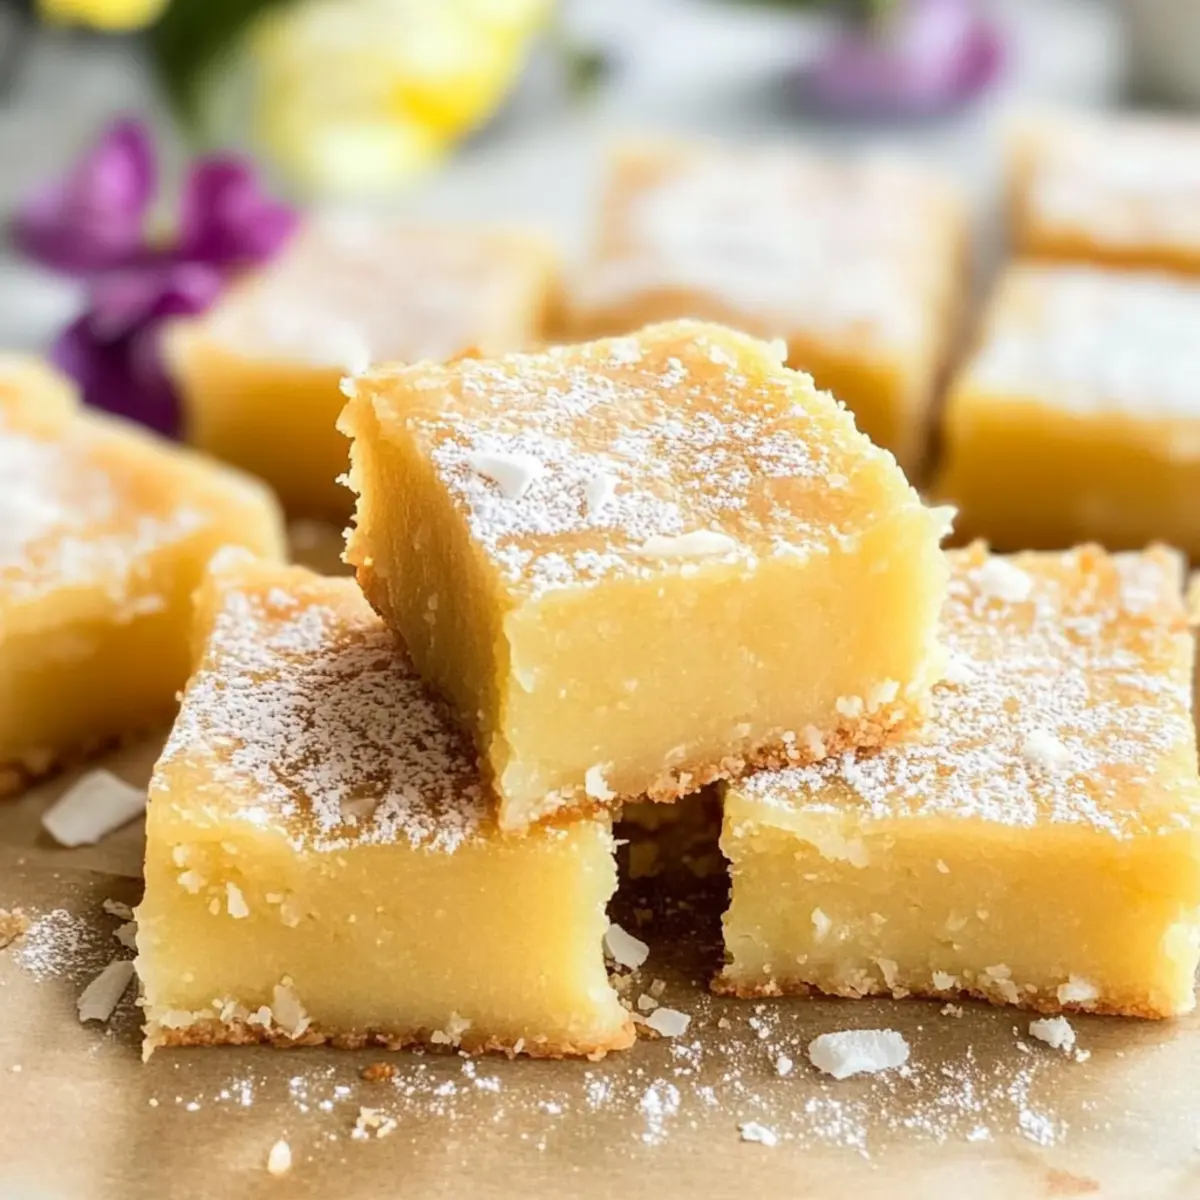
Step 5: Cool and Slice
Once baked, remove the butter mochi from the oven, allowing it to cool in the pan for about 15-20 minutes. After cooling, lift the mochi from the pan using the parchment paper. Let it rest on a wire rack until fully cool before slicing into squares or rectangles. This step is crucial for clean cuts and achieving the perfect chewy texture while enjoying this tasty butter mochi.
Expert Tips for Butter Mochi
-
Room Temperature Ingredients: Ensure all ingredients are at room temperature. This helps them combine more easily, resulting in a smooth batter.
-
Mixing Caution: Be careful not to over-mix the batter, as this can lead to a dense texture rather than the desired chewy butter mochi.
-
Cooling Time: Allow the butter mochi to cool completely before slicing; it might look wobbly when hot, but this is normal.
-
Storage Advice: Store your butter mochi in an airtight container at room temperature for up to two days for the best chewiness; longer storage may alter its texture.
-
Flavor Varieties: Try adding different flavors like matcha or coconut flakes into the batter for a unique twist; just remember, the glutinous rice flour is key for that authentic mochi texture.
How to Store and Freeze Butter Mochi
Room Temperature: Store butter mochi in an airtight container at room temperature for up to 2 days to maintain its delightful chewiness.
Fridge: If you need to keep it longer, refrigeration is an option, but be aware it may alter the texture, making it less chewy.
Freezer: For longer storage, wrap the butter mochi tightly in plastic wrap, then in aluminum foil, and freeze for up to 3 months.
Reheating: To enjoy the best texture, thaw in the fridge overnight and warm in the microwave for about 10-15 seconds before serving.
Butter Mochi Variations & Substitutions
Customize your butter mochi creation with these fun and delicious twists that enhance flavor and cater to various dietary needs.
- Dairy-Free: Substitute unsalted butter with coconut oil or vegan butter for a delicious treat that still keeps its tropical flair.
- Flavored Mochi: Add 2-3 teaspoons of matcha powder, chocolate, or fruit purees to the batter for a unique flavor explosion. Each option adds its own delightful twist!
- Nutty Flavor: Mix in a handful of chopped nuts, like macadamias or almonds, to bring a satisfying crunch that perfectly complements the chewy texture.
- Coconut Cream: Feel free to use coconut cream instead of coconut milk for an ultra-rich and creamy mochi that will take you straight to paradise. Just the thought is mouthwatering!
- Fruit Surprise: Fold in some diced tropical fruits, such as mango or pineapple, for a sweet surprise in every bite. This tropical infusion is sure to brighten your day!
- Colorful Swirls: Create a marbled effect by alternating layers of the coconut batter with flavored sections, like berry puree or taro, elevating visual appeal and taste.
- Spicy Twist: Introduce a hint of cayenne or chili powder to the batter for a sweet and spicy variation that will intrigue adventurous palates.
- Single-Serve Options: Use a muffin tin instead of a baking pan for adorable, portion-controlled strongholds of butter mochi that are perfect for on-the-go treats.
Now that you have some delightful options in mind, why not explore more wonderful dishes like Barley Salad Butter or Roasted Mushrooms Savory to accompany your sweet creation?
Make Ahead Options
These delightful Butter Mochi treats are perfect for meal prep, making them an excellent choice for busy cooks! You can prepare the batter up to 24 hours in advance by mixing all the wet ingredients together and storing it in an airtight container in the refrigerator. This not only saves you time but also allows the flavors to meld beautifully. If you’d like, you can also bake the Butter Mochi and let it cool completely, then slice it into pieces. Store the sliced mochi in an airtight container at room temperature for up to 2 days, for optimal texture. When ready to serve, simply enjoy it warm or at room temperature for that melt-in-your-mouth experience!
What to Serve with Easy Gluten-Free Butter Mochi?
Indulging in a slice of warm, flavorful butter mochi is a delight, but pairing it with the right dishes can elevate your meal experience.
-
Tropical Fruit Salad: A refreshing mix of mangoes, pineapples, and kiwis provides a vibrant contrast to the chewy mochi.
-
Coconut Tapioca Pudding: The creamy, silky pudding layered with toasted coconut is an exquisite match, enhancing the coconut flavor profile perfectly.
-
Matcha Green Tea Latte: Smooth and earthy, this drink complements the sweetness of the mochi while offering a comforting warmth.
-
Whipped Coconut Cream: Light and airy, a dollop of this cream accentuates the tropical feel and adds a luscious touch to each bite.
-
Chocolate Mousse: The richness of dark chocolate balances the sweetness of the mochi, creating a delightful interplay of flavors.
-
Thai Iced Tea: Bright and fragrant, this beverage contrasts beautifully, with notes of vanilla and spices bringing out the mochi’s tropical essence.
-
Grilled Pineapple Slices: Caramelized to perfection, these warm slices enhance the dessert experience with their sweet, smoky flavor.
-
Mango Sorbet: A light, fruity dessert that refreshes your palate, enhancing the tropical vibes of the butter mochi.
-
Pineapple Chutney: This sweet and tangy topping adds a burst of flavor, making each mochi piece even more delightful.
Serve your butter mochi with any of these delicious options to create a memorable meal bursting with tropical inspiration!
Butter Mochi Recipe FAQs
What kind of coconut products should I use for butter mochi?
I recommend using unsweetened coconut milk or coconut cream for a rich flavor without adding extra sugar. If you prefer a lighter option, light coconut milk works beautifully. Make sure to avoid sweetened versions, as they can throw off the balance of sweetness in the recipe.
How should I store leftover butter mochi?
Store butter mochi in an airtight container at room temperature for up to 2 days. This method maintains its delightful chewiness. For longer storage, consider refrigerating it, but be aware that this may cause the texture to become denser.
Can I freeze butter mochi?
Absolutely! To freeze butter mochi, wrap it tightly in plastic wrap, followed by aluminum foil to prevent freezer burn. It can be kept in the freezer for up to 3 months. When you’re ready to enjoy it, simply thaw it in the fridge overnight and warm it gently in the microwave for 10-15 seconds.
What if my butter mochi is too dense or not chewy enough?
If you find your butter mochi to be dense, it may have been over-mixed while preparing the batter. Ensure you’re mixing only until just combined. If you’re unsure about the texture, remember that it will seem slightly wobbly when you first take it out of the oven; allow it to cool completely before slicing for that perfect chewiness.
Are there any dietary considerations for butter mochi?
Yes! This recipe is naturally gluten-free due to the use of glutinous rice flour (Mochiko). If you’re looking for dairy-free options, you can substitute the unsalted butter with coconut oil. Additionally, while eggs help with the structure, you can use flax eggs for a vegan alternative if needed.
Can I add different flavors or fillings to my butter mochi?
Certainly! Experiment with flavors by adding 2-3 teaspoons of matcha powder, chocolate, or fruity purees directly into the batter. Just ensure that you keep the base proportions stable, as the glutinous rice flour is crucial for that characteristic chewy texture. Enjoy the creative process!
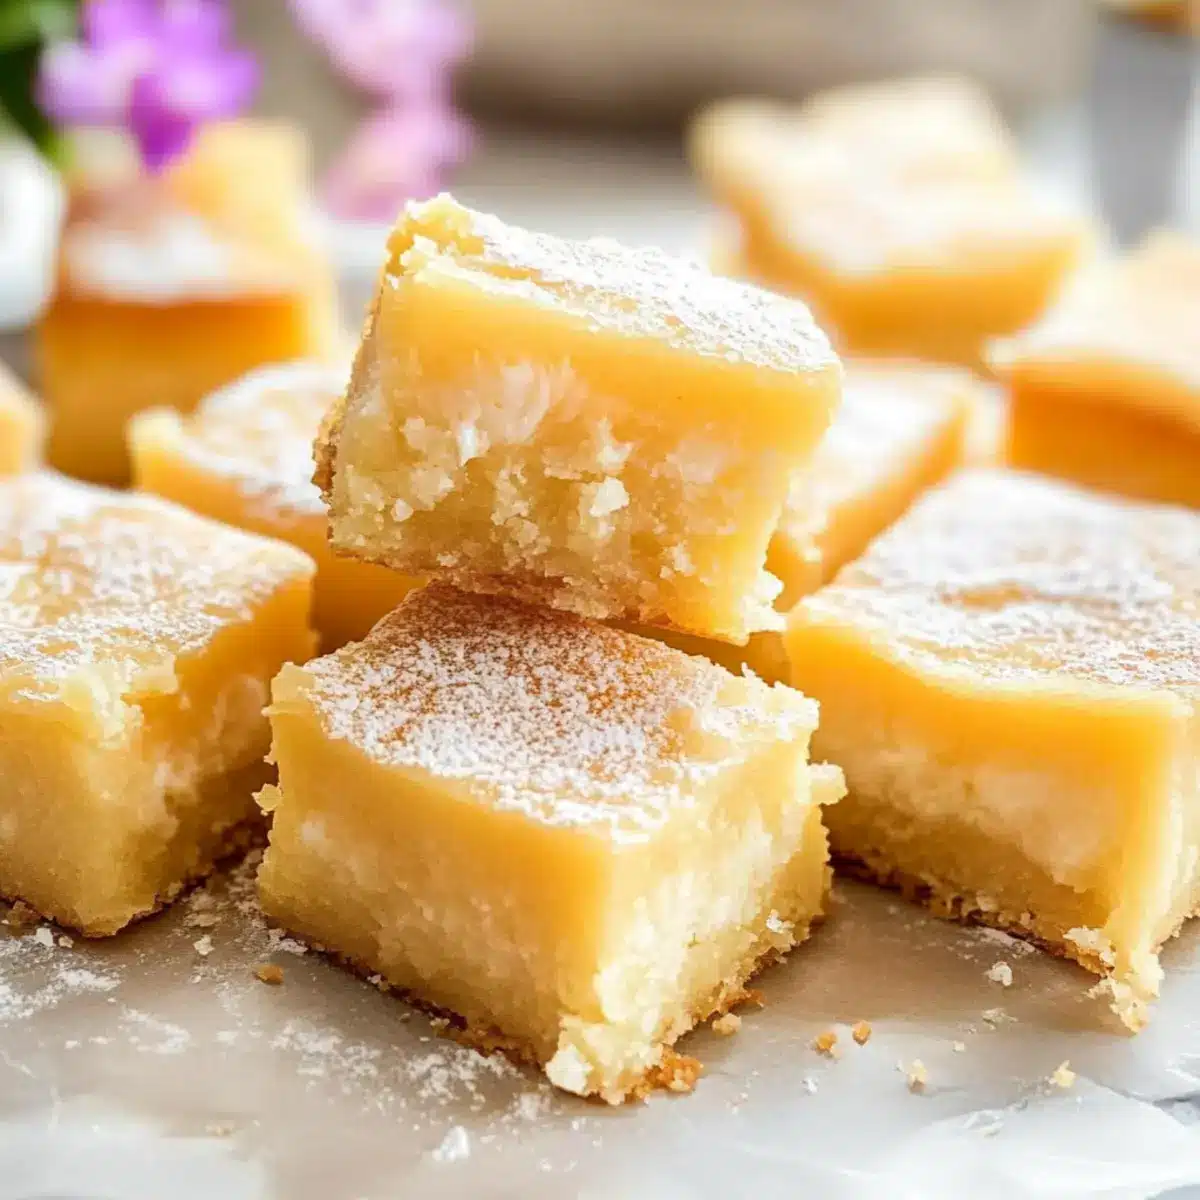
Melt-in-Your-Mouth Butter Mochi: A Tropical Delight
Ingredients
Equipment
Method
- Preheat your oven to 350°F (175°C). Grease a 9x13 inch baking pan and line it with parchment paper.
- In a mixing bowl, combine melted unsalted butter with granulated sugar until well incorporated. Add evaporated milk, coconut milk, and vanilla. Mix in eggs until smooth.
- In another bowl, whisk together glutinous rice flour and baking powder. Gradually mix dry ingredients into the wet batter until just combined.
- Pour the batter into the prepared baking pan and smooth the top. Bake for about 60 minutes or until golden brown and a toothpick comes out clean.
- Allow the butter mochi to cool in the pan for 15-20 minutes. Remove from pan and let it rest on a wire rack until fully cool before slicing.
Leave a Reply