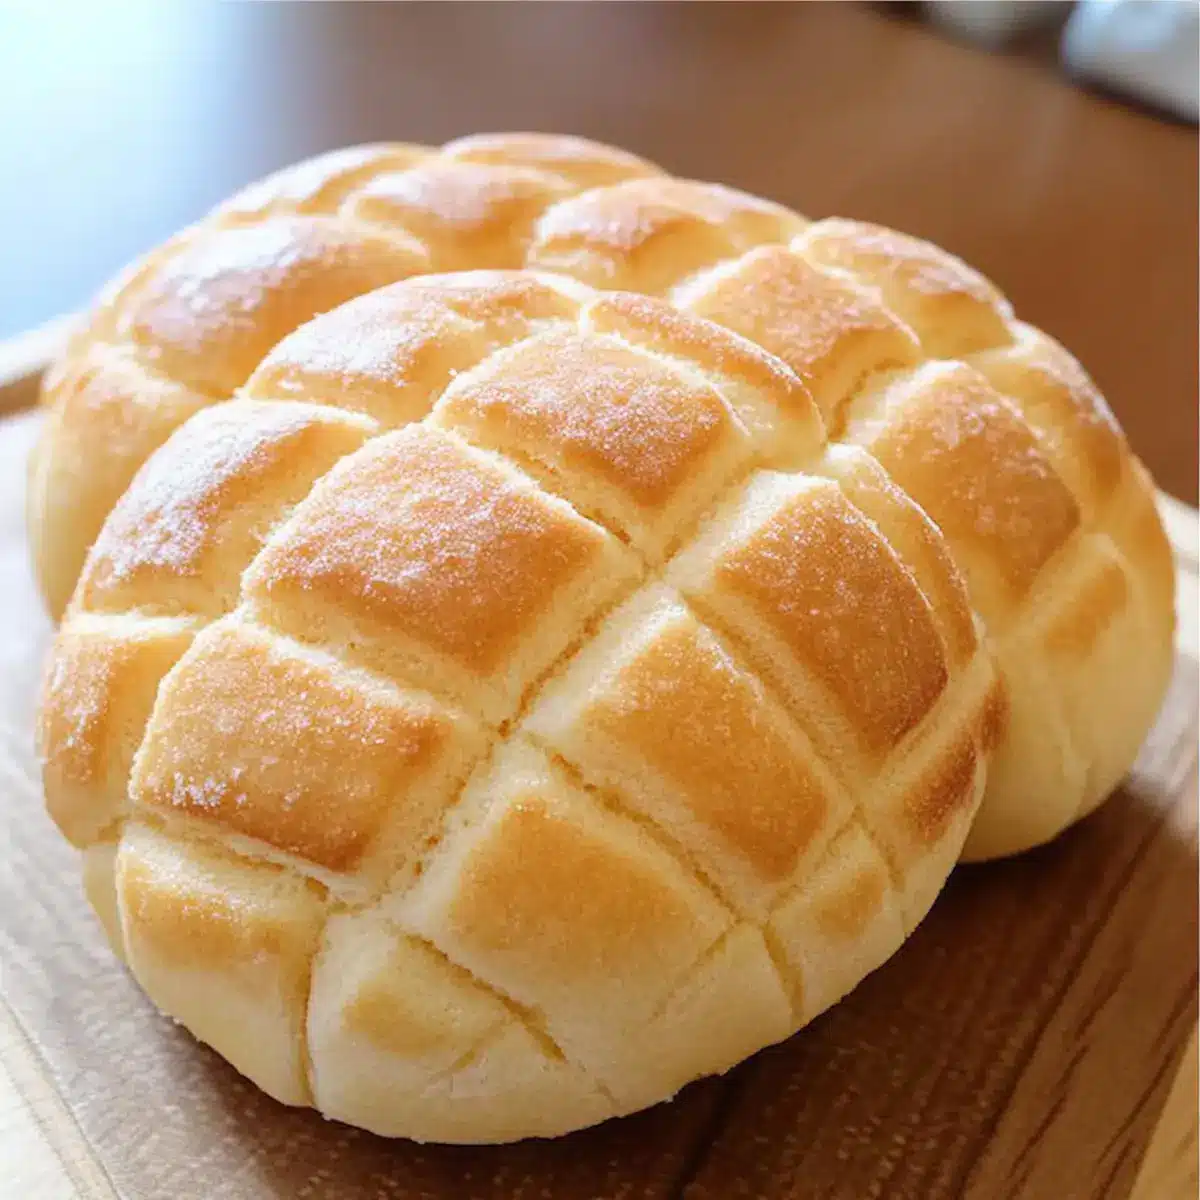
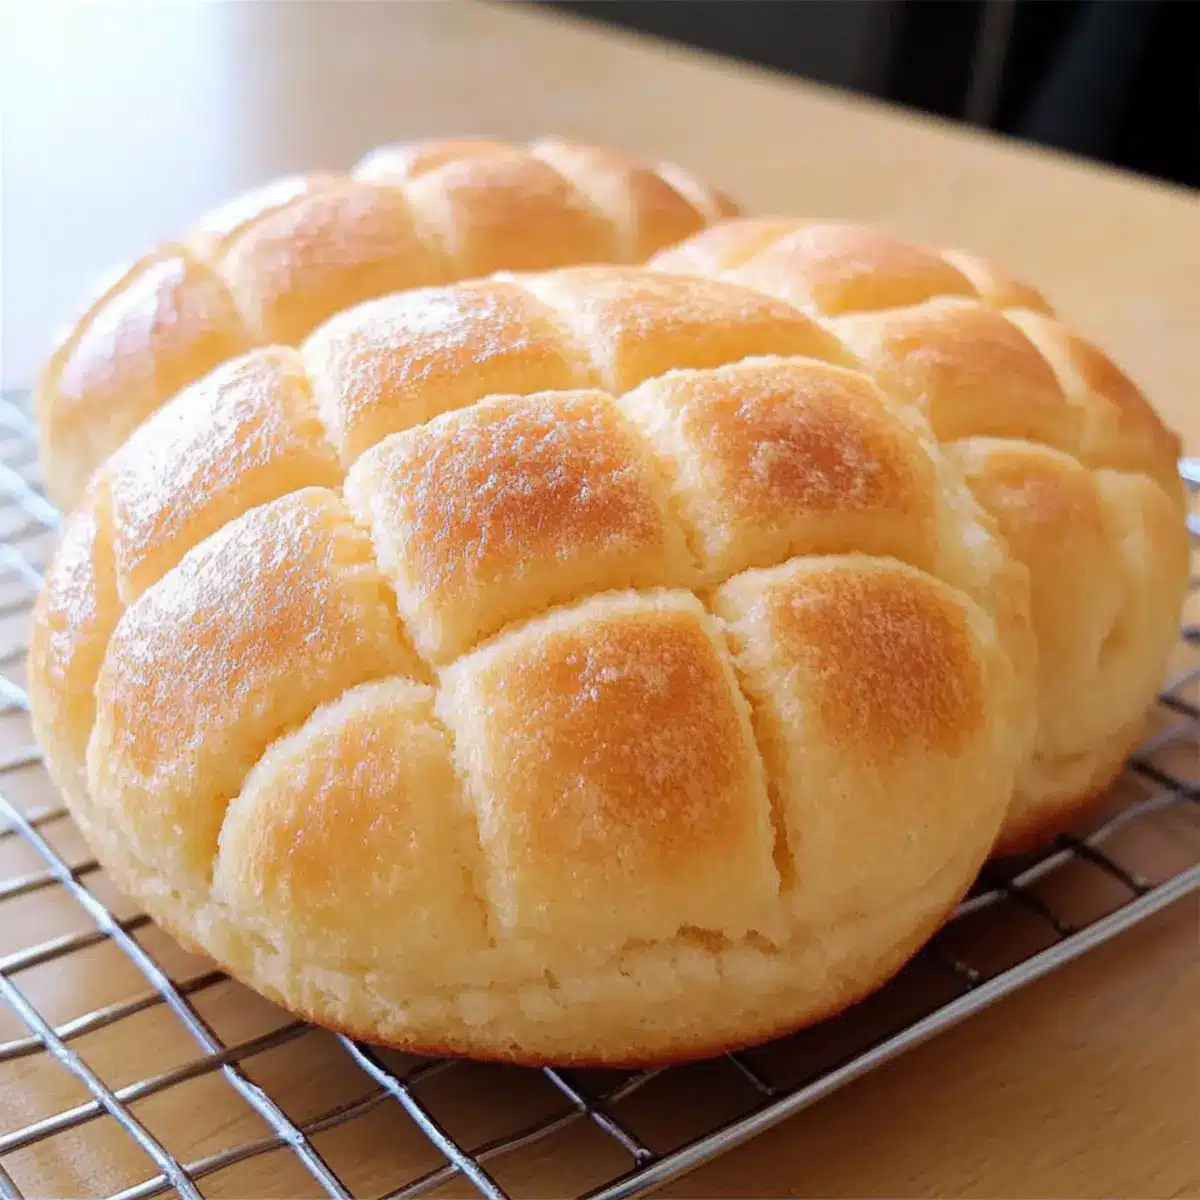
As I stood in my kitchen, the sweet, inviting aroma of freshly baked bread wafted through the air, transporting me straight to a bustling bakery in Japan. This Fluffy Japanese Melon Pan, with its unique blend of soft bread and a crispy, sweet cookie crust, has become one of my favorite treats to whip up at home. It’s not only surprisingly easy to make, but it’s also a delightful crowd-pleaser that makes any gathering feel special. Imagine biting into that golden-brown exterior, only to discover the pillowy, fluffy interior that beckons for another taste. Whether you’re in the mood for a cozy afternoon snack or a unique dessert for friends, this recipe is sure to impress. So, are you ready to add a touch of Japanese comfort to your baking repertoire? Let’s dive into the delicious world of Melon Pan!
Why Is Melon Pan So Irresistible?
Texture Combination: The contrast of the soft, fluffy bread and the crisp cookie crust creates a unique mouthfeel that’s completely satisfying.
Unforgettable Aroma: As it bakes, your kitchen will fill with a delightful scent that will have everyone asking what you’re making!
Easy Adaptations: Whether you stick with the classic recipe or experiment with sweet red bean paste or matcha, there’s a version for everyone.
Perfect for Any Occasion: This sweet bread is not just a treat—it’s a conversation starter at gatherings, making it a go-to for brunch or dessert!
Homemade Delight: Unlike store-bought options, making Melon Pan at home lets you control the flavors and ingredients, ensuring freshness with every bite.
So why wait? If you’re craving something sweet and delightful, dive into making your own Melon Pan and watch it become a favorite in your household!
Melon Pan Ingredients
• The secret to your homemade joy!
For the Dough
• Bread Flour – Provides structure and chewiness; substituting with all-purpose flour yields a softer texture.
• Sugar – Sweetens the dough and promotes browning; feel free to use brown sugar for a richer flavor.
• Milk – Adds moisture and richness; almond milk works well for a dairy-free alternative.
• Eggs – Binds ingredients and enriches the dough; a chia seed mixture can replace eggs for an egg-free option.
• Yeast – Leavens the dough, ensuring fluffiness; always check for freshness for best results.
• Butter – Contributes flavor and tenderness; swap with margarine or vegan butter for a dairy-free treat.
• Vanilla Extract – Enhances the overall flavor; almond extract offers a delightful twist if you’re feeling adventurous.
For the Cookie Topping
• Sugar – Adds sweetness and crunch to the crust; using fine sugar can enhance the crispiness.
• Flour – The base for your cookie crust; all-purpose flour is perfect for texture.
• Butter – Creates a delightful richness; adjust the amount for a crispier texture if desired.
• Baking Powder – Helps the cookie topping rise, creating that perfect, tender crust.
This delightful Melon Pan will bring a touch of sweetness and joy to your baking adventures!
Step‑by‑Step Instructions for Melon Pan
Step 1: Dough Preparation
In a large mixing bowl, combine 3 cups of bread flour, 1/4 cup of sugar, 1 packet of yeast, and a pinch of salt. Gradually mix in 1 cup of warmed milk and 1 beaten egg until a sticky dough forms. Transfer the dough to a floured surface and knead for about 8–10 minutes, until it’s smooth and elastic. Form it into a ball and place it in a lightly greased bowl, covering it with a damp cloth.
Step 2: First Rise
Allow the dough to rise in a warm, draft-free area for about 1 hour, or until it has doubled in size. You’ll know it’s ready when you gently press a finger into it and the indentation remains. This step is crucial for achieving the perfect fluffy texture in your Melon Pan, so be patient while the yeast works its magic.
Step 3: Make Cookie Dough
While the dough rises, prepare the cookie topping. In a separate bowl, cream together 1/4 cup of softened butter and 1/4 cup of sugar until light and fluffy. Gradually add 1 cup of flour and 1 teaspoon of baking powder, mixing until the dough comes together. Wrap the cookie dough in plastic wrap and place it in the refrigerator to chill for at least 30 minutes; this will help it hold its shape when you assemble the Melon Pan.
Step 4: Shape Bread
After the first rise, punch down the dough to release the air. Divide it into 8 equal pieces and roll each into a smooth ball. Flatten each ball slightly with your palm to create a base for the cookie dough. Retrieve the chilled cookie dough from the refrigerator, scoop small portions, and flatten them into disks to cover the tops of the bread balls, reshaping them as necessary.
Step 5: Second Rise
Place the shaped Melon Pan on a lined baking tray, leaving enough space between each bun for expansion. Cover the tray with a clean kitchen towel and let the dough rise again for about 30 minutes. You’ll notice they puff up slightly; this is a good indicator they are ready to be baked to golden perfection.
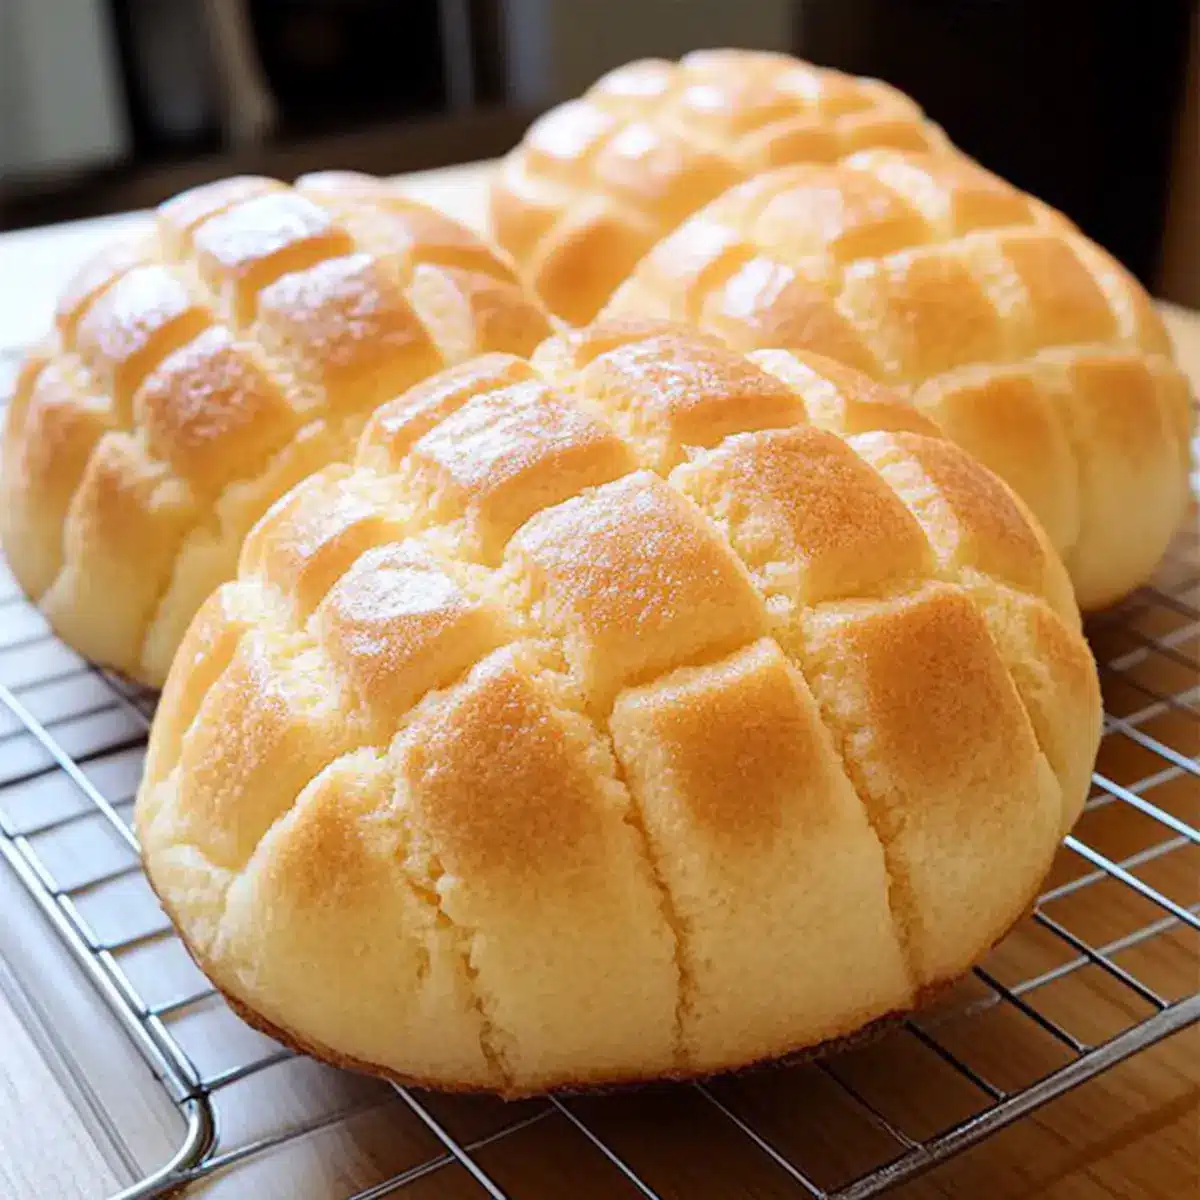
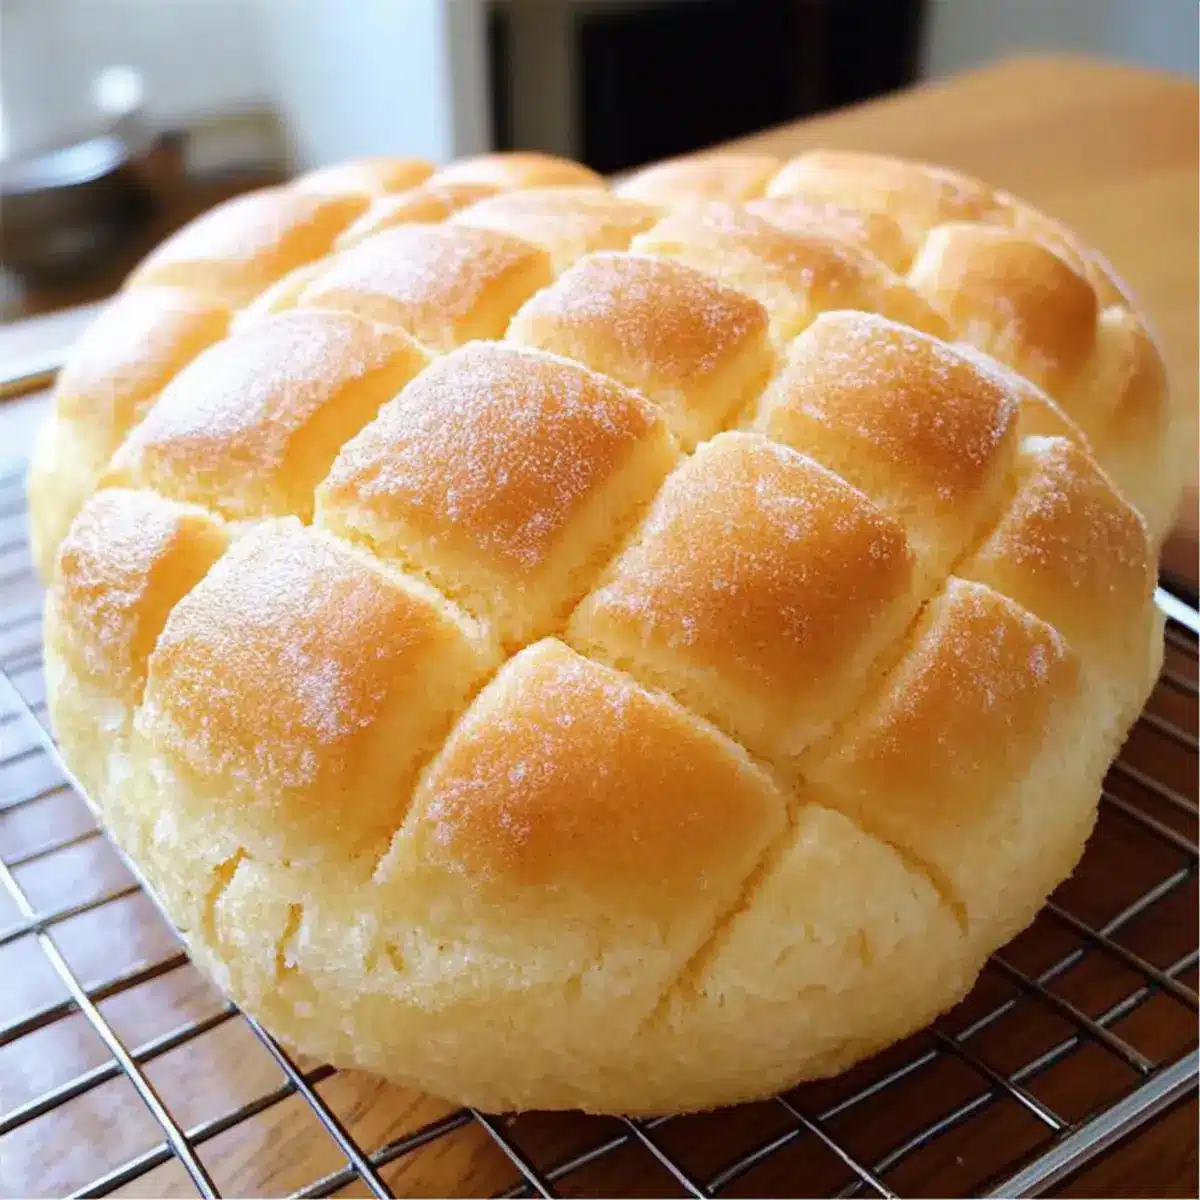
Step 6: Bake
Preheat your oven to 350°F (175°C). Once the dough has risen, bake the Melon Pan for 15-20 minutes until the tops are golden brown and the cookie crust is slightly cracked. Keep an eye on them towards the end to prevent overbaking. The delightful aroma filling your kitchen will signal that they are almost ready to be enjoyed fresh from the oven.
What to Serve with Fluffy Japanese Melon Pan?
Pair your delightful Melon Pan with these scrumptious sides and drinks that enhance the flavors and bring a complete experience to your table.
-
Fresh Fruit Salad: A vibrant mix of seasonal fruits adds a refreshing contrast to the sweetness of Melon Pan, making it an invigorating choice.
-
Matcha Green Tea: This earthy beverage complements the sweetness of the bread, creating a lovely balance of flavors while enhancing the Japanese theme.
-
Whipped Cream: Light and airy, whipped cream adds a luxurious creamy touch that pairs beautifully with each fluffy bite of Melon Pan.
-
Vanilla Ice Cream: Creamy and indulgent, a scoop of vanilla ice cream perfectly contrasts the warm bread’s texture, making it an irresistible treat.
-
Yuzu Citrus Sorbet: The bright and zesty flavors of yuzu sorbet add a refreshing burst that cuts through the sweetness, making it a sophisticated pairing choice.
-
Charcuterie Board: A selection of cheeses and cured meats provides savory options for balance, inviting both contrast and depth to your dessert experience.
-
Japanese Mochi: Incorporating mochi on the side offers chewy texture and subtle sweetness, making it a delightful addition that celebrates Japanese cuisine.
-
Milk Tea: A warm, sweet milk tea can elevate your dessert experience, providing a creamy beverage that enhances the comforting essence of Melon Pan.
-
Coconut Macarons: These light, chewy delights add tropical flair and sweetness, making them an ideal companion to the soft bread’s texture.
-
Matcha Latte: Smooth and creamy, a matcha latte not only matches the theme but creates an aromatic pairing that complements the Melon Pan beautifully.
Storage Tips for Melon Pan
-
Room Temperature: Store your Melon Pan in an airtight container at room temperature for up to 3 days to maintain its softness and freshness.
-
Fridge: While not necessary, if you live in a very humid area, you may store the Melon Pan in the fridge for up to a week, but expect some loss of softness.
-
Freezer: To freeze, individually wrap each bun in plastic wrap and place them in a freezer-safe bag. Melon Pan can be frozen for up to 3 months.
-
Reheating: When ready to enjoy, reheat from frozen in the oven at 350°F (175°C) for about 10–15 minutes until warmed through, restoring that delightful fluffiness.
Make Ahead Options
These Fluffy Japanese Melon Pan are perfect for busy cooks looking to save time without sacrificing flavor! You can prepare the dough up to 24 hours in advance by letting it rise, shaping it into balls, then refrigerating them until you’re ready to complete the recipe. Simply cover the shaped dough with plastic wrap to prevent drying out. The cookie dough topping can also be made a day ahead—just chill it in the fridge until firm. When ready to bake, let the refrigerated buns rise at room temperature for about 30 minutes before adding the cookie topping and baking. This way, you’ll enjoy delicious, homemade Melon Pan with minimal effort on the day of serving!
Expert Tips for Melon Pan
-
Proper Rising: Ensure the dough rises in a warm, draft-free area for optimal fluffiness. A cold kitchen can lead to dense Melon Pan.
-
Avoid Overbaking: Keep an eye on them in the oven; overbaking can cause the crust to harden, losing that melt-in-your-mouth texture.
-
Chill Cookie Dough: Always chill the cookie topping before use. This helps it maintain its shape when placed on the dough balls, creating a beautiful crust.
-
Fresh Ingredients: Check your yeast for freshness before starting. Expired yeast can lead to a flat loaf instead of the fluffy Melon Pan you desire.
-
Alternate Flavors: Don’t hesitate to experiment with fillings or flavorings. Add chocolate chips or matcha powder for a delightful twist on traditional Melon Pan!
Melon Pan Variations to Explore
Feel free to get creative with this delightful Melon Pan recipe, and let your culinary imagination run wild!
- Chocolate Chip Surprise: Add chocolate chips to the cookie dough for a sweet, melty explosion with each bite. You might discover a whole new level of indulgence in your Melon Pan!
- Matcha Magic: Infuse the dough with matcha powder to add a delightful green tea flavor that complements the sweetness beautifully. This variation not only tastes amazing but gives a vibrant color to your Melon Pan.
- Filled Melon Pan: Experiment with sweet fillings such as red bean paste or custard for a delicious surprise in the center of each bun. This twist will elevate your baking experience and create a new favorite!
- Spicy Kick: For those who enjoy a bit of heat, blend in a pinch of cayenne pepper or chili powder into the dough. This unexpected touch can make each bite an exciting adventure.
- Nutty Delight: Incorporate chopped nuts, like almonds or hazelnuts, into the cookie dough for an added crunch that contrasts wonderfully with the soft bread. Your Melon Pan will have a satisfying texture and nutty flavor!
- Fruit-Infused: Add finely chopped fruit such as apples or pineapples into the dough for a refreshing fruity taste that pairs beautifully with the sweetness of the bread. This variation makes a lovely, seasonal twist!
- Vegan Version: Replace eggs with flax eggs and use plant-based milk and butter for a vegan-friendly option that everyone can enjoy! This way, no one misses out on the blissful experience of Melon Pan.
Feel inspired? If you’re looking for more delightful variations, consider checking out my Sheet Pan Chicken or explore some flavorful twists in my Sheet Pan Cashew. Happy baking!
Melon Pan Recipe FAQs
What is the best way to select ripe ingredients for Melon Pan?
Absolutely! For the best results, choose fresh bread flour that is stored in a cool, dry place to ensure it remains optimal for baking. When selecting milk, opt for whole or organic milk for a richer texture; if using dairy alternatives, almond milk gives a lovely flavor. For eggs, try to select farm-fresh ones if possible, as they enhance the flavor and texture of your Melon Pan.
How should I store Melon Pan, and how long can I keep it?
I recommend storing your Melon Pan in an airtight container at room temperature for up to 3 days. This keeps the buns soft and fresh. If you live in a humid area, you can store them in the fridge for about a week, but be aware they may lose some of their fluffy texture.
Can I freeze Melon Pan? If so, how?
Yes, you can absolutely freeze Melon Pan! Wrap each bun tightly in plastic wrap and place them in a freezer-safe bag. They can be frozen for up to 3 months. When you’re ready to enjoy, simply reheat them from frozen in an oven preheated to 350°F (175°C) for about 10–15 minutes until they’ve warmed through, and they’ll regain that delightful fluffiness!
What should I do if my Melon Pan dough doesn’t rise properly?
Very importantly, ensure that your yeast is fresh and active. If your dough hasn’t risen, check that it was kept in a warm, draft-free environment during the rising period. You can move it to a warmer spot, like near a heater or an oven preheating without being turned on. If the dough is still unresponsive, it may be best to start over with fresh yeast for superior results.
Are there any dietary considerations when making Melon Pan?
Certainly! If you’re baking for someone with allergies, note that Melon Pan contains gluten (from flour), dairy (from milk and butter), and eggs. However, you can modify the recipe by using gluten-free flour, dairy-free butter, and substituting eggs with chia seed mixture (1 tablespoon chia seeds mixed with 3 tablespoons water) for an egg-free version. This makes it more inclusive for those with dietary restrictions.
Melt in Your Mouth Melon Pan: Easy Japanese Sweet Bread
Ingredients
Equipment
Method
- In a large mixing bowl, combine 3 cups of bread flour, 1/4 cup of sugar, 1 packet of yeast, and a pinch of salt. Gradually mix in 1 cup of warmed milk and 1 beaten egg until a sticky dough forms. Transfer the dough to a floured surface and knead for about 8–10 minutes until it's smooth and elastic. Form it into a ball and place it in a lightly greased bowl, covering it with a damp cloth.
- Allow the dough to rise in a warm, draft-free area for about 1 hour, or until it has doubled in size.
- While the dough rises, prepare the cookie topping by creaming together 1/4 cup of softened butter and 1/4 cup of sugar until light and fluffy. Gradually add 1 cup of flour and 1 teaspoon of baking powder, mixing until the dough comes together. Wrap the cookie dough in plastic wrap and place it in the refrigerator to chill for at least 30 minutes.
- After the first rise, punch down the dough to release the air. Divide it into 8 equal pieces and roll each into a smooth ball. Flatten each ball slightly with your palm to create a base for the cookie dough. Retrieve the chilled cookie dough from the refrigerator, scoop small portions, and flatten them into disks to cover the tops of the bread balls.
- Place the shaped Melon Pan on a lined baking tray, cover with a clean kitchen towel, and let rise again for about 30 minutes.
- Preheat your oven to 350°F (175°C). Bake the Melon Pan for 15-20 minutes until the tops are golden brown.
Leave a Reply