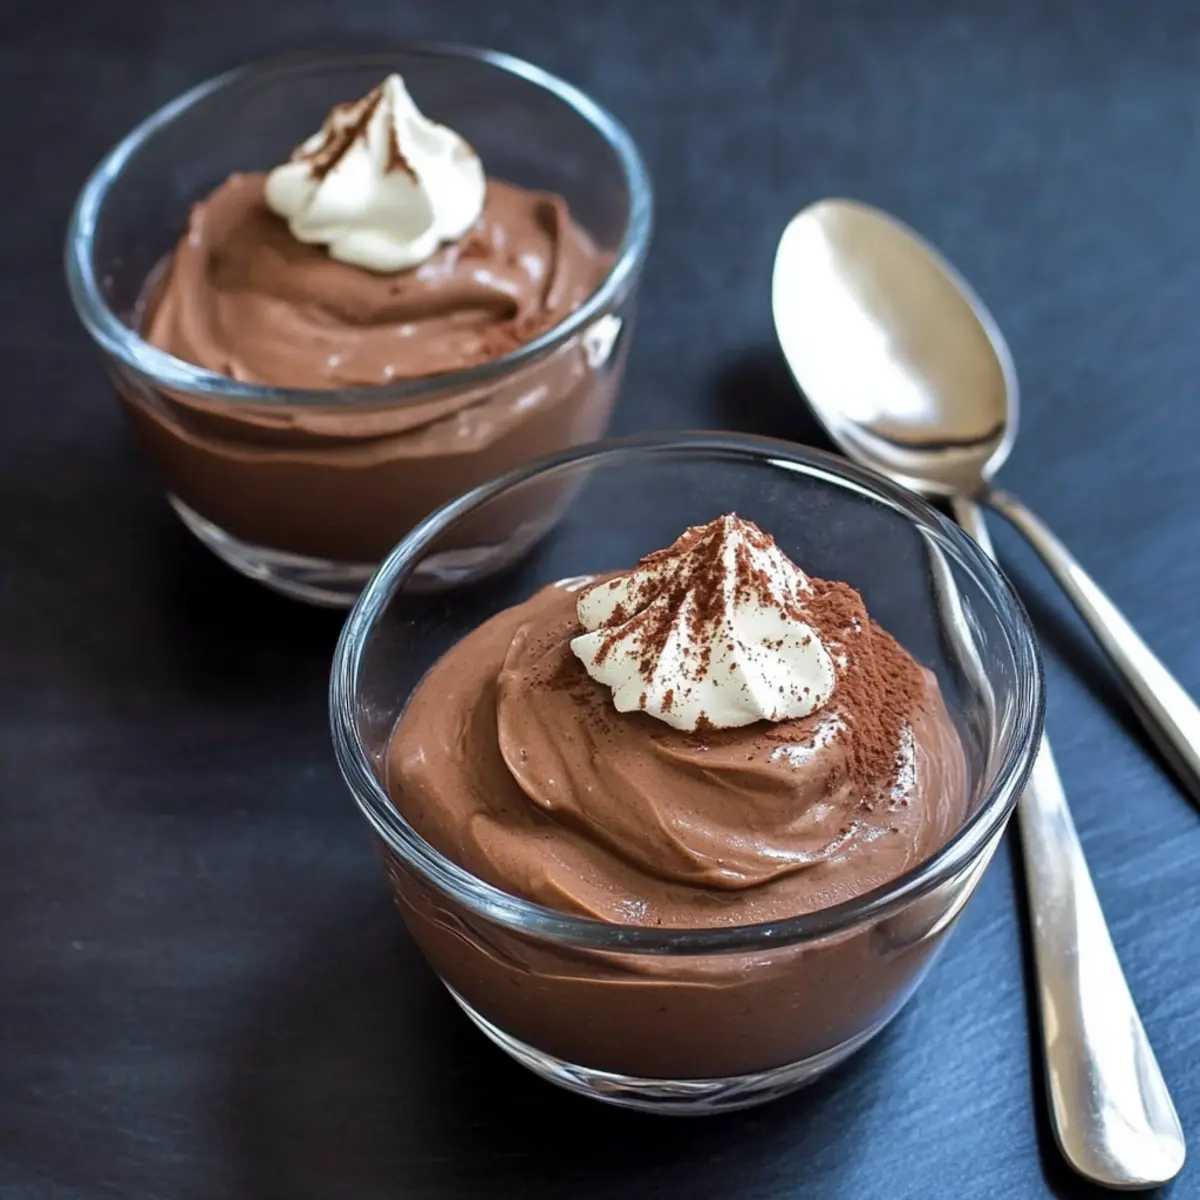
As I stared at the leftover cocoa from my last baking spree, a delicious idea sparked: a Healthy Chocolate Pudding that could satisfy my chocolate cravings without the guilt! This creamy delight is not only easy to whip up at home but also caters to a variety of dietary preferences—think dairy-free, gluten-free, and vegan-friendly. Unlike many traditional recipes, this one ditches those hidden ingredients, keeping it pure and straightforward while delivering that classic pudding taste we love. The best part? You can indulge without feeling weighed down, making it the perfect addition to a health-conscious lifestyle. Ready to discover how to create this velvety goodness that’s sure to impress? Let’s dive in!
Why is This Pudding a Must-Try?
Irresistibly Healthy: This chocolate pudding satisfies your sweet tooth while being guilt-free. Enjoy a dessert that’s vegan-friendly, gluten-free, and totally delicious!
Quick and Easy: With just a few pantry staples, you’ll have a creamy indulgence ready in no time.
Customizable Sweetness: Tailor the sweetness to your liking by choosing your favorite sweetener—from honey to erythritol!
Luxurious Texture: Experience a thick, velvety pudding that rivals traditional recipes without any heavy additives.
Perfect for Any Occasion: Whether it’s a casual weeknight dessert or a fancy dinner party, this pudding will wow your guests! Pair it with some Healthy Sauteed Vegetables to balance your meal or serve with a dollop of coconut whipped cream for an extra treat. Dive into a world of flavor and health with this chocolate delight!
Healthy Chocolate Pudding Ingredients
A simple list for a guilt-free dessert!
For the Base
• Milk of choice (2 cups) – Use your favorite dairy-free milk; canned coconut milk offers a richer texture.
• Salt (heaping 1/8 tsp) – Enhances the sweetness in your healthy chocolate pudding.
For the Flavor
• Dutch cocoa powder (1/4 cup) – A must for rich chocolate flavor; regular cocoa can be a great alternative.
• Sweetener (1/3 cup) – Customize using sugar, pure maple syrup, erythritol, or honey based on your dietary needs.
• Vanilla extract (3/4 tsp) – Adds depth to the flavor profile.
For Thickening
• Cornstarch (3 tbsp) – The key to achieving that luscious pudding consistency; arrowroot can substitute with adjustments.
• Additional Milk (1/2 cup) – Used to whisk with cornstarch for a smooth blend.
Optional Add-ins
• Optional chocolate (3 oz, chips or bar) – Stir in for a richer chocolate experience!
Dive into making this rich and creamy Healthy Chocolate Pudding that’s sure to win hearts!
Step‑by‑Step Instructions for Healthy Chocolate Pudding
Step 1: Warm the Milk Mixture
In a medium saucepan, pour in 2 cups of your chosen milk and add a heaping 1/8 teaspoon of salt, 1/4 cup of Dutch cocoa powder, and 1/3 cup of your preferred sweetener. Place the saucepan over medium heat and stir gently until the mixture becomes warm and the cocoa and sweetener are fully dissolved, about 2–3 minutes. You’ll know it’s ready when it starts to steam lightly.
Step 2: Prepare the Cornstarch Mixture
While the milk mixture is warming, take a separate bowl and whisk together 1/2 cup of additional milk with 3 tablespoons of cornstarch until smooth. Ensure there are no lumps; this step is crucial for achieving the silky texture of the Healthy Chocolate Pudding. Set aside your cornstarch mixture for the next step, keeping everything handy.
Step 3: Combine and Thicken the Mixtures
Once your milk mixture is steaming, carefully whisk in the cornstarch mixture. Increase the heat slightly and continue to stir constantly. As the pudding cooks, it will begin to bubble and thicken. Keep stirring for about 2 minutes, until it reaches a creamy consistency akin to that of traditional pudding, ensuring no lumps remain.
Step 4: Final Touches
After it thickens, reduce the heat to low and let it simmer for an additional minute. Turn off the burner and stir in 3/4 teaspoon of vanilla extract, enhancing the flavor of your Healthy Chocolate Pudding. For an extra indulgent touch, add 3 ounces of optional chocolate chips or chopped chocolate, stirring until completely melted and combined.
Step 5: Chill the Pudding
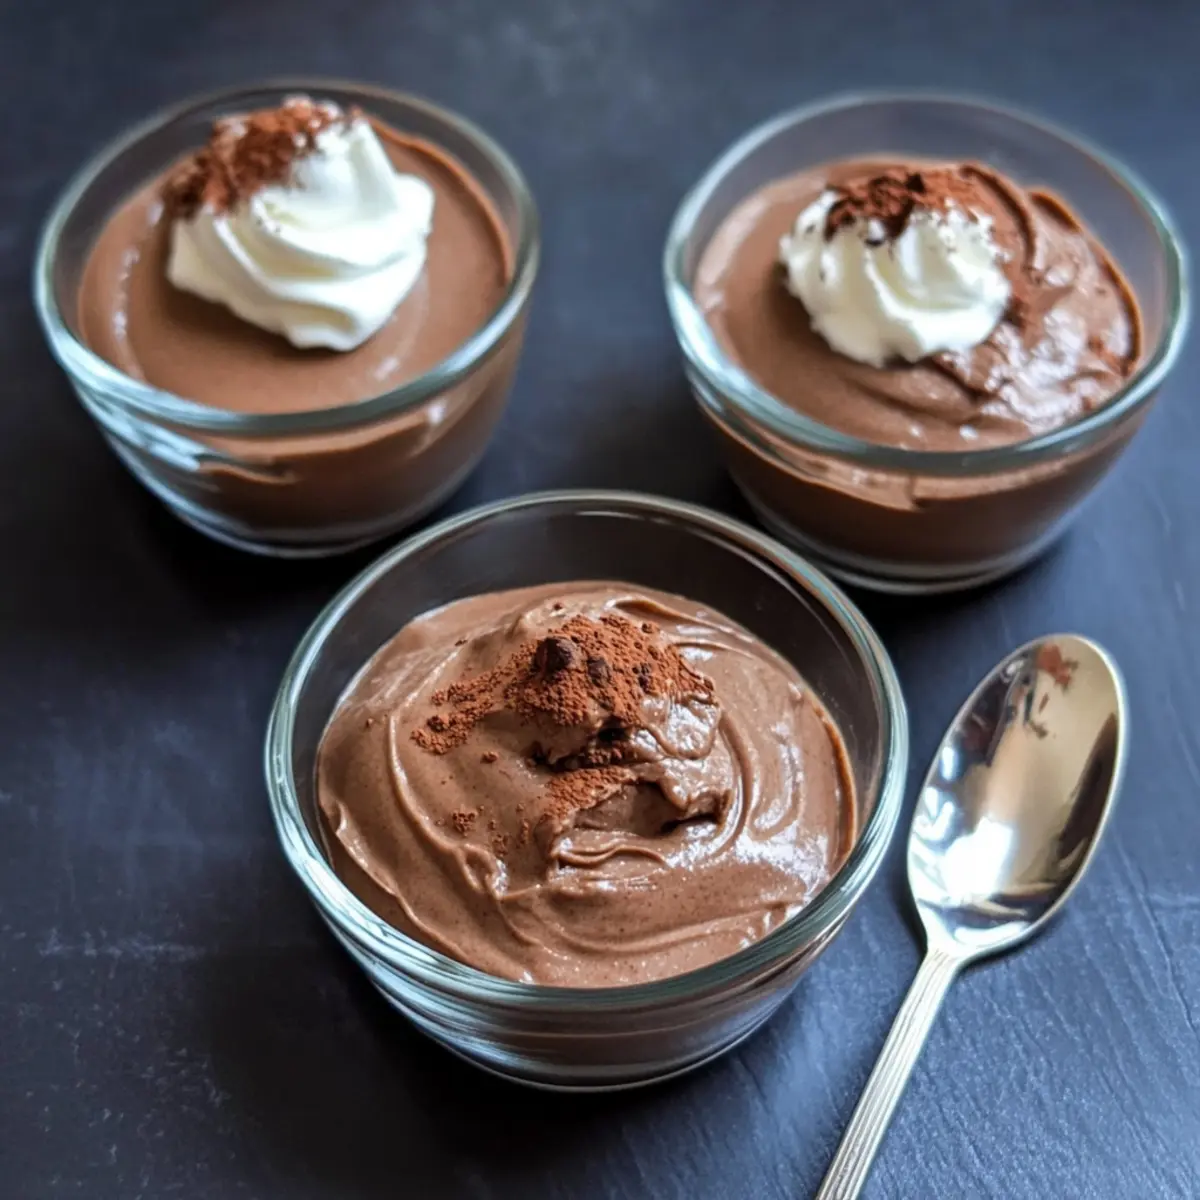
Transfer the chocolate pudding into individual serving dishes or a large bowl. Cover it with plastic wrap, making sure the wrap touches the surface of the pudding to prevent a skin from forming. Refrigerate for at least a few hours, or ideally overnight, allowing it to thicken further and enhance its flavor.
Step 6: Serve and Enjoy
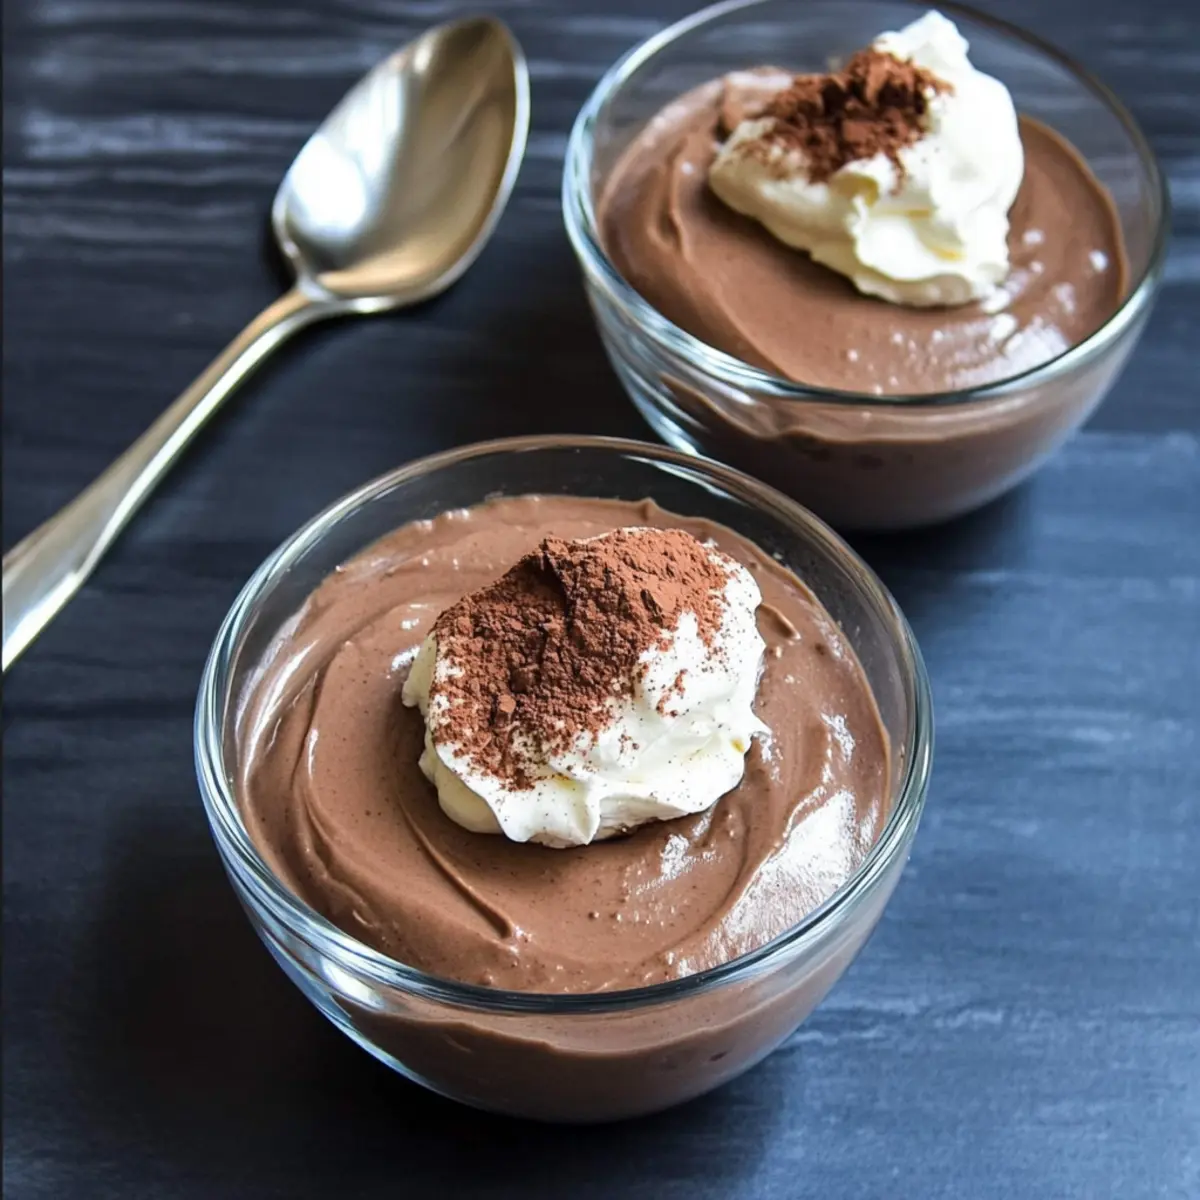
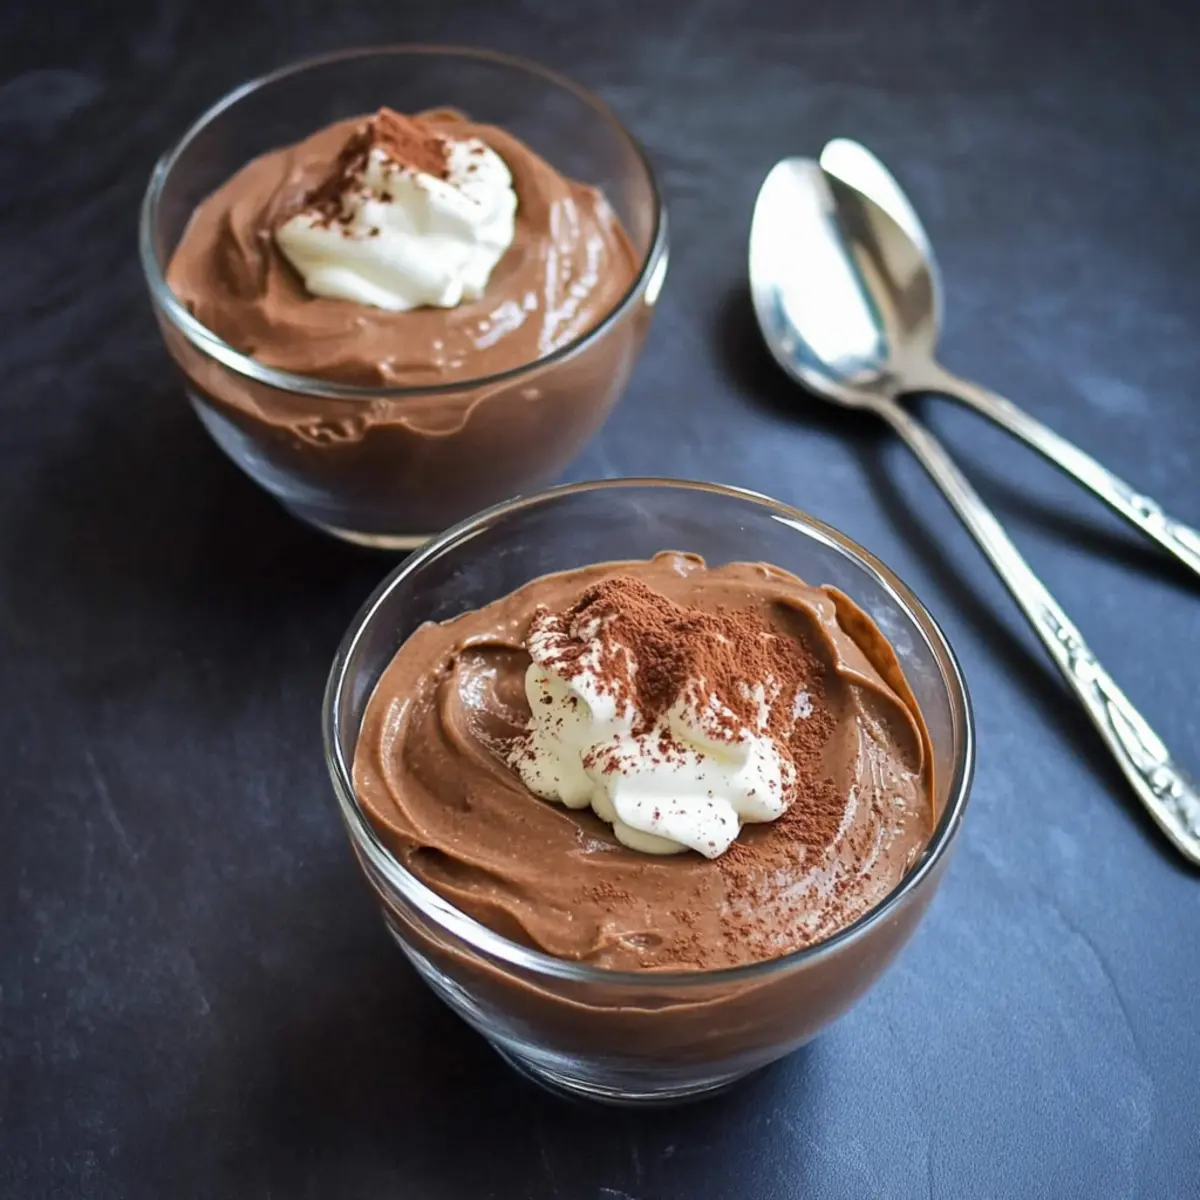
Once your Healthy Chocolate Pudding is chilled and set, it’s ready to serve! Dish it out and, if desired, top with coconut whipped cream or your favorite fresh fruits. This pudding delivers a rich, creamy experience without the guilt, making it perfect for any occasion.
How to Store and Freeze Healthy Chocolate Pudding
Fridge: Keep your Healthy Chocolate Pudding in an airtight container, refrigerated for up to 3-4 days. This helps maintain its creamy texture and rich flavor.
Freezer: For longer storage, you can freeze the pudding in a freezer-safe container for up to 2 months. Just be sure to leave some room at the top, as it will expand as it freezes.
Thawing: To enjoy frozen pudding, transfer it to the fridge overnight to thaw. Gently re-whisk before serving to restore its smooth consistency.
Reheating: If serving warmed, heat gently over low heat on the stove, stirring frequently until warmed through, but avoid boiling to preserve texture and taste.
Expert Tips for Healthy Chocolate Pudding
• Dissolve Cornstarch Well: Ensure the cornstarch is fully dissolved in milk to prevent lumps in your pudding, creating that silky texture you desire.
• Chill for Best Results: Allow the Healthy Chocolate Pudding to chill in the fridge for several hours or overnight, as it thickens more with time for a luxurious feel.
• Milk Choice Matters: Don’t hesitate to experiment with various types of milk for your pudding; using canned coconut milk will provide that dreamy, creamy consistency.
• Taste Before Chilling: Adjust the sweetness by tasting your pudding before chilling. You can always add more sweetener based on your preference!
• Top with Freshness: Consider garnishing with fresh fruits or a dollop of coconut whipped cream to elevate the presentation and flavor experience!
What to Serve with Healthy Chocolate Pudding
Delight in a satisfying meal by pairing this creamy indulgence with foods that enhance its rich flavor.
-
Fresh Berries: These add a refreshing burst of sweetness and bright acidity, balancing the richness of the pudding. Strawberries, raspberries, or blueberries make lovely toppings.
-
Coconut Whipped Cream: A dollop of this vegan-friendly cream not only adds a luscious layer but also complements the chocolate with a tropical hint.
-
Nutty Granola: The crunchy texture and earthy tones from nuts combine beautifully with the creamy pudding, creating a delightful contrast in every bite.
-
Mint Leaves: Garnishing with fresh mint brings a vibrant, aromatic freshness that elevates the dessert, making it feel even more luxurious.
-
Chocolate Drizzle: For the true chocolate lovers, a light drizzle of melted dark chocolate or a chocolate sauce can enhance the dessert’s richness.
-
Almond Butter: A spoonful on top can add an unexpected flavor twist and richness, making each bite even more gratifying.
-
Herbal Tea: Pairing with a calming herbal tea makes this dessert perfect for a soothing evening treat, enhancing the overall experience.
-
Dark Chocolate Shavings: A sprinkle of shavings allows an extra chocolatey flavor while providing an elegant touch for presentation.
Healthy Chocolate Pudding Variations
Feel free to get creative and personalize this delicious pudding to suit your taste buds!
- Dairy-Free: Substitute dairy milk with canned coconut milk for an ultra-creamy texture that delights in every spoonful.
- Low-Sugar: Use a sugar substitute like erythritol to enjoy a guilt-free dessert without sacrificing sweetness or flavor.
- Flavor Infusion: Try adding a splash of peppermint extract or a hint of espresso powder to elevate the chocolate flavor. Both variations create exciting twists!
- Textured Delight: Toss in crushed nuts or nut butter for added crunch and flavor—it’s a delightful surprise in each bite.
- Creamy Coconut: Incorporate unsweetened shredded coconut for a tropical twist—you’ll love the added texture and flavor!
- Tropical Bliss: Blend in some pineapple or mango puree for a fruity spin that brings a refreshing taste to the classic dessert.
- Extra Richness: Stir in a small amount of melted dark chocolate for an indulgent rich flavor that truly satisfies your chocolate cravings.
- Smooth Chilling: For a velvety mousse-like texture, use silken tofu blended with the pudding before chilling—it’s a fantastic vegan option too!
Whether you enjoy it alongside some Healthy Pistachio Cookies or a light Chickpea Feta Avocado Salad, this Healthy Chocolate Pudding is endlessly adaptable to fit your preferences!
Make Ahead Options
These Healthy Chocolate Pudding can be a lifesaver for busy weeknights! You can easily prepare the pudding up to 24 hours in advance by completing the cooking steps and transferring it into serving dishes. Cover with plastic wrap directly on the surface to prevent skin from forming, then refrigerate. This not only saves you time but also allows the flavors to meld beautifully overnight, resulting in an even richer taste. When you’re ready to serve, simply take it out of the fridge, stir gently, and add topping options like coconut whipped cream or fresh fruit for a delightful presentation. Enjoy the convenience and indulge without the hassle!
Healthy Chocolate Pudding Recipe FAQs
What type of milk should I use for the Healthy Chocolate Pudding?
Absolutely! You can use any milk of your choice, including almond, oat, or soy milk for a dairy-free option. For a richer texture, I highly recommend using canned coconut milk. It gives the pudding a wonderfully creamy consistency that feels indulgent!
How should I store the Healthy Chocolate Pudding?
To keep your Healthy Chocolate Pudding at its best, store it in an airtight container in the fridge. It will last for up to 3-4 days. I often set aside some for late-night cravings, and it’s just as delicious on day four as it is fresh!
Can I freeze the pudding?
Yes! You can freeze the Healthy Chocolate Pudding for up to 2 months. Just make sure to use a freezer-safe container. When freezing, leave a little space at the top since it may expand. To thaw, simply place it in the fridge overnight and whisk it gently before serving to restore its smooth texture.
What if my pudding isn’t thickening properly?
No worries! If your pudding isn’t thickening, there could be a couple of reasons. First, ensure that the cornstarch was fully dissolved in the milk mixture before combining it with the warm liquids. If it’s already combined but still doesn’t thicken, try cooking it a little longer while stirring constantly—about 2 more minutes could do the trick!
Is this Healthy Chocolate Pudding suitable for people with allergies?
Yes! This pudding is customizable and free from dairy, gluten, and soy, making it suitable for various dietary restrictions. However, always check ingredient labels on your chosen sweeteners and milk to ensure they meet your dietary needs. It’s a good idea to consult with a healthcare professional if you have specific allergies.
How can I make the pudding sweeter?
Very easily! Before chilling the pudding, taste it and add more sweetener to your preference. Options include sugar, pure maple syrup, honey, or erythritol. Just stir it in until fully dissolved—you can tailor the sweetness level based on what you enjoy!
Creamy Healthy Chocolate Pudding You Can’t Resist
Ingredients
Equipment
Method
- In a medium saucepan, pour in milk and add salt, cocoa powder, and sweetener. Warm over medium heat, stirring until dissolved, about 2–3 minutes.
- In a separate bowl, whisk together additional milk and cornstarch until smooth. Set aside.
- Whisk the cornstarch mixture into the warm milk mixture, increase heat, and stir until it thickens, about 2 minutes.
- Reduce heat, stir in vanilla extract, and optional chocolate until melted.
- Transfer to serving dishes, cover with plastic wrap, and refrigerate for several hours or overnight.
- Serve chilled, topped with coconut whipped cream or fresh fruits.
Leave a Reply