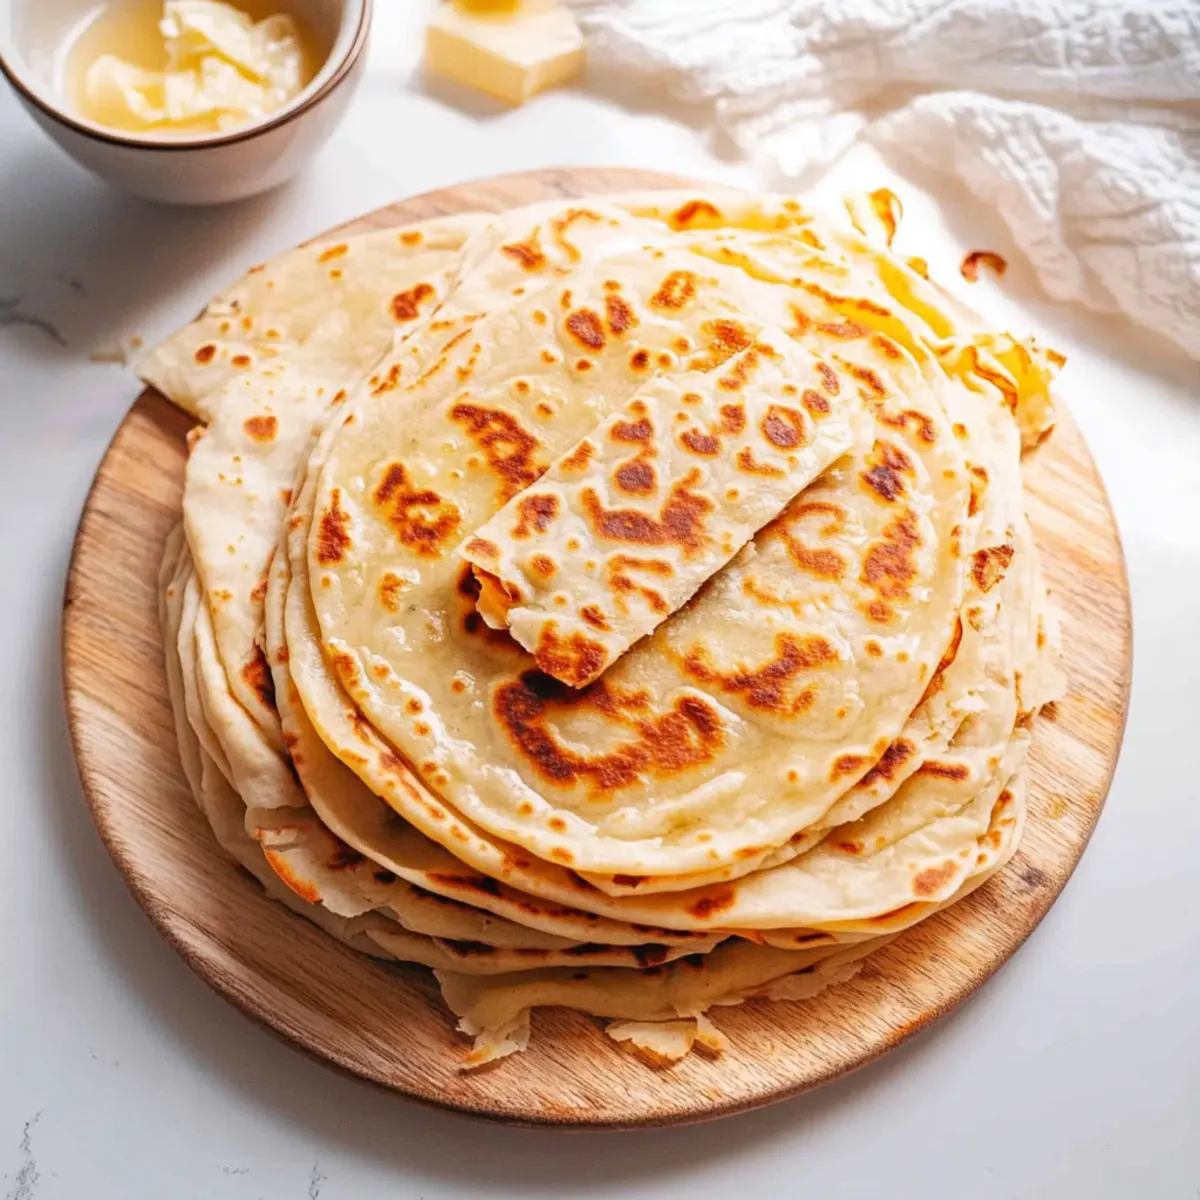
As I was rummaging through my spice cabinet, the aroma of warm, buttery layers filled my mind with memories of family gatherings and happy meals. It dawned on me that nothing quite compares to the joy of making your own paratha at home. This Paratha Recipe is your ticket to creating a delightful Indian flatbread that’s not just flaky and layered, but also incredibly satisfying. Whether you serve them alongside your favorite curry, dip them in yogurt, or savor them straight off the skillet, these parathas are sure to impress. Plus, they’re quick to whip up, allowing you to escape the fast-food rut without sacrificing flavor. I can’t wait for you to experience the joy of pulling apart these delicious layers—what will you pair them with?
Why is Paratha the Ultimate Comfort Food?
Flaky Layers: The unique technique ensures each paratha is buttery and flaky, elevating your meal experience.
Speedy Preparation: This recipe is quick, making it perfect for busy nights when you crave something homemade yet satisfying.
Endless Versatility: Pair with curries, yogurt, or enjoy alone—these parathas adapt to any meal, much like a classic Mac Cheese Ready.
Crowd-Pleaser: Impress family and friends alike; they’ll be asking for seconds!
Healthier Option: Swap in whole wheat flour for a nutritious twist, allowing you to enjoy comfort food guilt-free.
Experience the delight of pulling apart each layer, a testament to your culinary skills, and bring warmth to your dining table!
Paratha Recipe Ingredients
For the Dough
- All-Purpose Flour – Provides the structure for the paratha, but you can swap for whole wheat flour for a healthier option.
- Warm Water – Hydrates the flour to create a soft dough; adjust the amount based on humidity levels.
- Yogurt – Helps create a tender texture and makes handling the dough easier; use Greek yogurt as a suitable substitute.
- Vegetable Oil – Adds moisture and assists in rolling; ghee can enhance the flavor significantly.
- Kosher Salt – Essential for enhancing flavor; sea salt is a great alternative.
For the Layers
- Melted Butter – Brushed between layers to add richness, crucial for achieving those flaky textures.
Utilize this easy-to-follow Paratha Recipe to create fond memories around your dining table, complementing each meal with warmth and flavor!
Step‑by‑Step Instructions for Paratha Recipe
Step 1: Prepare the Dough
In a large mixing bowl, combine all-purpose flour and kosher salt, ensuring an even distribution. In a separate bowl, whisk together warm water, yogurt, and vegetable oil until smooth. Gradually pour this mixture into the flour mixture, stirring until a shaggy dough forms. This process should take about 5 minutes, leading to a slightly sticky dough that holds together.
Step 2: Knead the Dough
Transfer the shaggy dough onto a lightly floured surface. Knead it for 5-7 minutes by hand or use a stand mixer with a dough hook for about 3 minutes until it becomes smooth and elastic. You’ll know the dough is ready when it springs back when lightly pressed. Once kneaded, form it into a ball and place it in a greased bowl, covering it with a damp cloth.
Step 3: Rest the Dough
After kneading, let the dough rest for 1 hour at room temperature. This resting period allows the gluten to relax and the flavors to meld, resulting in a more workable dough. Cover the bowl with a kitchen towel to prevent it from drying out. Use this time to tidy up your workspace and prepare your cooking area for the next steps.
Step 4: Roll and Shape
Once the dough has rested, divide it into 8 equal pieces. Take one piece and roll it out on a floured surface until it’s about 6 inches in diameter. Brush the surface lightly with melted butter, then roll the dough into a log shape. Twist the log into a spiral and tuck the end underneath. Set aside and repeat this process for the remaining pieces, then let them rest again for 1 hour.
Step 5: Cook the Paratha
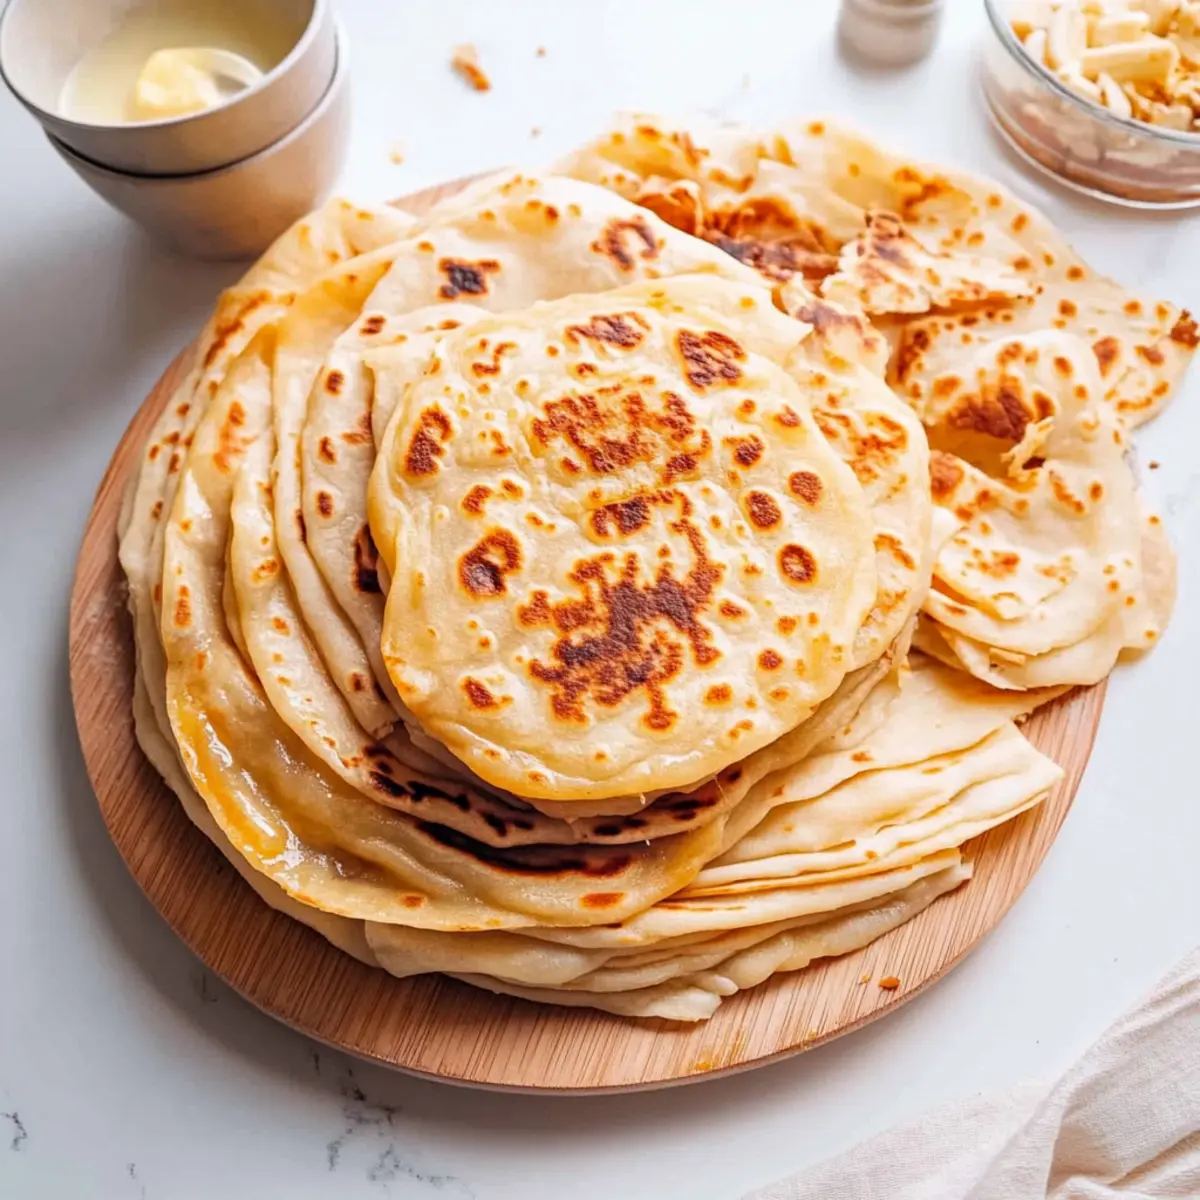
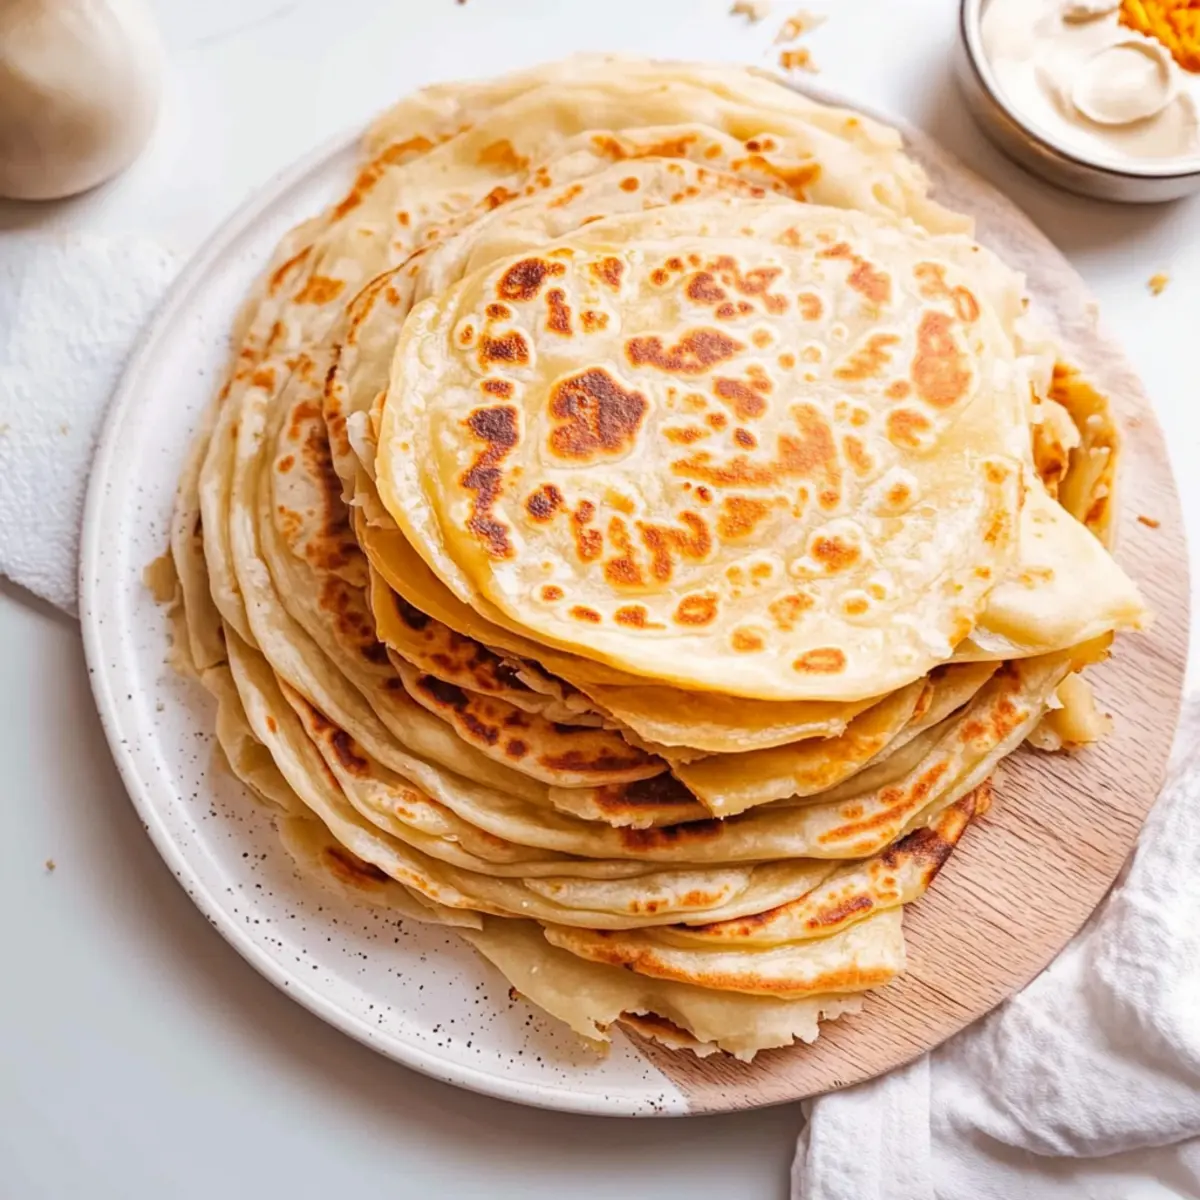
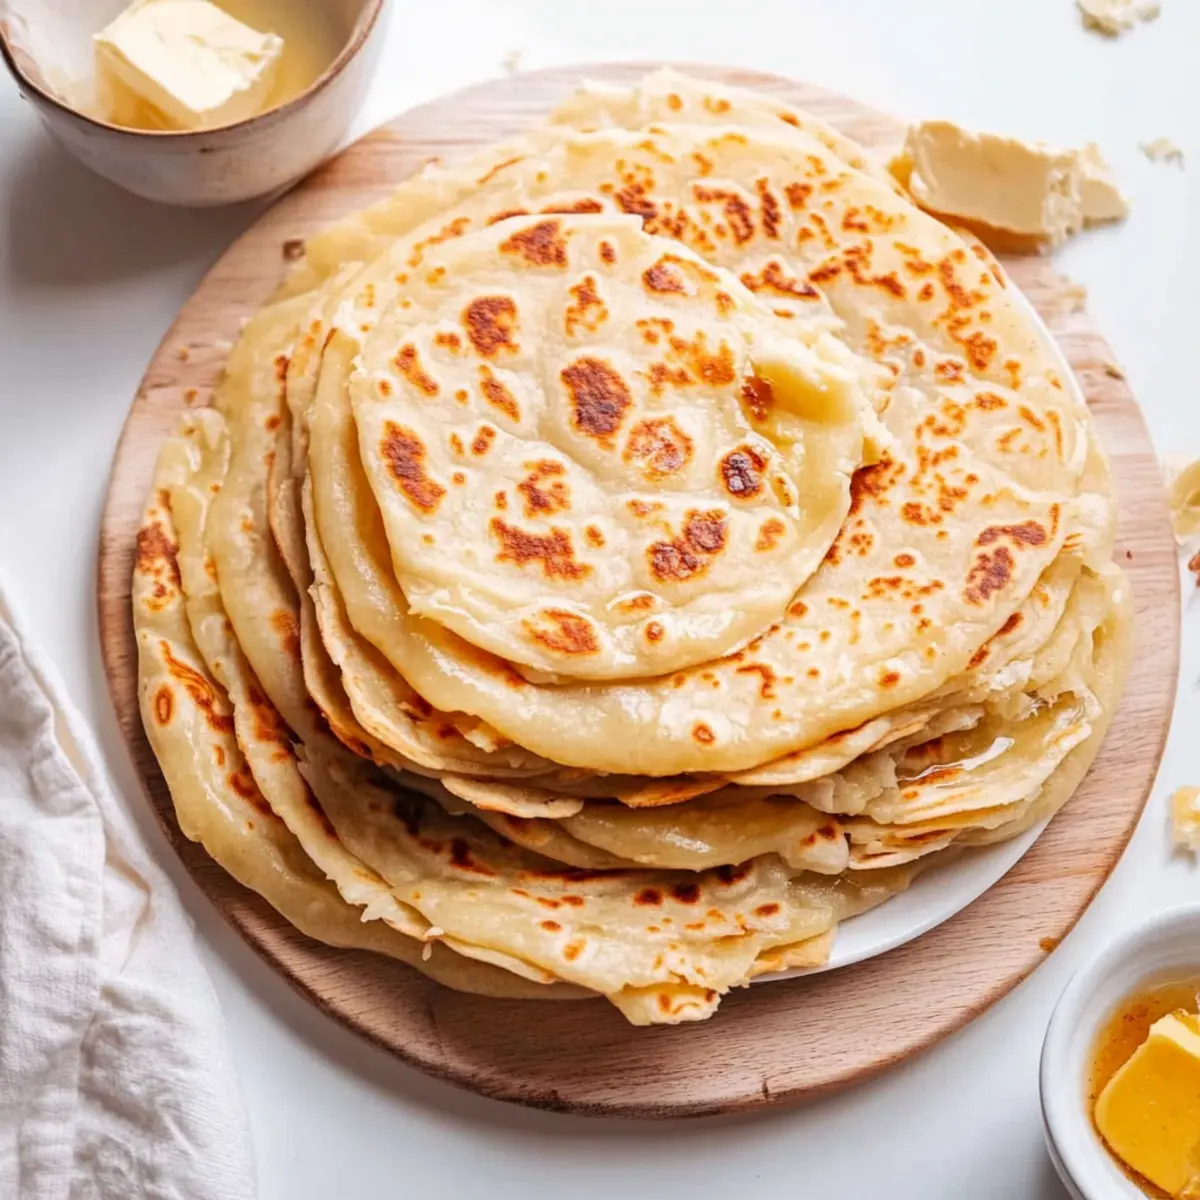
Heat a cast-iron skillet over medium-high heat until hot. Take a coiled piece of dough, flatten it gently, and roll it out into an 8-inch circle. Place it on the skillet and cook for approximately 20 seconds or until bubbles begin to form. Flip the paratha and cook for an additional 20 seconds, then brush with melted butter. Continue to cook for a total of about 2 minutes, flipping as needed, until golden and puffed up.
Step 6: Separate Layers
As soon as the paratha is cooked, remove it from the skillet and hold it in your hands; while warm, scrunch it gently to separate the flaky layers. This technique enhances the texture, making each bite utterly delightful. Keep the cooked paratha warm in a cloth until all pieces are ready to serve, allowing everyone to enjoy this homemade paratha experience together.
How to Store and Freeze Paratha
Fridge: Store cooked parathas in an airtight container for up to 3 days. Place parchment paper between layers to prevent sticking and keep them fresh.
Freezer: Freeze parathas in a single layer with parchment paper between them to maintain their flaky texture. They can be stored for up to 3 months.
Reheating: To reheat, place frozen parathas directly on a preheated skillet over medium heat for 2-3 minutes on each side. This revives their original taste and texture beautifully.
Make-Ahead: Consider doubling the batch and freezing half for a quick and easy meal later. Enjoy your homemade paratha anytime!
What to Serve with Authentic Flaky Paratha
Nothing transforms a simple meal into a feast quite like the perfect accompaniments for your warm, flaky Indian flatbread.
- Creamy Yogurt Dip: A cool, refreshing side that complements the warmth of paratha and enhances its flavors beautifully.
- Spicy Curry: Varieties like butter chicken or paneer tikka masala bring rich spices that marry perfectly with each flaky layer.
- Tandoori Chicken: The smoky, charred flavors contrast with the soft, buttery paratha, taking your meal to new heights of satisfaction.
- Pickles: Indian pickles offer a spicy, tangy zing that elevates the overall flavor profile and adds a burst of excitement to each bite.
- Chutney Selection: Mint or tamarind chutneys provide a sweet and tangy balance, enhancing the experience with fresh, vibrant notes.
- Fresh Salad: A crunchy cucumber or mixed greens salad adds a refreshing texture, making each mouthful more dynamic and delightful.
- Mashed Potatoes with Spices: Creamy and slightly spiced mashed potatoes create a comforting side dish that pairs wonderfully with paratha’s flaky delights.
- Herbal Tea: A warm cup of masala chai or refreshing herbal tea complements the meal, leaving you with a soothing finish to your dining experience.
Expert Tips for Making Paratha
-
Flour Choice: Use all-purpose flour for a traditional texture, but whole wheat can boost nutrition without sacrificing flavor.
-
Temperature Matters: Always keep your skillet preheated to ensure proper puffing and cooking; a cold skillet won’t deliver that flaky paratha you desire.
-
Rest Period: Don’t skip the resting times! Each rest allows the gluten to relax, making your dough much easier to roll out.
-
Butter Application: Brushing melted butter between layers is key; it not only adds flavor but also enhances the flakiness of your paratha.
-
Avoid Over-Kneading: Knead just until smooth; overworking the dough can lead to tougher parathas. Enjoy the process of making your perfect paratha recipe!
Make Ahead Options
These flaky parathas are perfect for meal prep enthusiasts! You can prepare the dough up to 24 hours in advance and refrigerate it, ensuring fantastic flavor and texture when you’re ready to cook. Simply follow the first three steps of the paratha recipe, then wrap the dough tightly in plastic wrap to prevent drying out. If you wish to cook them later, the formed and coiled parathas can stay in the fridge for up to 3 days; just place parchment paper between each layer to maintain their shape and prevent sticking. When ready to serve, heat your skillet and cook the parathas as instructed, enjoying restaurant-quality results with minimal effort!
Paratha Recipe: Flavorful Twists Ahead!
Get ready to customize this paratha recipe and make it uniquely yours, bursting with delightful flavors and textures!
- Kerala Parotta: Transform your paratha into the flaky, richer Kerala-style by incorporating milk in the dough for an extra indulgent twist.
- Aloo Paratha: Stuff your paratha with spiced, mashed potatoes. This satisfying option is a family favorite, bringing warmth to any meal!
- Whole Wheat Flour: For a healthier take, use whole wheat instead of all-purpose flour for a nutty flavor that doesn’t skimp on taste.
- Herbed Paratha: Add finely chopped herbs like cilantro or mint into the dough for a burst of freshness that’s absolutely irresistible.
- Chickpea Flour: Replace some all-purpose flour with chickpea flour for a different flavor profile and added protein. It’s a delightful surprise!
- Spicy Twist: Incorporate a pinch of red chili powder or chopped green chilies into the dough for a zesty kick that warms the soul.
- Flavored Butter: Mix herbs or spices into your melted butter before brushing it between layers, creating layers of flavor that truly elevate your paratha experience.
- Yogurt Dipping Sauce: Serve your paratha with a tangy yogurt sauce infused with garlic and cucumber, giving your dish a refreshing contrast—perfect alongside a hearty curry like Italian Penicillin Soup!
Paratha Recipe FAQs
What type of flour should I use for paratha?
You can use all-purpose flour for traditional parathas, which gives them a delightful texture. If you’re looking for a healthier option, whole wheat flour can be substituted, though it may yield a different texture—slightly denser but still delicious!
How should I store cooked parathas?
Absolutely! Store cooked parathas in an airtight container in the fridge for up to 3 days. To keep them fresh and prevent sticking, place parchment paper between each paratha. When you’re ready to enjoy them again, simply reheat on a skillet.
Can I freeze parathas?
Yes, you can! To freeze parathas, place them in a single layer with parchment paper between each one. They’ll last in your freezer for up to 3 months. When you’re ready to eat, reheat them directly from frozen on a preheated skillet for about 2-3 minutes on each side.
What do I do if my dough is too sticky?
If you find your dough is too sticky to handle, wet your hands slightly instead of adding more flour, which can affect the texture. This allows you to work with the dough without altering its balance. If it remains sticky after kneading, just give it a little more resting time.
Are there any dietary considerations for paratha?
If you’re catering to specific dietary needs, consider substituting yogurt with a dairy-free alternative like coconut yogurt for a vegan option. Additionally, ensure the oil or ghee you use aligns with dietary preferences, and always check for potential allergens in any pre-packaged ingredients, especially if you are including fillings.
What should I do if my parathas aren’t puffing up while cooking?
Puffing is crucial for achieving those flaky layers! If your parathas aren’t puffing, check the heat of your skillet—if it’s not hot enough, they won’t puff properly. Additionally, make sure to roll them out evenly and don’t press down too hard while cooking. Flipping them regularly helps as well!
Flaky Paratha Recipe: Homemade Comfort for Every Bite
Ingredients
Equipment
Method
- Combine all-purpose flour and kosher salt in a mixing bowl. In another bowl, whisk warm water, yogurt, and vegetable oil until smooth, then pour into the flour mixture and stir until a shaggy dough forms.
- Transfer the shaggy dough onto a floured surface and knead for 5-7 minutes until smooth and elastic. Form into a ball and place in a greased bowl, covering with a damp cloth.
- Let the dough rest for 1 hour at room temperature, covering the bowl with a kitchen towel.
- Divide the dough into 8 equal pieces. Roll one piece out to 6 inches in diameter, brush with melted butter, roll into a log, twist into a spiral, and repeat with the rest. Let them rest for another hour.
- Heat a cast-iron skillet over medium-high heat. Flatten a coiled piece of dough and roll it out to an 8-inch circle. Cook for about 20 seconds on each side, brushing with melted butter, until golden and puffed.
- Remove the cooked paratha and gently scrunch it to separate the layers. Keep warm in a cloth until ready to serve.
Leave a Reply